Your plastic plant pots are boring you to death, and honestly, same. But here’s the thing with a little creativity, those sad generic containers can become the most talked-about pieces in your home. Let’s fix that right now.
1. Paint Them Like a Professional Artist
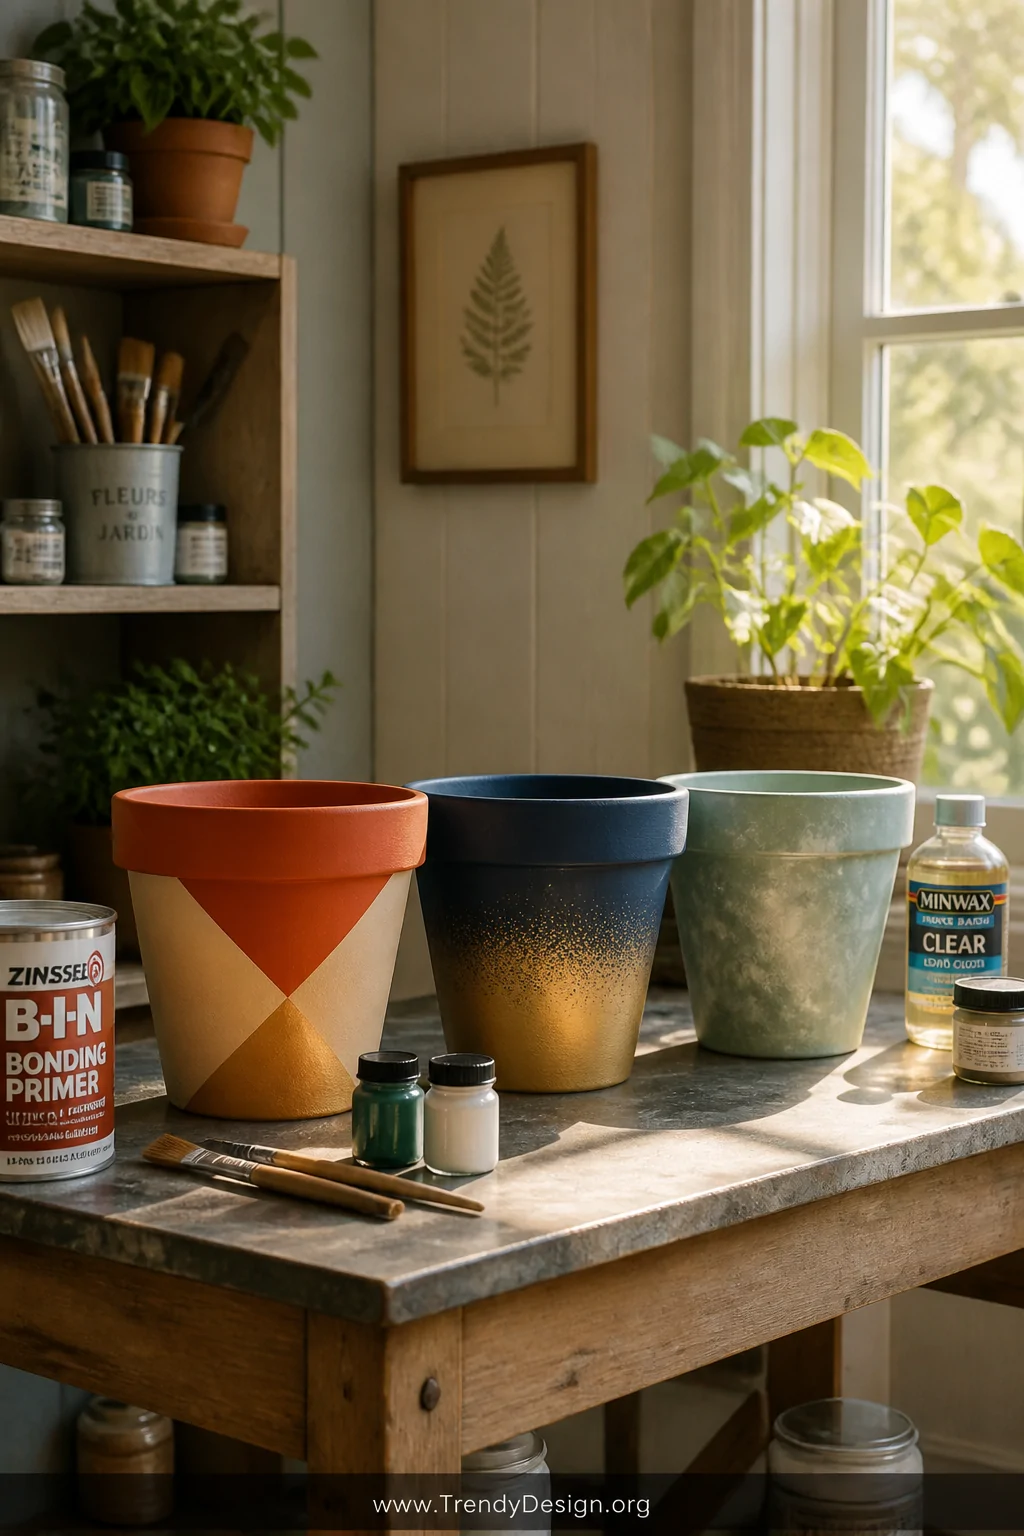
Grab some acrylic craft paint and go wild. Painting plastic plant pots is hands-down the easiest transformation you can make, and the results look genuinely expensive when done right.
Start with a plastic-bonding primer so your paint actually sticks skipping this step is the number one rookie mistake. Then layer your colors, let each coat dry completely, and seal everything with a clear outdoor varnish.
- Try color-blocking with bold geometric shapes
- Use a sea sponge for a dreamy, textured finish
- Ombre gradients from bottom to top look absolutely stunning
- Metallic gold or copper paint instantly elevates any pot
2. Wrap Them in Natural Rope or Twine
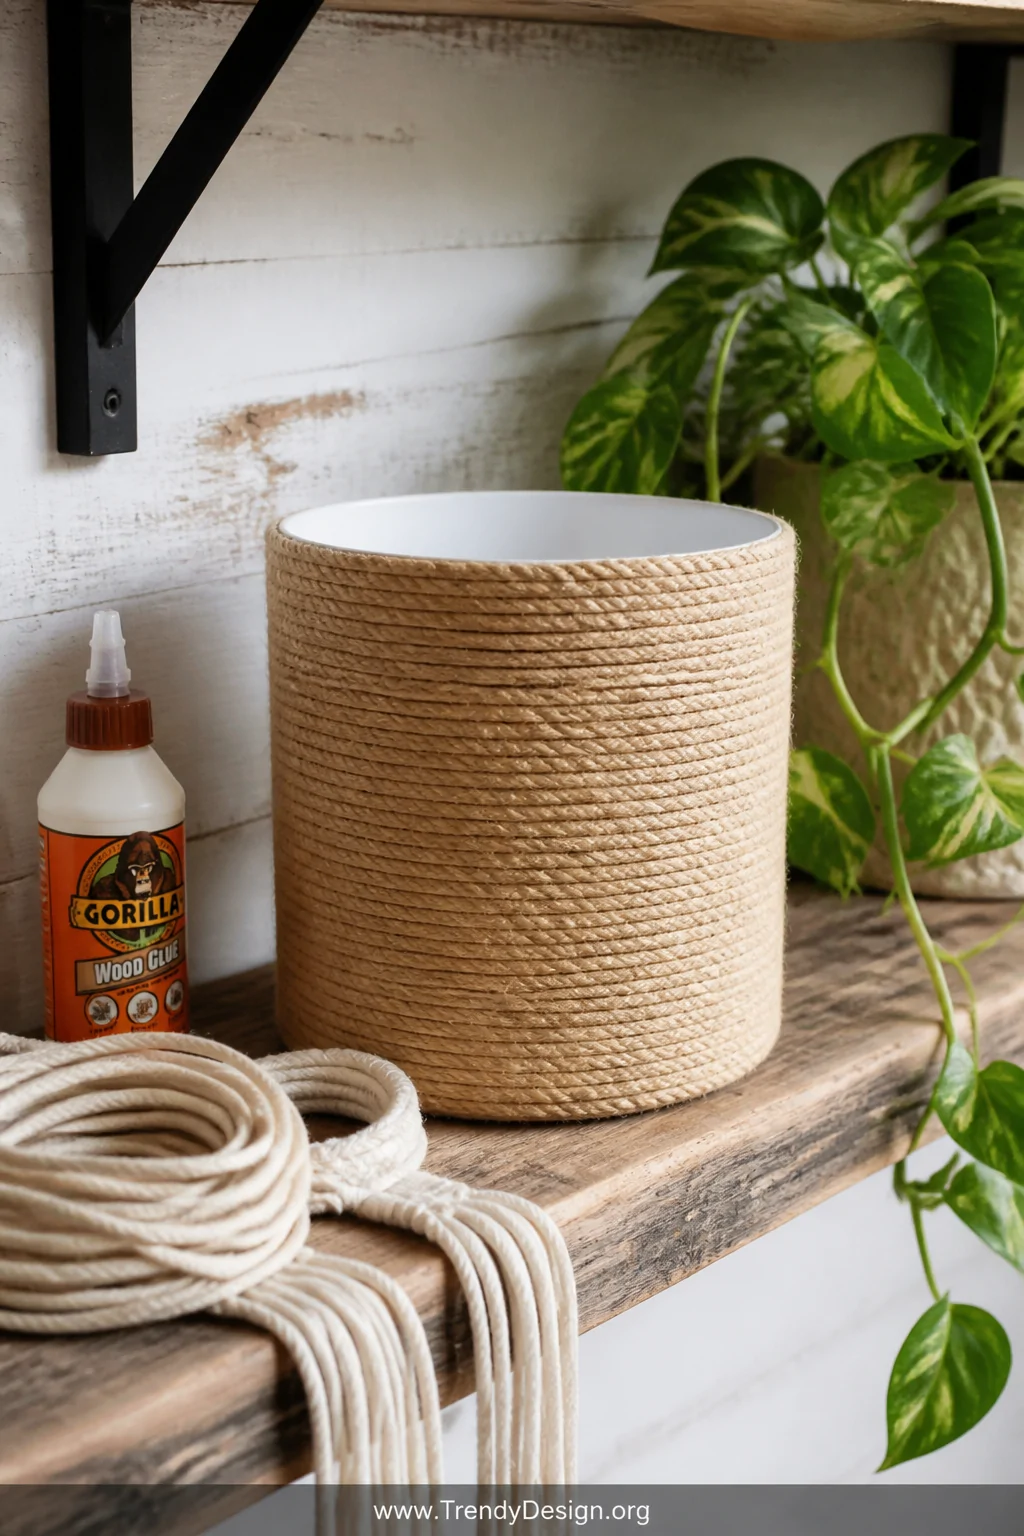
Rope-wrapped pots are having a serious moment right now, and for good reason. The contrast between natural jute twine and a plain plastic surface creates this gorgeous boho-rustic vibe that works in literally every room.
Apply a thin layer of craft glue directly onto the pot, then press your rope firmly as you wrap row by row from the bottom up. Keep tension consistent so you don’t end up with gaps that’ll drive you absolutely crazy later.
Switch between twine, jute, macramé cord, or even colorful yarn for totally different aesthetics. FYI, this technique also works brilliantly for hiding cracks or discoloration on older pots.
3. Decoupage with Gorgeous Paper
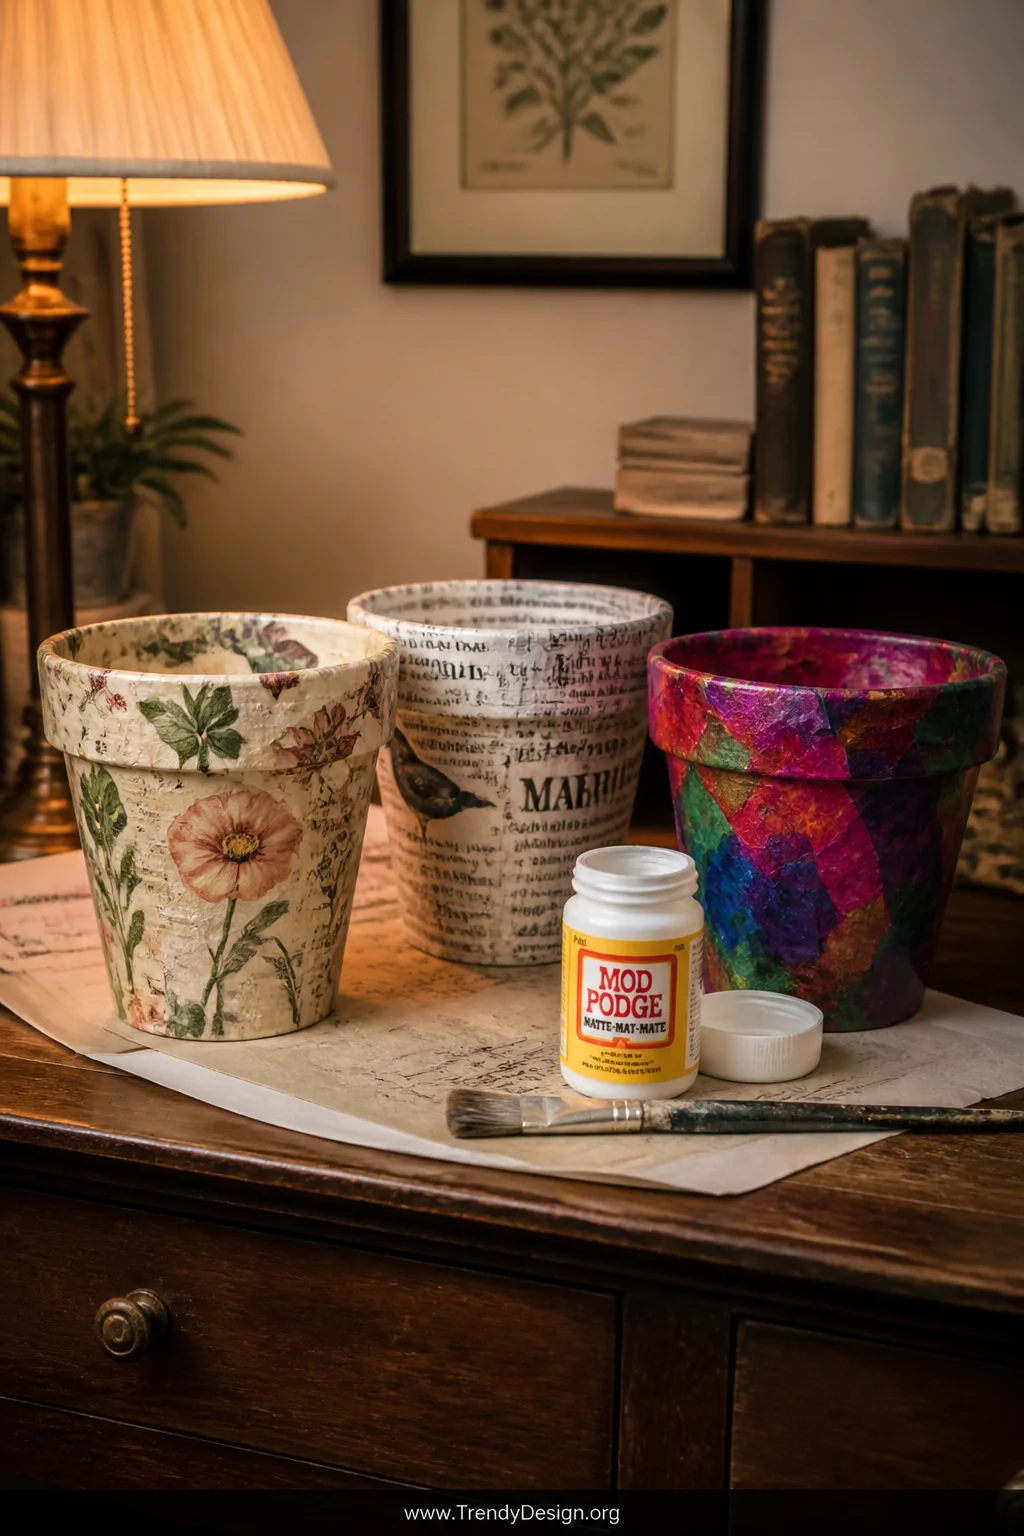
Decoupage sounds intimidating but it’s basically just glorified gluing, and you’re going to love it. Decoupage transforms plastic plant pots using nothing more than Mod Podge, torn paper, and about thirty minutes of your afternoon.
Tear your chosen paper into irregular pieces maps, sheet music, newspaper, floral wrapping paper, or pages from old books all work beautifully. Brush Mod Podge onto a small section of the pot, press your paper down, smooth out bubbles, and repeat until the whole surface is covered.
- Vintage botanical illustrations look wildly sophisticated
- Black and white newsprint creates a cool editorial feel
- Colorful tissue paper gives a stained-glass effect
- Always finish with two sealer coats to prevent peeling
4. Use Stencils for Stunning Patterns
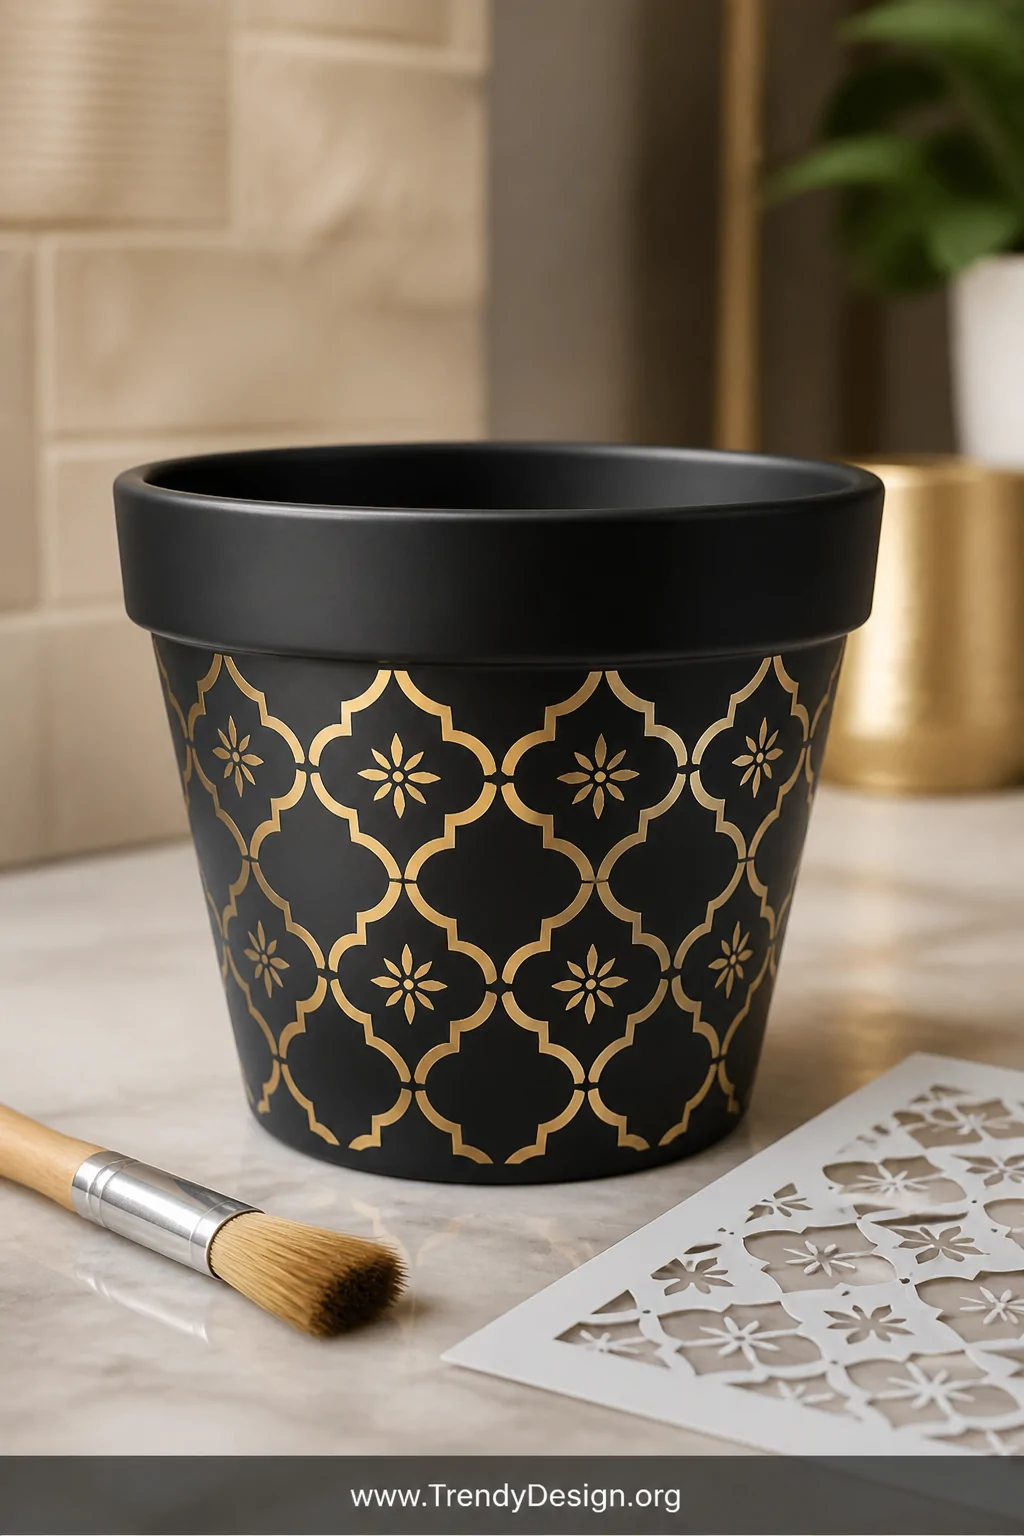
Stenciling is your secret weapon for making decorated plastic pots look like something you’d pay triple digits for at a boutique store. The pattern possibilities are genuinely endless, from Moroccan tiles to delicate florals to bold tribal prints.
Tape your stencil firmly against the pot surface so paint doesn’t bleed underneath this is non-negotiable. Use a stencil brush with very little paint, dabbing rather than stroking, to get those clean crisp edges that make the whole design pop.
Metallic paint through a stencil on a matte-painted base? Honestly, it looks like something straight out of a high-end interior design magazine.
5. Add Texture with Concrete or Plaster Coating
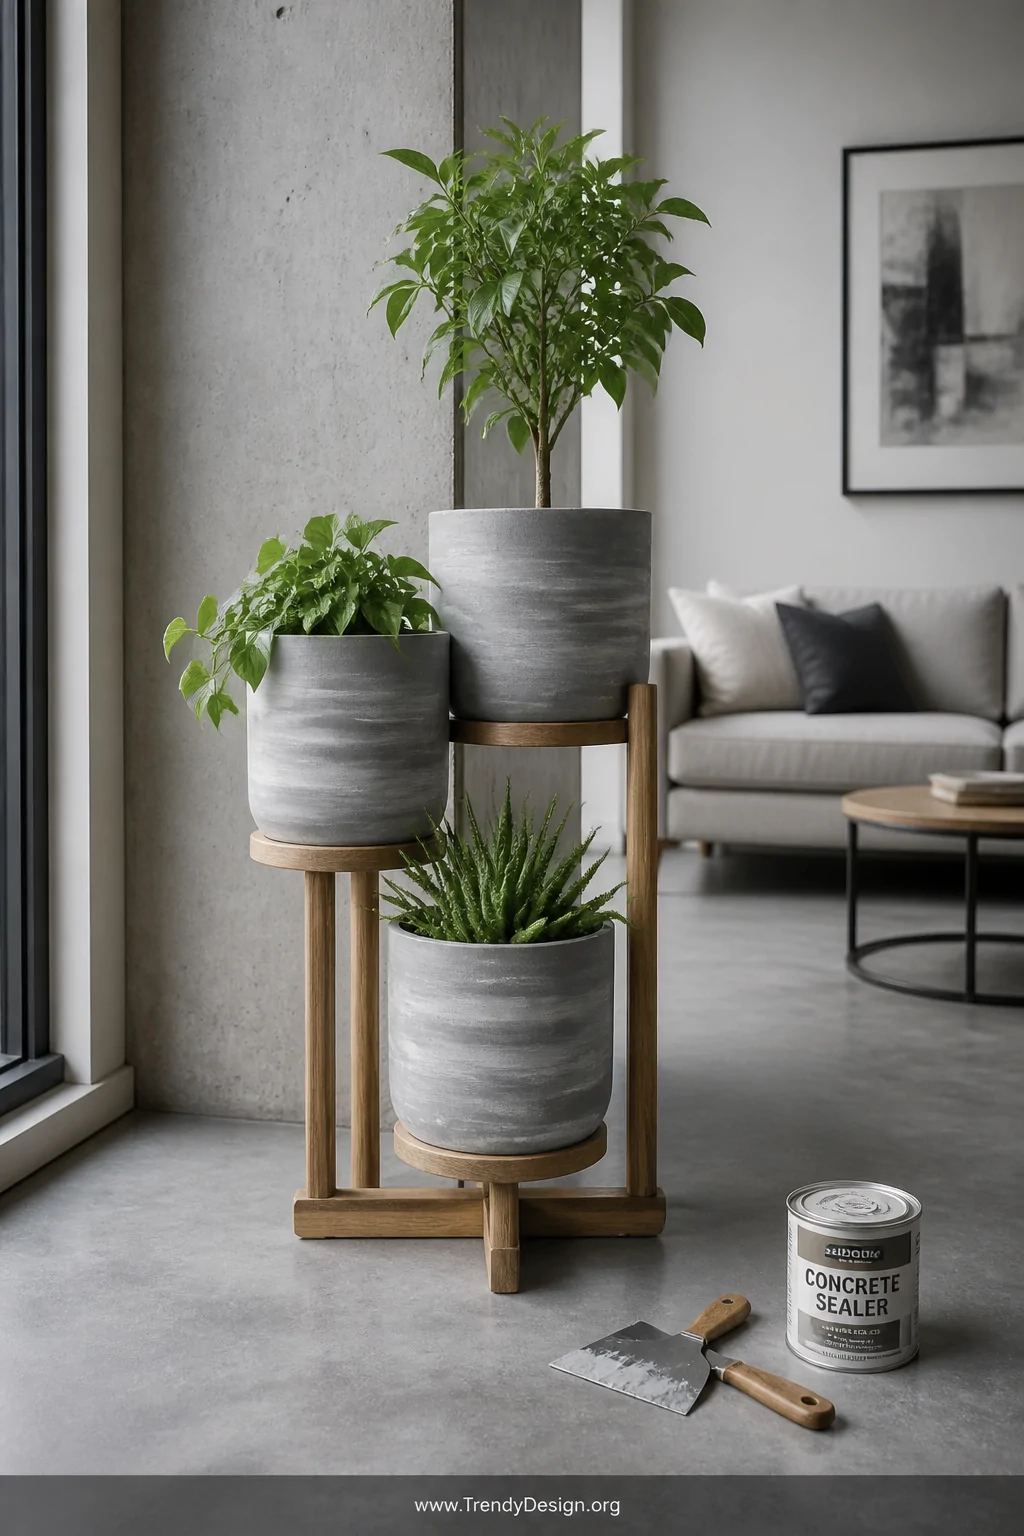
Want your plastic pot to look like an artisan-crafted concrete vessel? You absolutely can fake it, and nobody will ever know. Concrete coating techniques give lightweight plastic pots that chunky, architectural look that’s everywhere in modern home decor right now.
Mix concrete coating powder with water according to package directions, then apply it to your pot with a stiff brush or putty knife. Work in uneven strokes on purpose imperfection is literally the whole aesthetic here.
- Apply two to three thin layers rather than one thick coat
- Lightly sand between layers for a smoother finish
- Try plaster of Paris as a more affordable alternative
- Seal finished pots with concrete sealer for durability
6. Embellish with Mosaic Tiles or Broken China
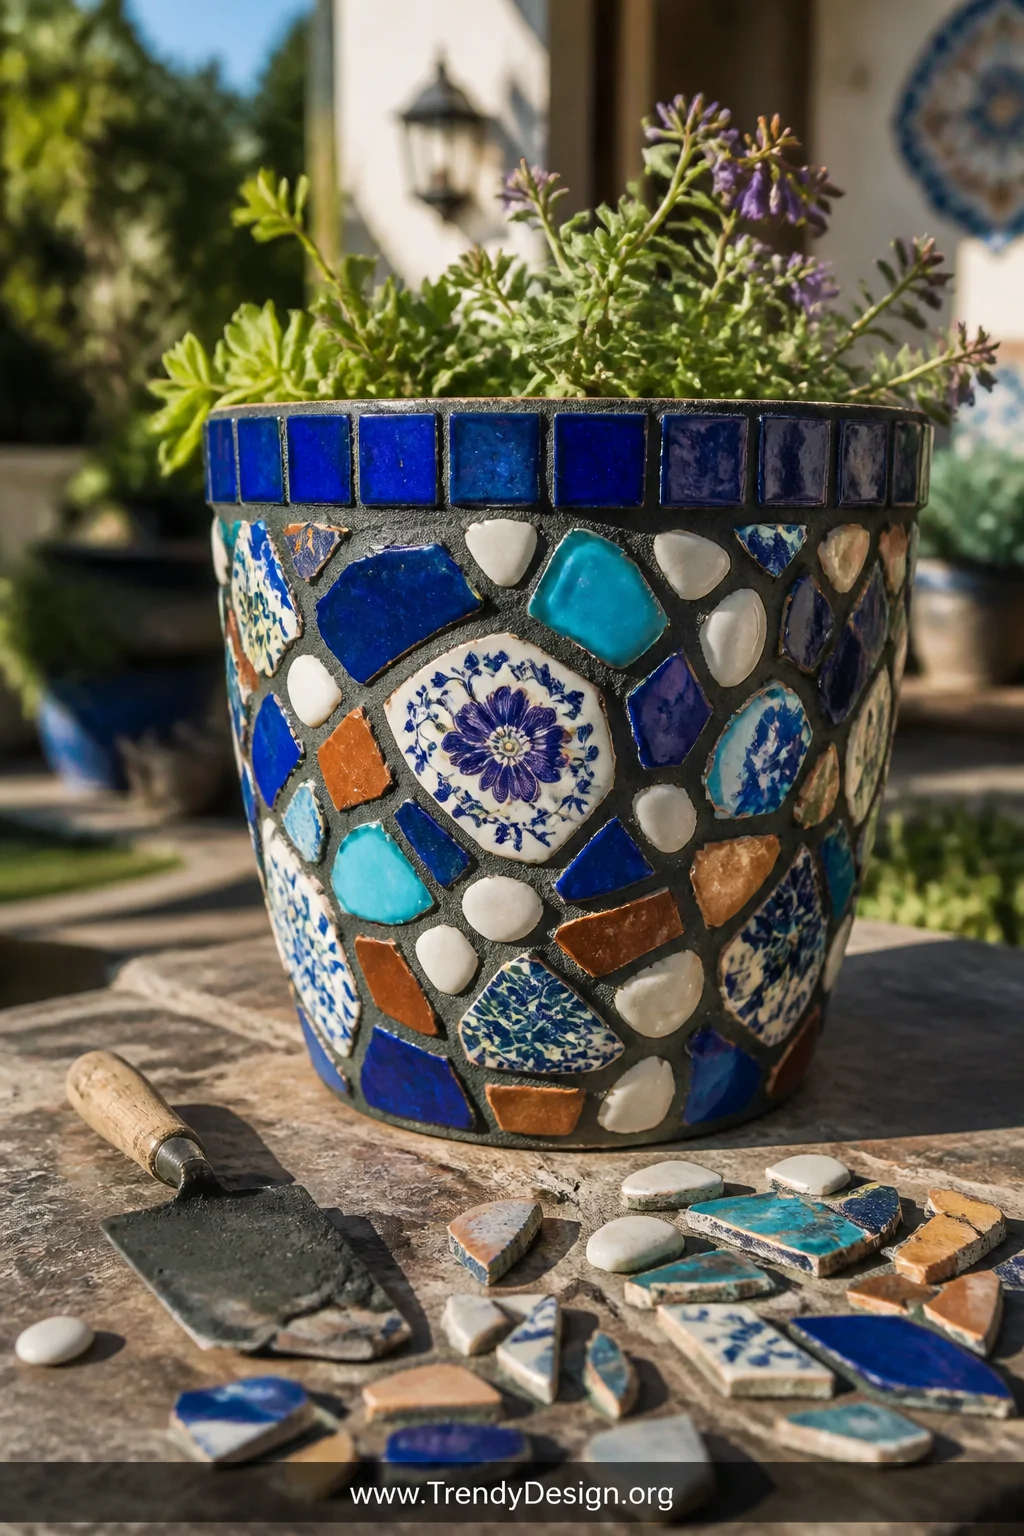
This one requires a tiny bit more patience, but the payoff is absolutely spectacular. Mosaic-decorated plant pots are genuinely one-of-a-kind pieces that add serious color and personality to any space, indoors or outdoors.
Collect broken tiles, colorful glass pieces, old china, or even smooth pebbles. Attach them to your pot using tile adhesive, leaving small gaps between each piece. Once everything sets overnight, press colored grout into those gaps, wipe away the excess, and watch something magical happen.
IMO, this is the most satisfying project on this entire list because you’re literally turning broken things into something beautiful. The metaphor writes itself.
7. Try Fabric and Ribbon for Soft Texture
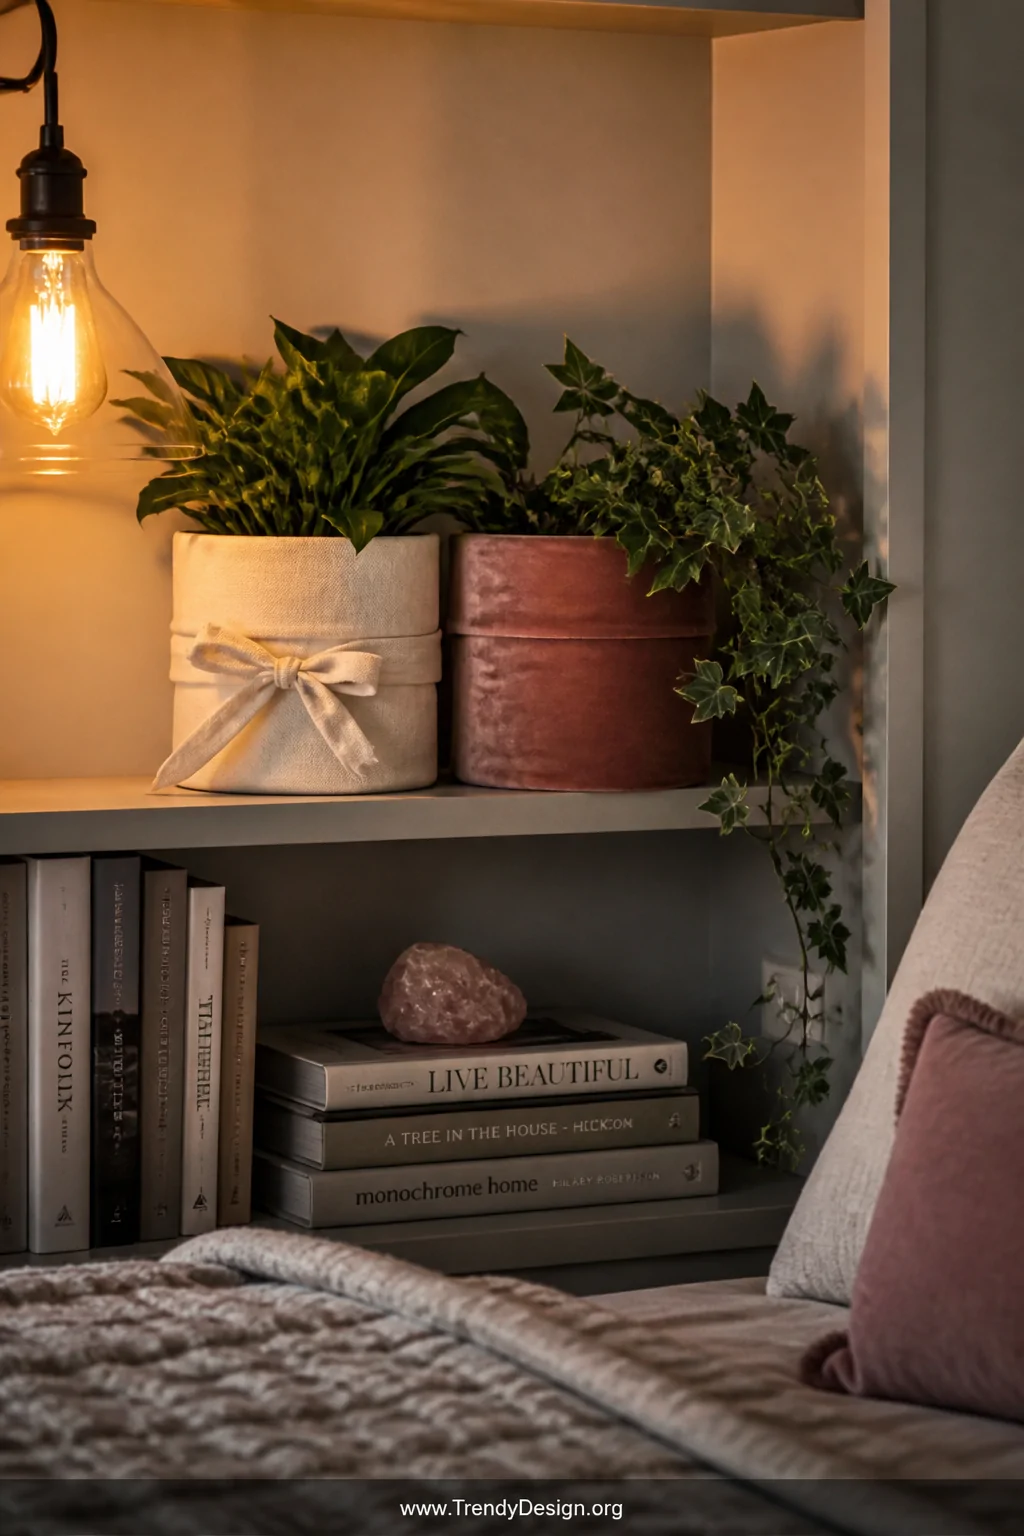
Fabric-wrapped pots bring warmth and softness to spaces that desperately need it think bedroom shelves, bathroom counters, or cozy reading nooks. Fabric-covered plastic plant pots also muffle that hollow plastic sound when you accidentally knock them, which is a genuinely underrated bonus.
Cut your fabric into strips or use it as a full wrap, securing everything with hot glue. Choose fabrics that complement your existing decor linen for minimalist spaces, bold prints for maximalist rooms, velvet for glamorous vibes.
- Ribbon wrapped in tight rows creates a striped preppy look
- Lace fabric over a painted base looks incredibly romantic
- Burlap gives an organic, farmhouse-inspired finish
- Seal fabric with Mod Podge to protect against moisture
8. Personalize with Markers, Labels, and Typography
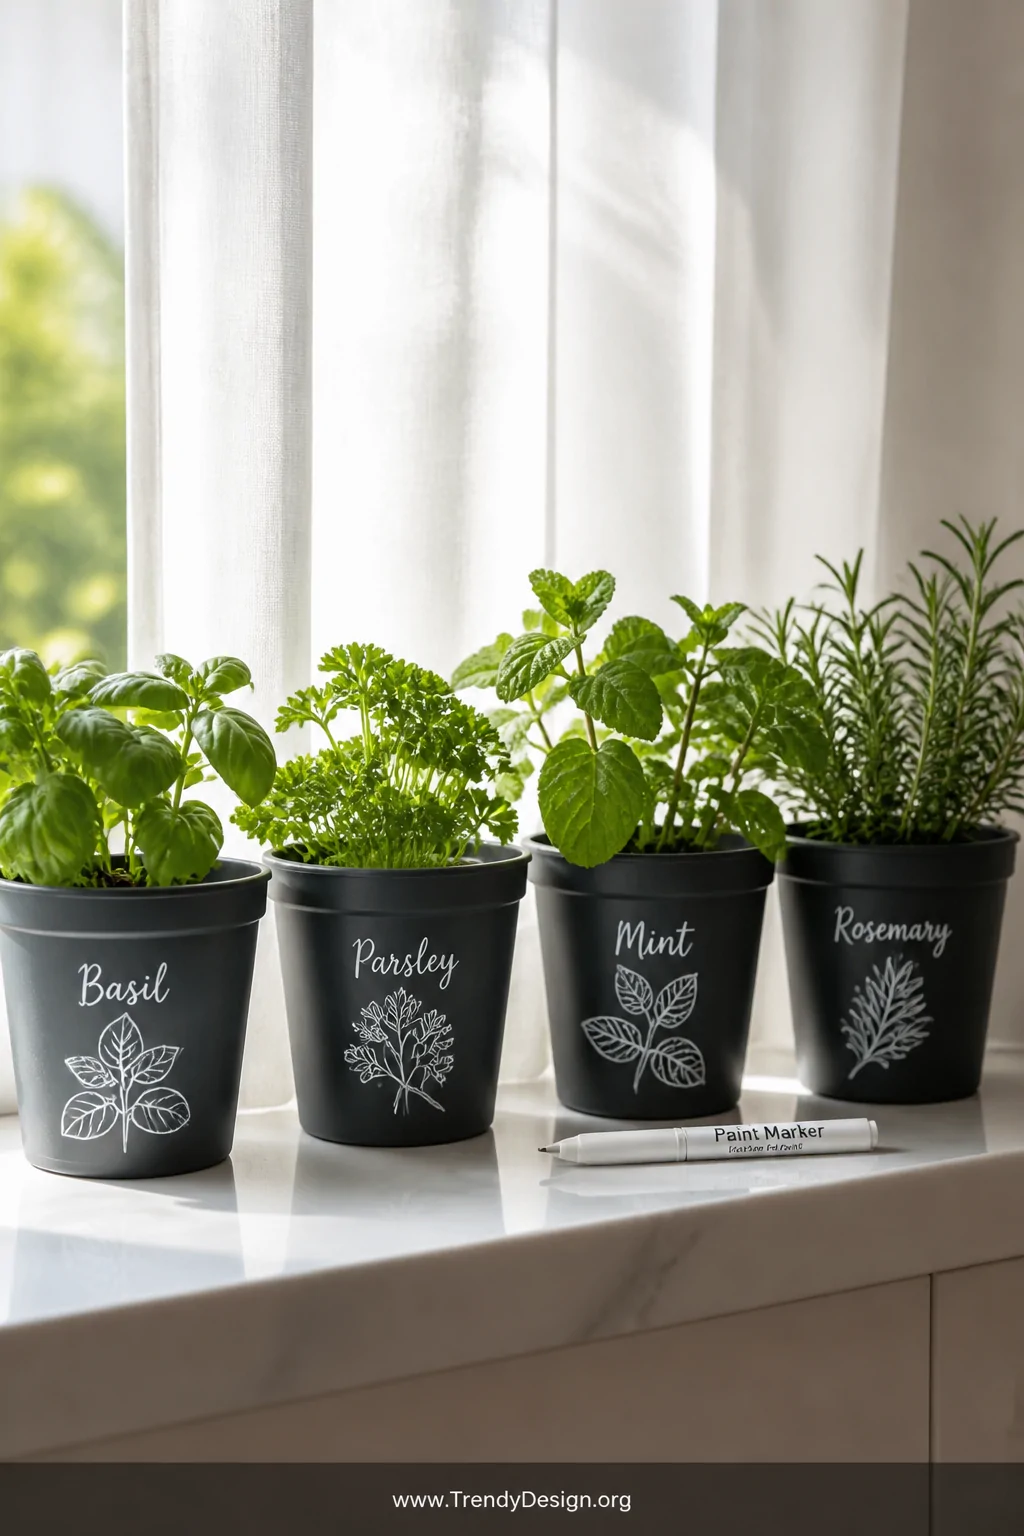
Sometimes the most impactful decorating technique is also the simplest. Writing directly on your plastic plant pots with paint markers, chalk markers, or permanent markers creates personalized pieces that are both functional and deeply charming.
Label pots with the plant name in beautiful hand lettering, write inspiring quotes around the circumference, or draw your own illustrations freehand. If your handwriting is giving you anxiety right now use printable vinyl labels or letter stamps instead, zero judgment.
- Chalk markers wipe off easily for seasonal redesigns
- White paint pens on dark-painted pots look ultra-modern
- Add dates, plant nicknames, or funny plant puns
- Combine typography with painted backgrounds for layered looks
Decorating plastic plant pots is genuinely one of the most rewarding DIY projects because the results are immediate, affordable, and completely yours. Pick one technique that excites you most, gather your supplies this weekend, and watch those basic containers become the personality-packed statement pieces your space has been waiting for. Your plants deserve better homes and now you know exactly how to give them one.
“`
Leave a Reply