There is something incredibly satisfying about making something beautiful with your own two hands. DIY wooden tray projects are the perfect entry point into home décor crafting because they look expensive, they are genuinely useful, and they come together faster than you might think. Whether you are a seasoned crafter or someone who just discovered what a miter saw is, these ideas are made for you.
Wooden trays have this magical ability to make any surface look intentional and styled. Toss one on your coffee table, your bathroom counter, or your kitchen island, and suddenly everything looks pulled together. Let’s dive into five seriously fun ways to make your own.
1. The Rope-Handled Serving Tray
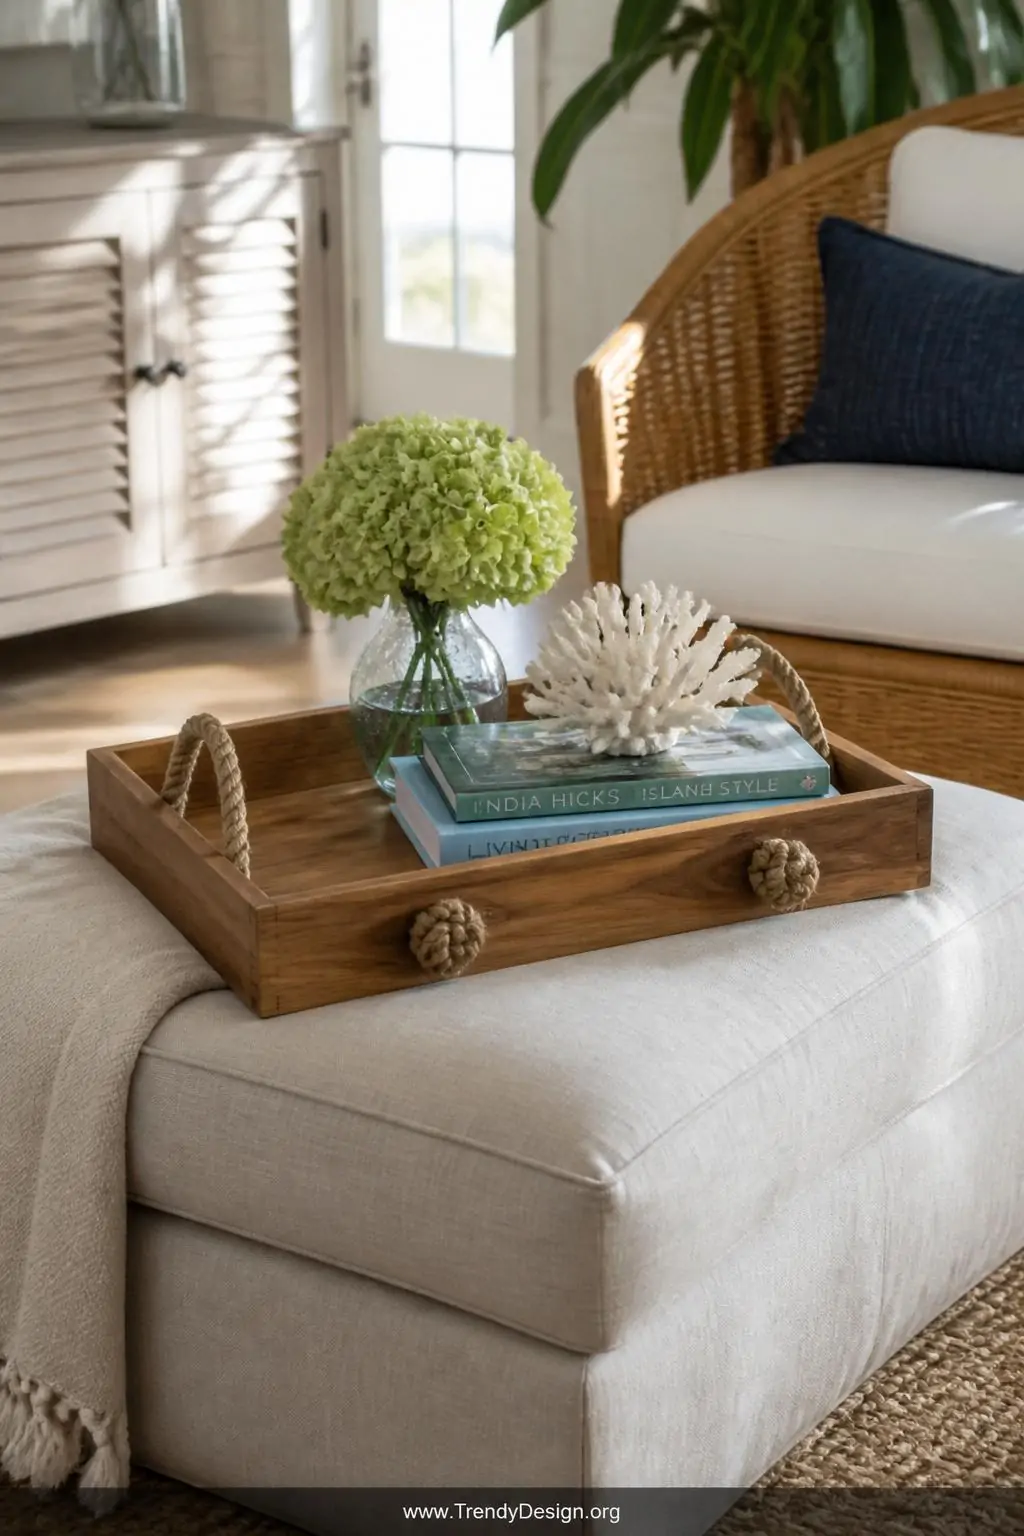
This rope-handled wooden tray is the one that makes guests say, “Wait, you made that?” It has a coastal, relaxed vibe that works beautifully in living rooms, on ottomans, or even out on a patio. The combination of raw wood and chunky natural rope gives it that effortlessly cool aesthetic everyone is chasing right now.
What You’ll Need
- A flat wooden board or pre-cut tray blank
- Thick natural jute or manila rope
- A drill with a wide drill bit
- Sandpaper and wood stain or paint
- Wood glue or strong adhesive
Drill two holes on each short end of your board, thread the rope through, and tie large knots underneath so it stays put. Sand everything smooth before staining for a polished finish that feels intentional rather than rustic-by-accident. Honestly, this one takes about an afternoon and the results are genuinely impressive.
2. The Rustic Pallet Wood Breakfast Tray

If you have ever walked past a pile of discarded pallets and thought, “I could do something with that,” this project is your moment. The rustic pallet wood breakfast tray is built from reclaimed pallet slats pieced together to form a wide, flat surface with low side rails. It has that warm, imperfect character that no store-bought tray can replicate.
Pull the pallet apart carefully, sand down the rough edges, and arrange the slats tightly side by side. Secure them with two cross-pieces underneath using wood screws, then add short side rails for structure. A light coat of liming wax or whitewash gives it that farmhouse charm that pairs beautifully with linen napkins and a Sunday morning stack of pancakes.
FYI, pallet wood varies wildly in quality, so pick your pieces carefully and check for any splinters or deep cracks before you start building. The imperfections are part of the charm, but there is a limit.
3. The Gold-Trimmed Vanity Tray
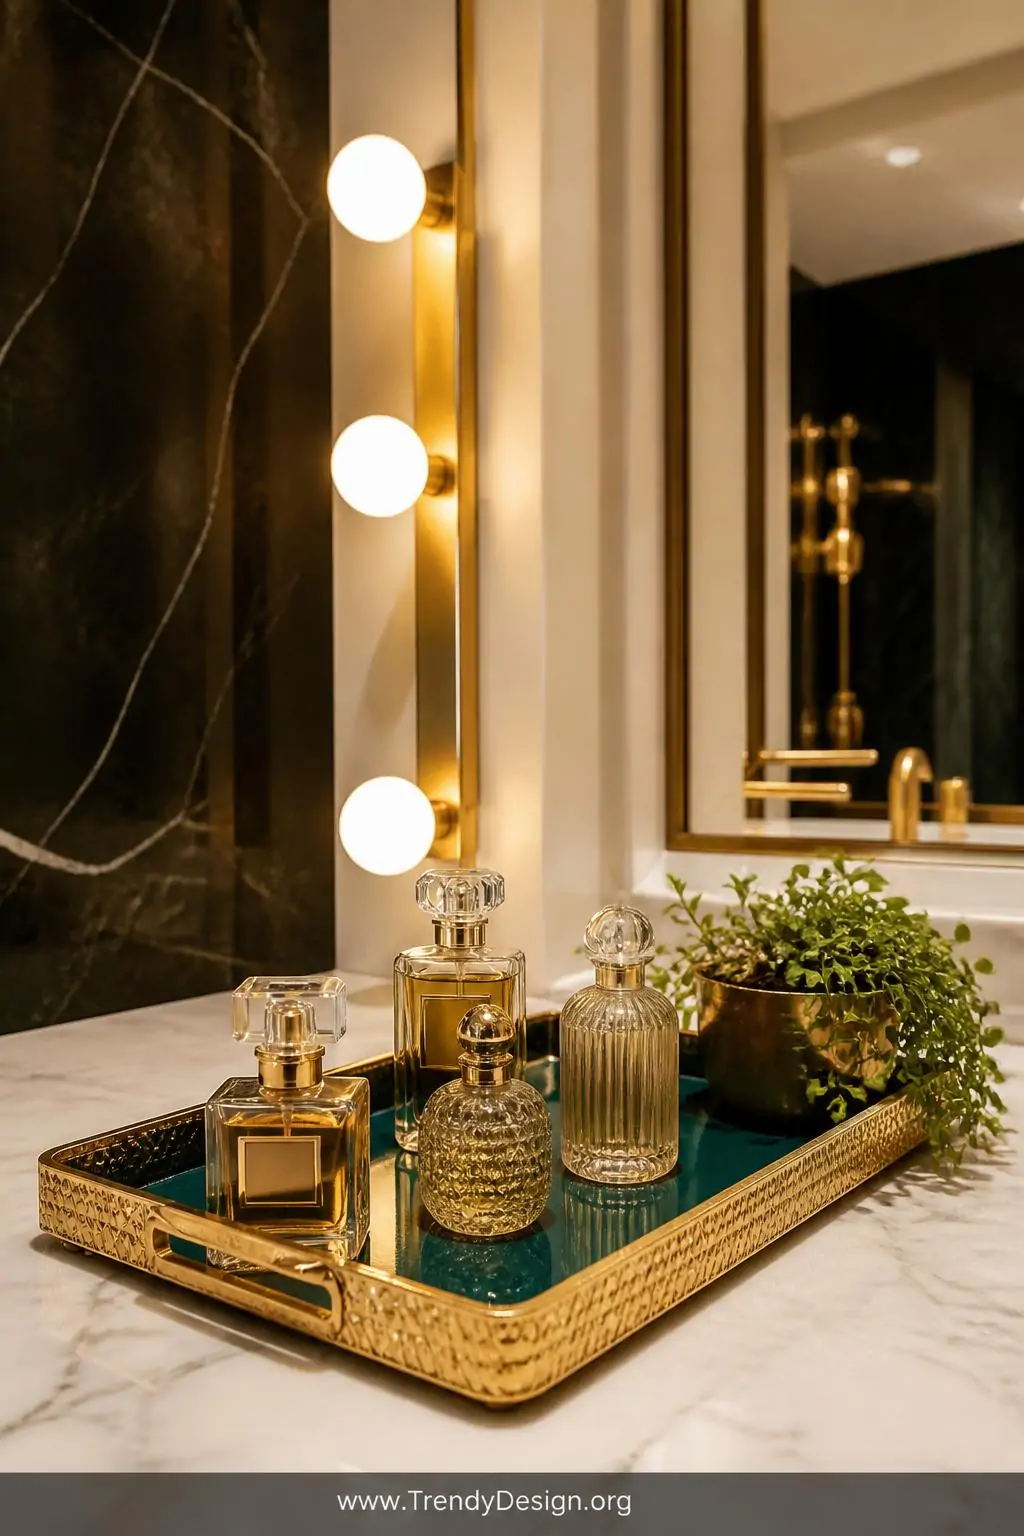
This one is for the person who wants their bathroom counter to feel like a boutique hotel. The gold-trimmed vanity tray uses a simple wooden base with a mirrored or painted interior and gold metallic trim around the edges. It is the kind of project that looks wildly luxurious for about twelve dollars in supplies.
How to Get That Luxe Look
- Start with a shallow wooden box frame or build one from craft wood
- Line the interior with mirror adhesive film or paint it a deep jewel tone
- Apply gold metallic craft paint or gold leaf to the rim and edges
- Seal everything with a clear protective coat
IMO, this is the most satisfying project on the list because the transformation from plain wood to glam accessory happens so quickly. Place it on your vanity and fill it with perfume bottles, small plants, and your favorite jewelry to complete the look.
4. The Chalkboard-Bottom Kitchen Tray
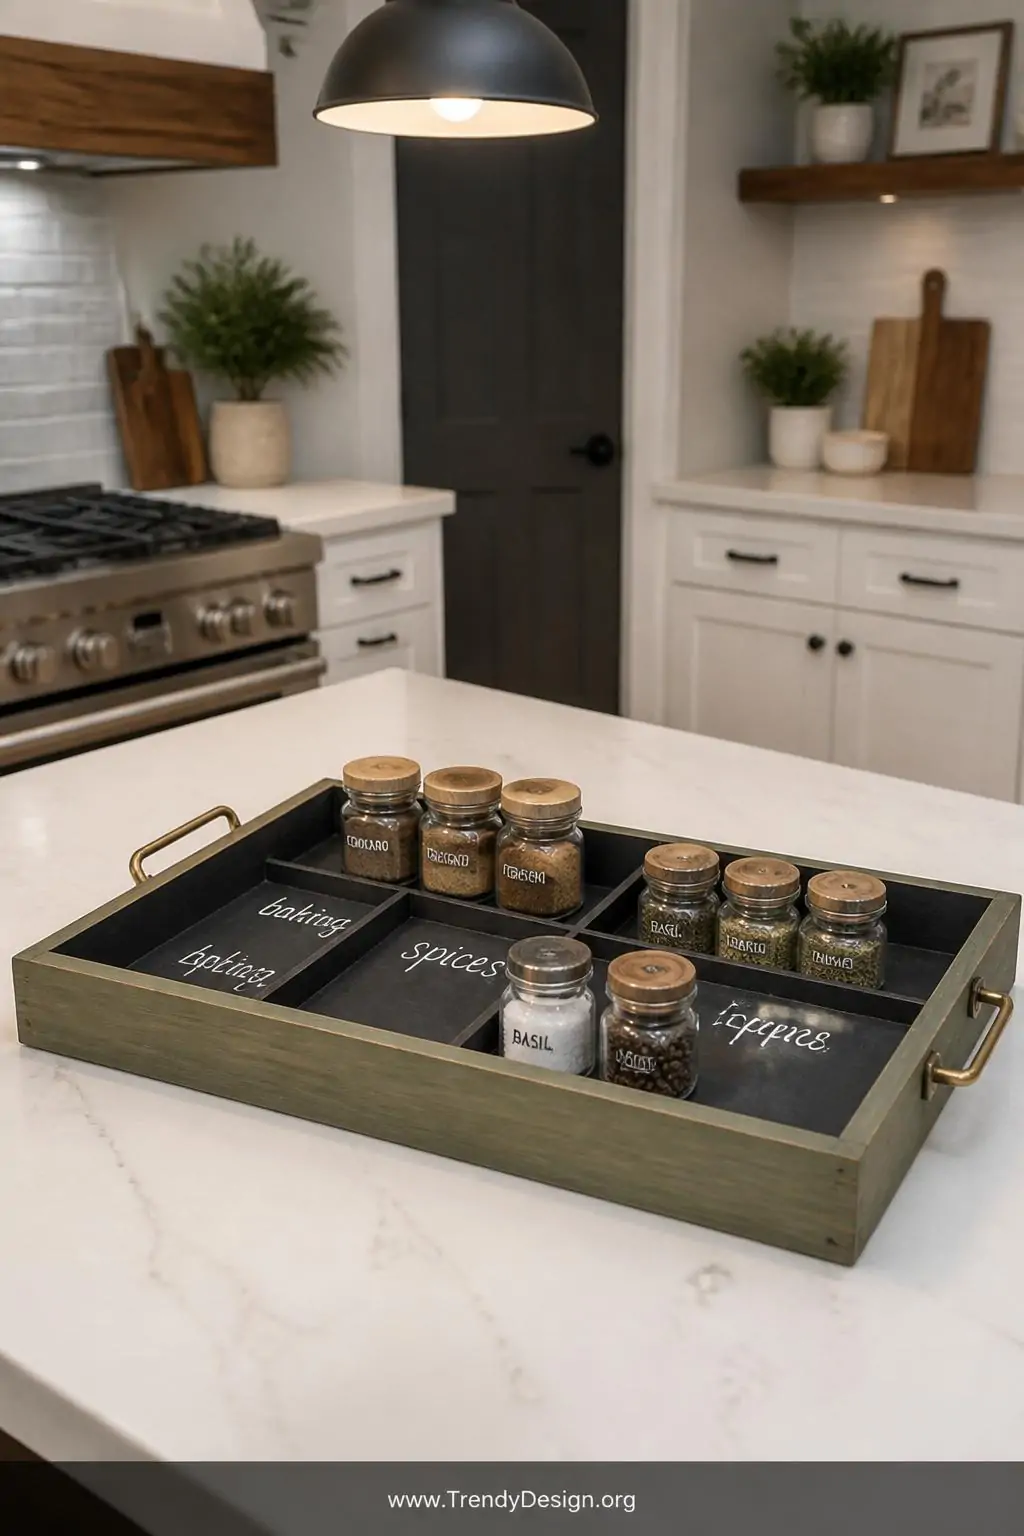
The chalkboard-bottom kitchen tray is equal parts practical and adorable, which is a combination that is hard to beat. You paint the interior bottom of the tray with chalkboard paint, giving you a writable surface where you can label contents, write little notes, or let your kids doodle while you cook dinner. Multitasking at its finest.
Build or buy a simple wooden tray with low sides, apply two coats of chalkboard paint to the interior base, and let it cure fully before writing on it. Stain or paint the outside of the tray in a contrasting color to make the chalkboard interior really pop. Use it to organize your kitchen counter, your home office, or your entryway catch-all area.
This is one of those DIY wooden tray projects that genuinely grows with your needs because the label situation is endlessly adjustable.
5. The Tiered Display Tray Tower
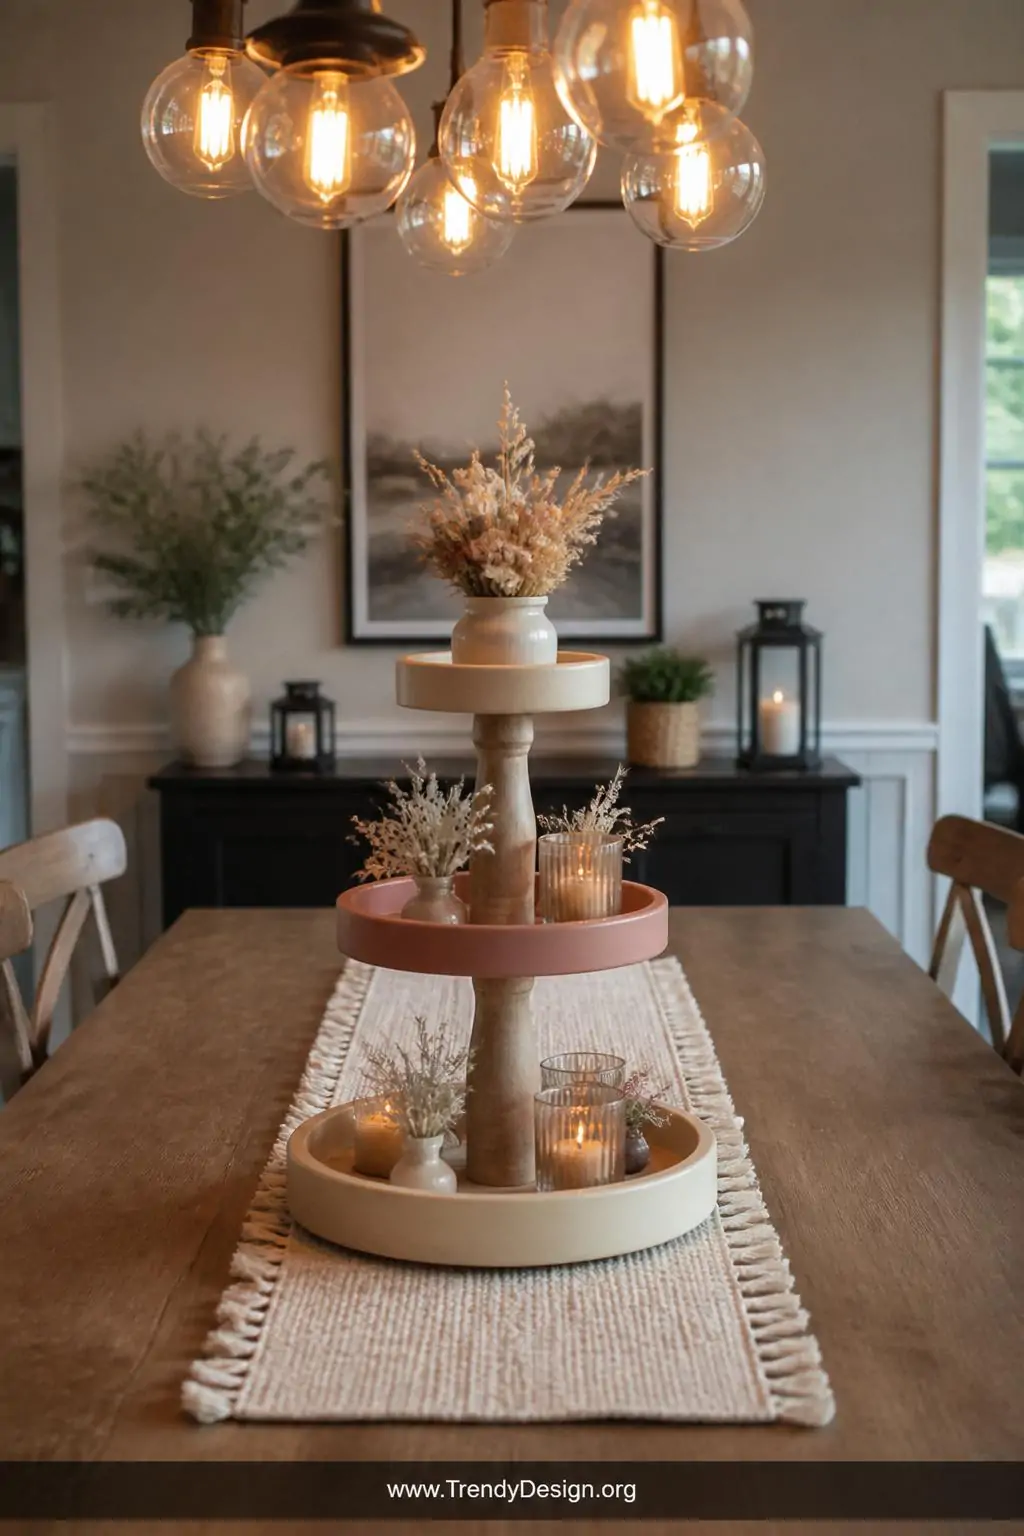
The tiered display tray tower is technically two or three wooden trays stacked on a central dowel rod to create a vertical display piece. Think of it like a cake stand situation, but make it wood. It is stunning on a dining table, a coffee bar, or a dessert spread at your next get-together.
Cut three wooden circles in graduating sizes, drill a center hole in each, and stack them on a thick wooden dowel with spacers between each level. Paint each tier a different coordinating color or keep everything the same stain for a unified look. The finished piece adds serious height and visual interest to any styled surface.
The Bottom Line
These five DIY wooden tray ideas prove that you do not need a fully equipped workshop or years of crafting experience to make something genuinely beautiful. Each project brings something different to the table — texture, function, glamour, practicality, or pure visual drama.
Pick the one that speaks to your style, grab your supplies, and give yourself an afternoon to create something you will be proud of. Your home will thank you, and honestly, so will your sense of accomplishment.
Leave a Reply