So you’ve been tossing banana peels and coffee grounds into the trash, and somewhere in the back of your mind, a little voice whispers, “There has to be a better way.” Good news there absolutely is! Composting is one of those beautiful life hacks that feels like magic once you actually try it.
Whether you have a sprawling backyard or a teeny tiny apartment balcony, these smart composting ideas for beginners will help you turn everyday kitchen scraps into rich, nourishing soil that your plants will absolutely go crazy for. Let’s dig in (pun fully intended).
1. Start With a Simple Countertop Collection Bin
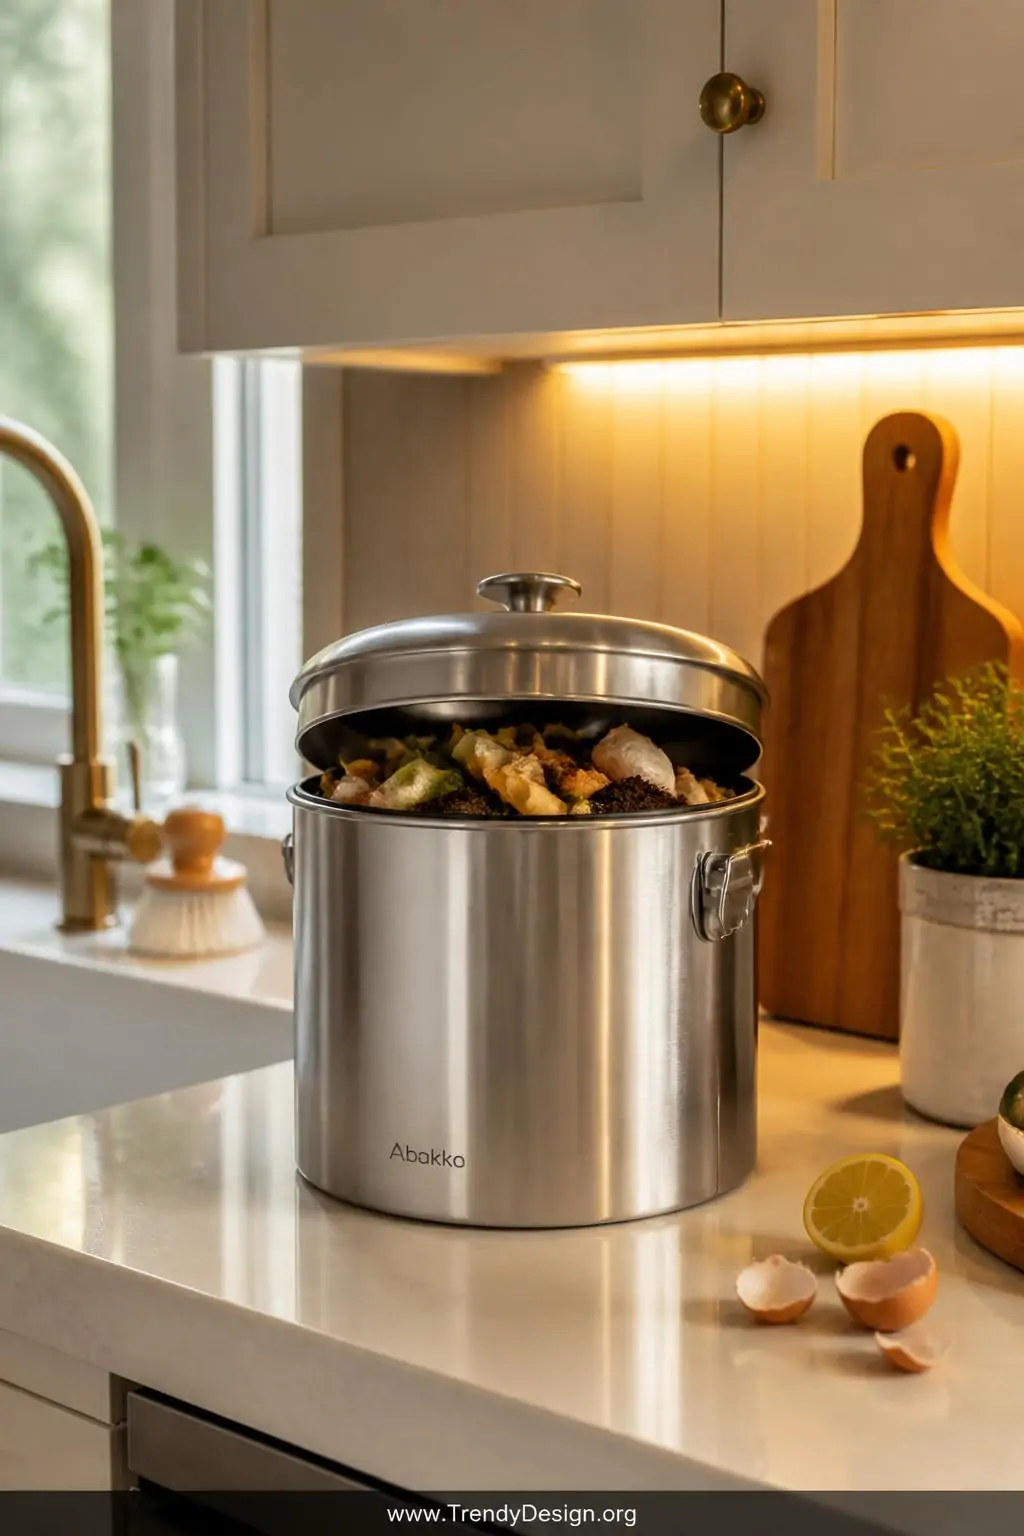
Before anything else, you need a way to collect scraps without making eleven trips outside every day. A small countertop compost bin sitting right next to your sink is honestly a game-changer for building the habit. Think of it as your scraps’ cozy waiting room before their big transformation.
Look for a bin with a charcoal filter lid this little feature is your best friend for keeping odors from sneaking out into your kitchen. Empty it every two to three days, and you’ve already mastered the first step of composting like a pro.
- Choose a bin between 1–2 gallons for easy carrying
- Stainless steel or ceramic options look gorgeous on any counter
- Rinse it weekly to keep things fresh and funk-free
2. Build a Classic Outdoor Compost Bin on a Budget
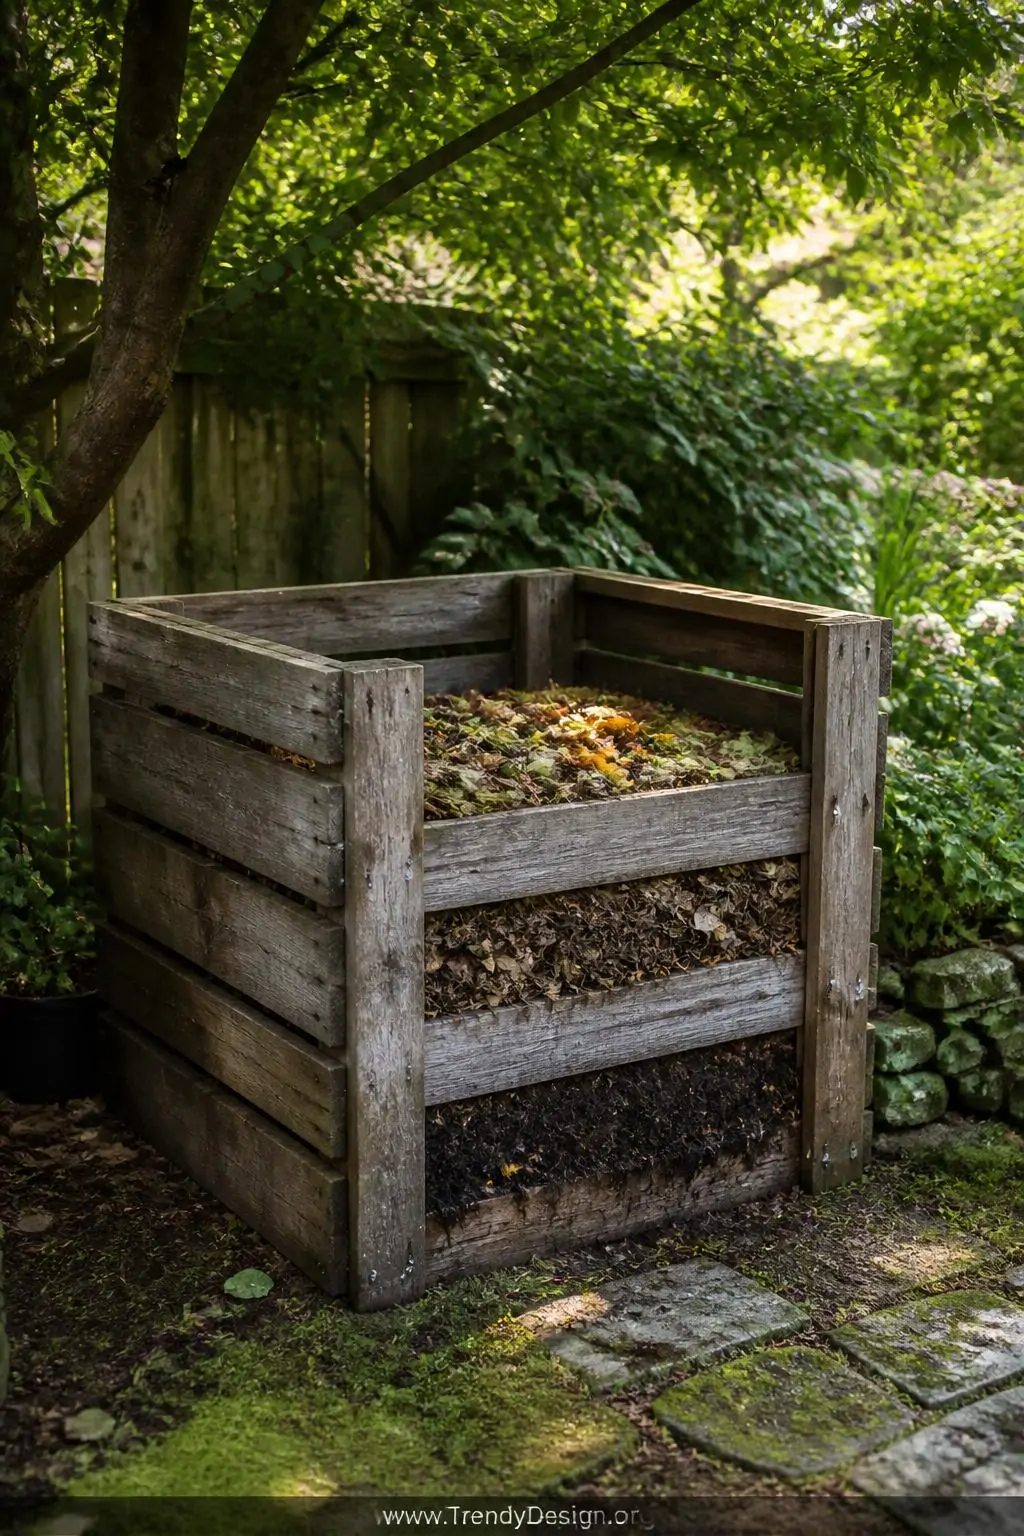
Here’s where the real magic happens. An outdoor compost bin doesn’t have to be fancy or expensive you can literally build one with wooden pallets, chicken wire, or even a repurposed trash can with holes drilled into it. DIY compost bins are deeply satisfying to make and surprisingly easy to maintain once you get the hang of the rhythm.
Place your bin in a shady corner of your yard where it won’t bake in direct sun all day. The goal is to keep it moist but not soggy, kind of like a wrung-out sponge and yes, that’s actually the technical description gardeners use!
What to Toss In
- Fruit and vegetable scraps
- Coffee grounds and paper filters
- Eggshells and tea bags
- Dry leaves, cardboard, and paper
What to Keep Out
- Meat, fish, or dairy products
- Oily or greasy foods
- Pet waste or diseased plants
3. Try Vermicomposting With a Worm Bin Indoors

Okay, stay with me here I know the word “worms” just made half of you close this tab. But vermicomposting is genuinely one of the best composting ideas for beginners because it works fast, fits in small spaces, and produces incredibly rich compost called worm castings. Your houseplants will look at you like you’ve handed them a five-star meal.
A basic worm bin can live under your kitchen sink, in a closet, or on a balcony during mild weather. Red wigglers are the go-to worm species for this, and they’re easy to order online. FYI, they don’t smell bad when properly maintained promise.
Feed your worms fruit scraps, vegetable peels, and shredded paper. Avoid citrus in large amounts because apparently worms are a little picky about their citrus intake same, honestly.
4. Use a Tumbler Composter for Faster Results
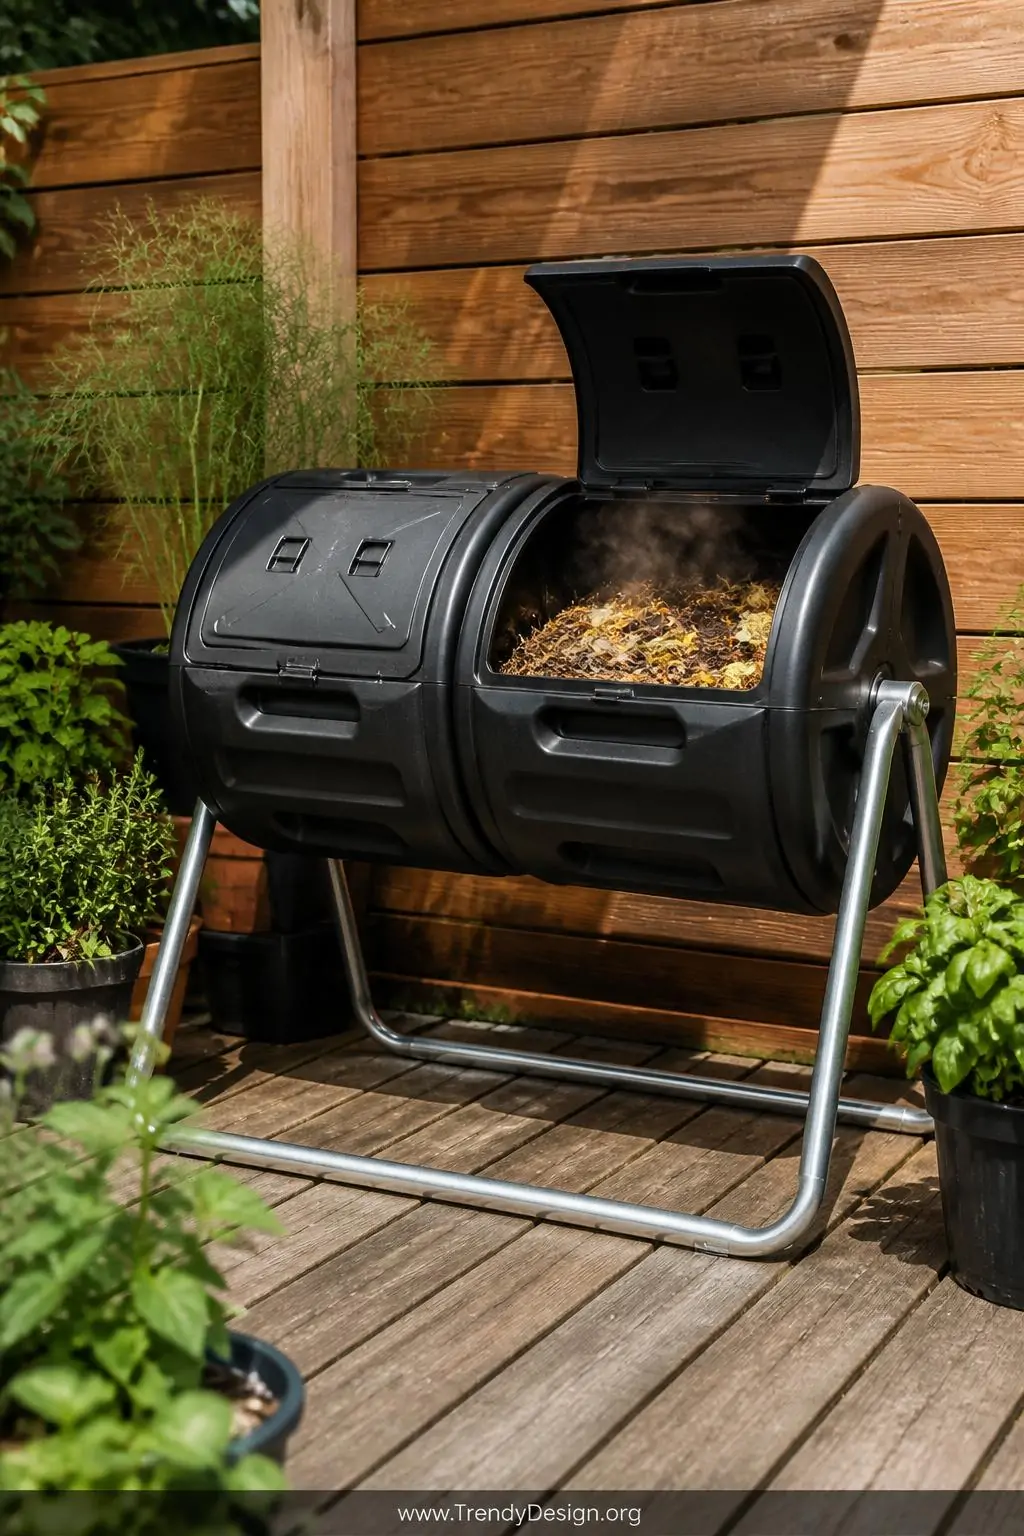
If patience isn’t exactly your strong suit (no judgment), a compost tumbler might be your perfect match. These barrel-shaped containers sit off the ground on a frame, and you simply spin them every few days to aerate the contents and speed up decomposition. Some tumblers can produce finished compost in as little as four to six weeks.
They’re also fantastic for keeping pests out, since the sealed design doesn’t give critters an easy invitation to dinner. IMO, the tumbler is the sleekest-looking option in the composting world and won’t make your backyard look like a science experiment gone wrong.
- Choose a dual-chamber model to keep batches at different stages
- Turn the tumbler every two to three days for best results
- Add a mix of wet scraps and dry materials to balance moisture
5. Try Bokashi Composting for Meat and Dairy
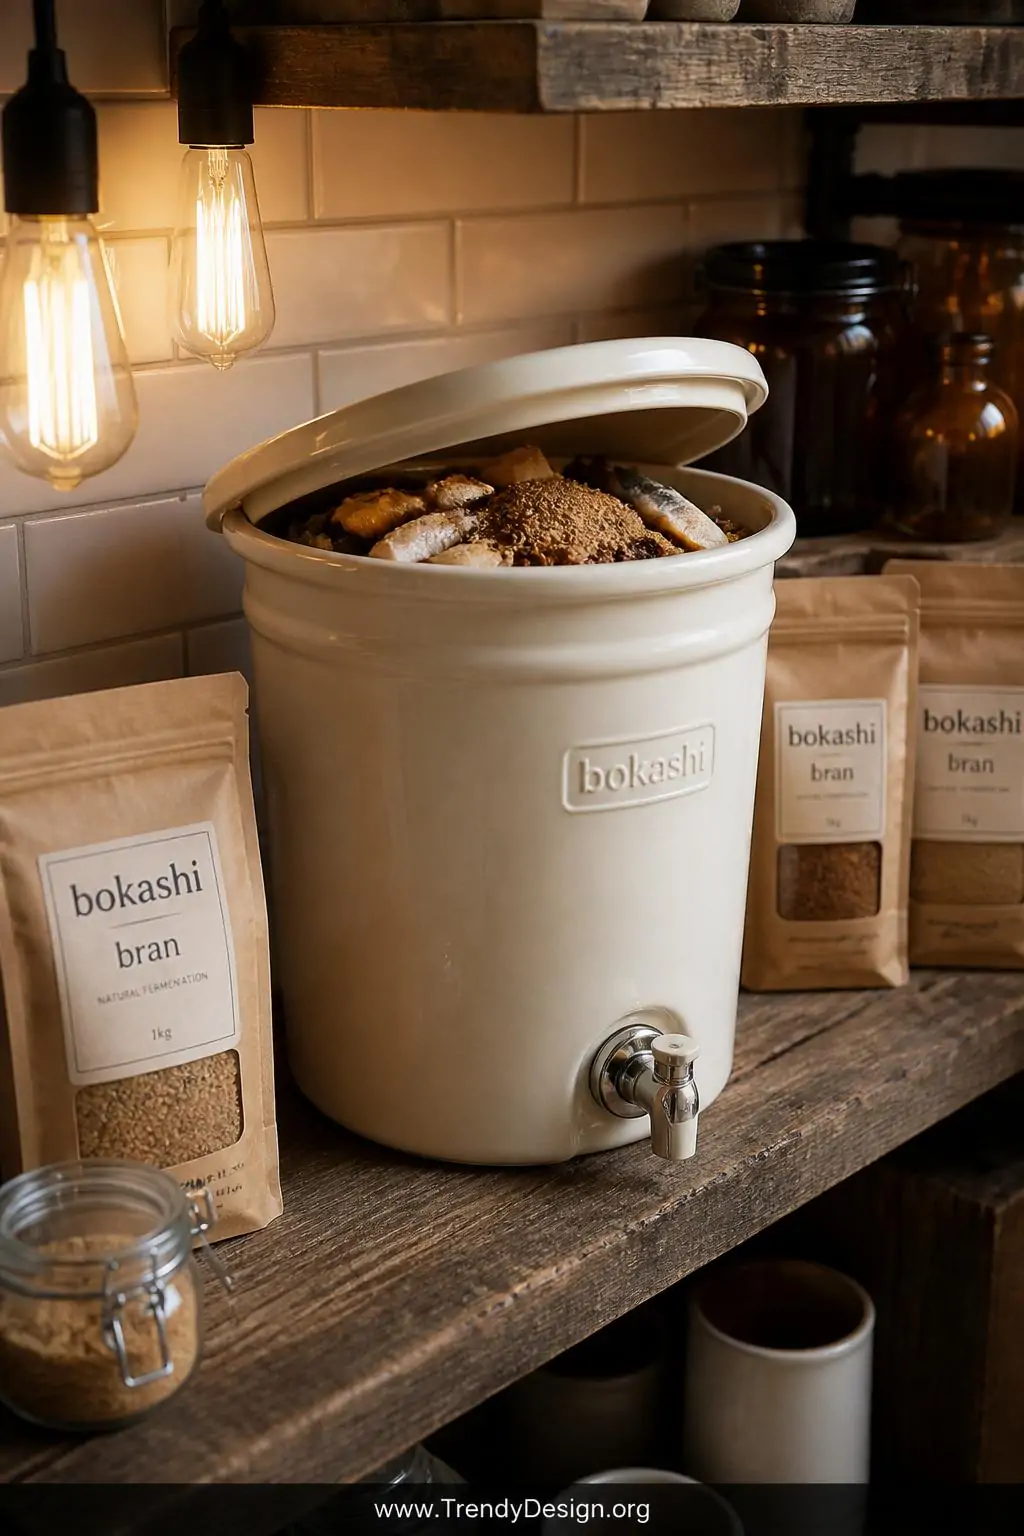
Remember how we said no meat or dairy in your regular compost bin? Bokashi composting throws that rule out the window in the most delightful way. This Japanese fermentation method uses a special bran inoculated with beneficial microbes to break down almost any food waste, including meat, fish, and cheese. It’s essentially fermenting your scraps rather than rotting them much more civilized, if you ask me.
You layer scraps in an airtight bucket, sprinkle bokashi bran on top, seal it tight, and let the microbes do their thing over about two weeks. The result needs to be buried in soil or added to a regular compost pile to finish breaking down, but it speeds up the entire process beautifully.
Bokashi kits are available online and at most garden centers, and they’re genuinely one of the more exciting composting ideas for beginners who want to reduce absolutely all of their food waste without limits.
6. Create a Compost Trench Directly in Your Garden
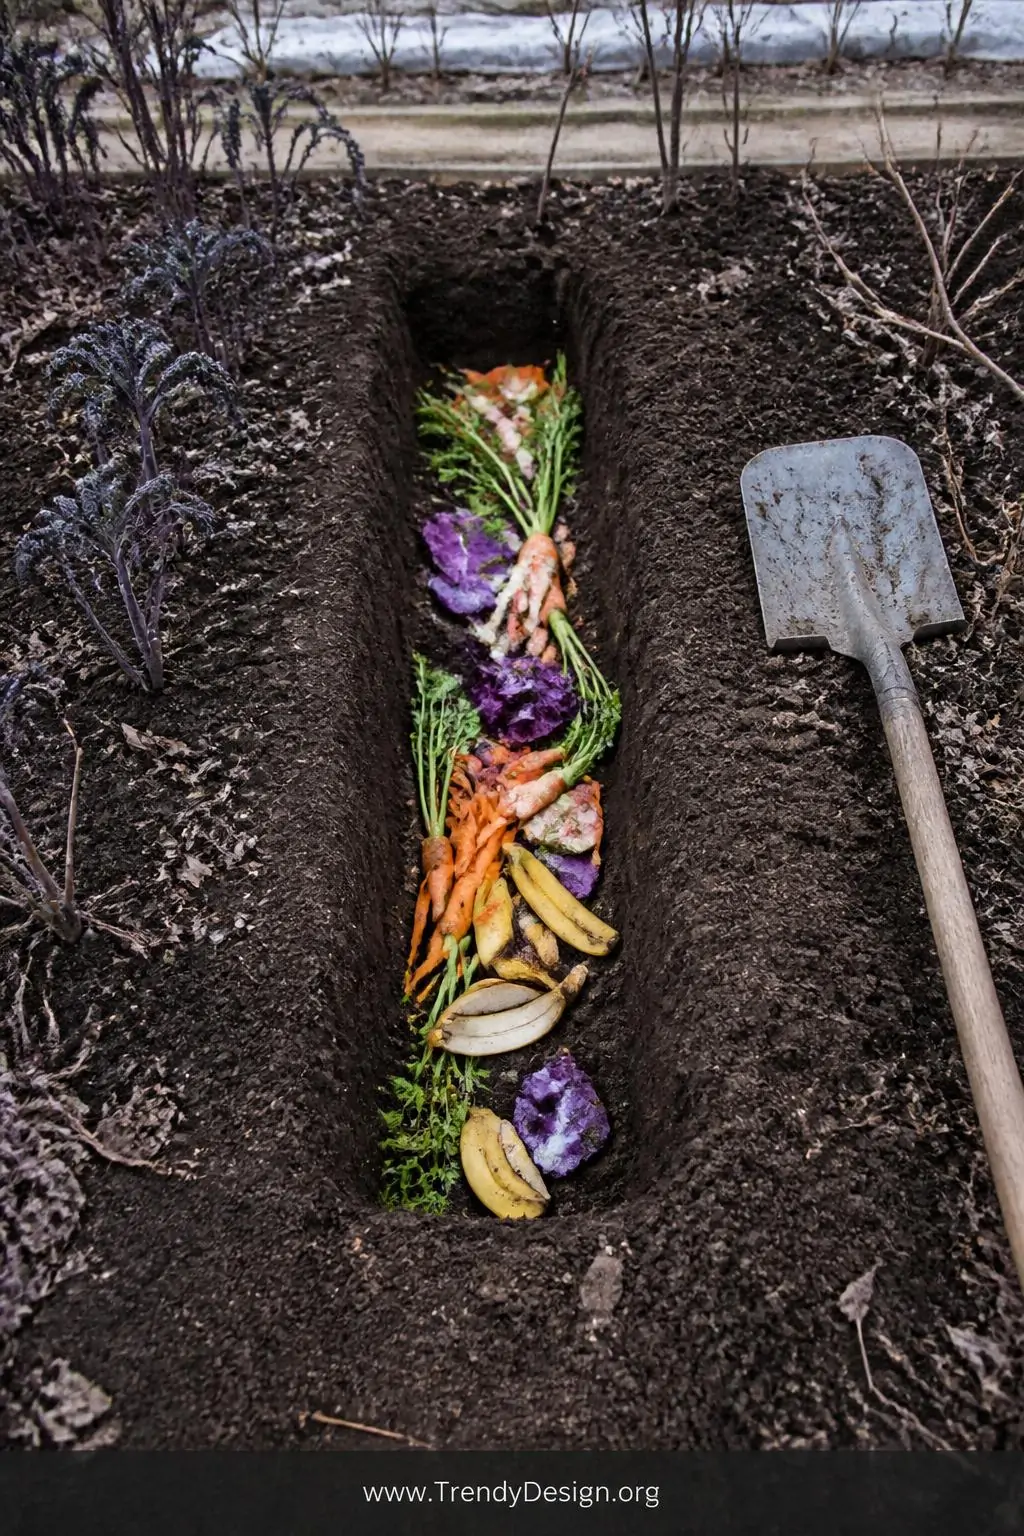
This method is almost embarrassingly simple, and it might just become your favorite. Trench composting involves digging a hole or trench about 12 inches deep in your garden bed, burying your kitchen scraps directly in it, and covering them back up with soil. That’s genuinely the whole process.
The scraps decompose underground over the next few months, enriching the soil right where your plants need it most. Rotate the trench location around your garden each season and you’ll gradually build incredibly fertile soil throughout your entire growing space. It’s so low-effort it almost feels like cheating.
- Great for vegetable gardens and flower beds
- No bin or equipment needed whatsoever
- Works perfectly during fall and winter when nothing is growing
7. Maintain the Perfect Green-to-Brown Ratio
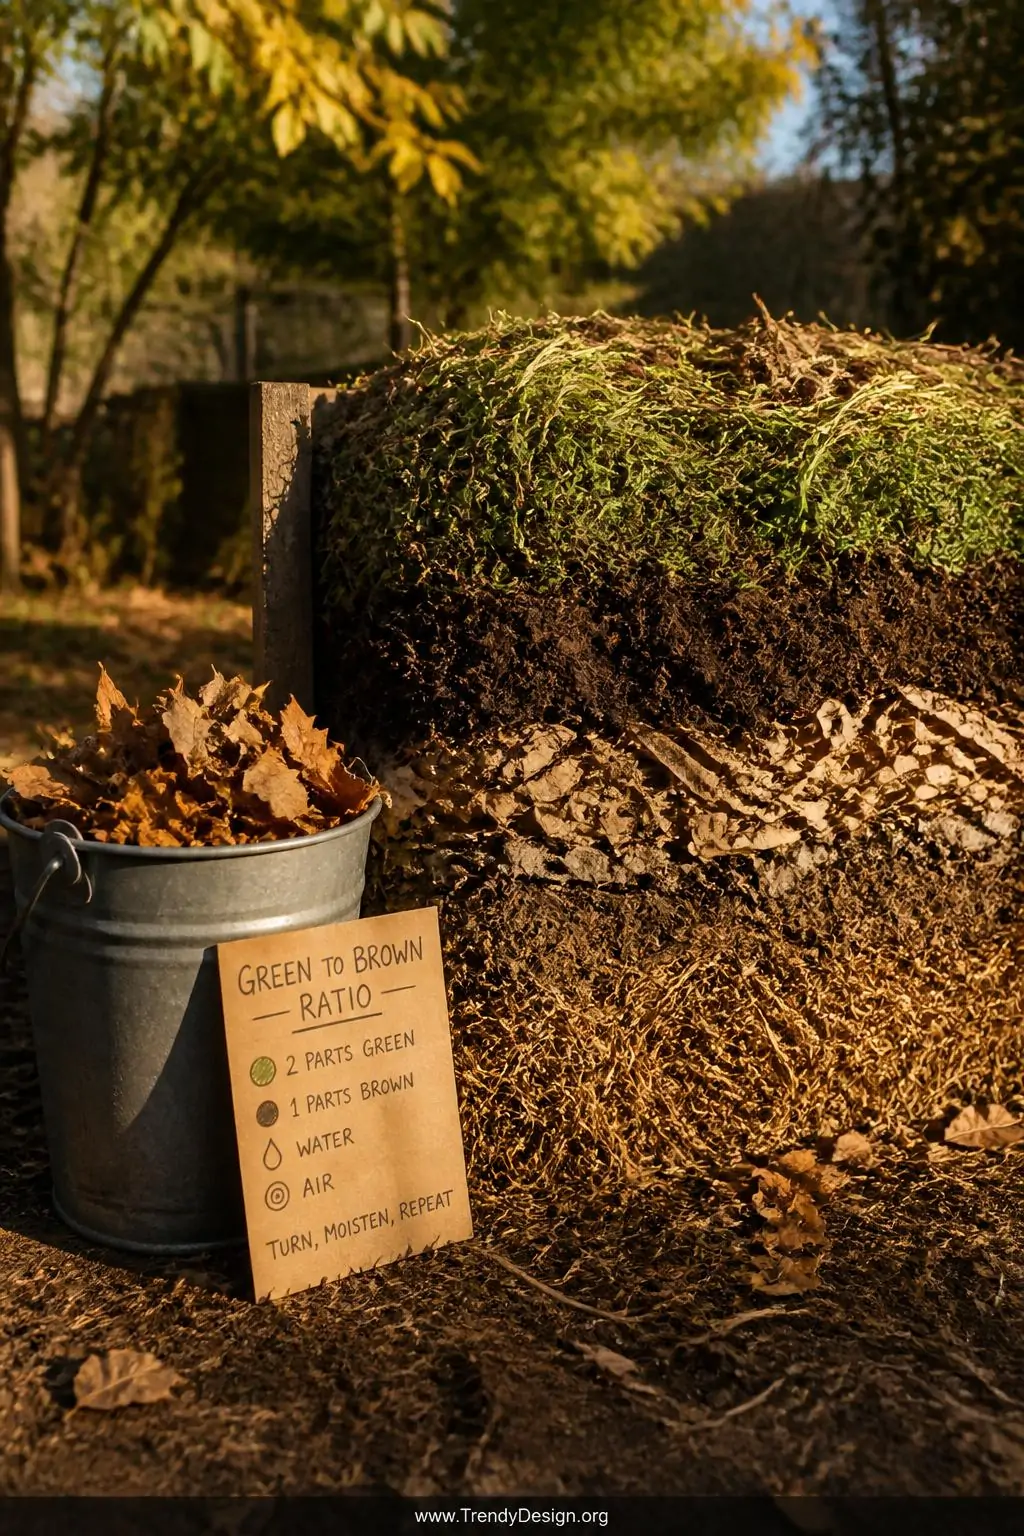
Here’s the secret ingredient that separates a thriving compost pile from a sad, smelly mess. Balancing green materials and brown materials is the single most important composting skill you’ll ever learn, and once it clicks, everything else falls into place naturally.
Greens are your nitrogen-rich, wet materials fruit scraps, vegetable peels, fresh grass clippings, and coffee grounds. Browns are your carbon-rich, dry materials cardboard, dry leaves, paper bags, and straw. The golden ratio is roughly one part greens to three parts browns by volume.
Too many greens and your pile gets slimy and smelly. Too many browns and decomposition slows to a crawl. FYI, when in doubt, add more browns it’s almost always the safer move, and a handful of dry leaves can rescue a struggling pile faster than anything else.
Quick Troubleshooting Guide
- Pile smells bad: Add more brown materials and turn it
- Pile isn’t breaking down: Add water and more green materials
- Pile attracts pests: Bury food scraps deeper and avoid meat or dairy
- Pile feels too dry: Lightly water it and cover with a tarp
Composting is one of those wonderfully rewarding habits that starts small and grows into something you genuinely look forward to. Whether you go full worm-bin enthusiast or stick with a simple backyard pile, these composting ideas for beginners give you everything you need to start turning yesterday’s scraps into tomorrow’s garden gold. Your soil and your plants will thank you endlessly for it. Now go save those banana peels!
Leave a Reply