There’s something magical about a wooden frame that makes any wall look like it belongs in a design magazine. Whether you’re a seasoned crafter or someone who just discovered what a miter saw is, DIY wooden frame ideas are honestly one of the most satisfying projects you can tackle on a weekend. They’re affordable, customizable, and they make your guests say “wait, you MADE that?” — which is basically the highest compliment in home decor.
The best part? You don’t need a woodworking degree or a fancy studio. A little wood, some basic tools, and a whole lot of enthusiasm will get you surprisingly far. Let’s dive into six creative ways to bring handmade wooden frames into your home.
1. The Classic Rustic Barn Wood Picture Frame
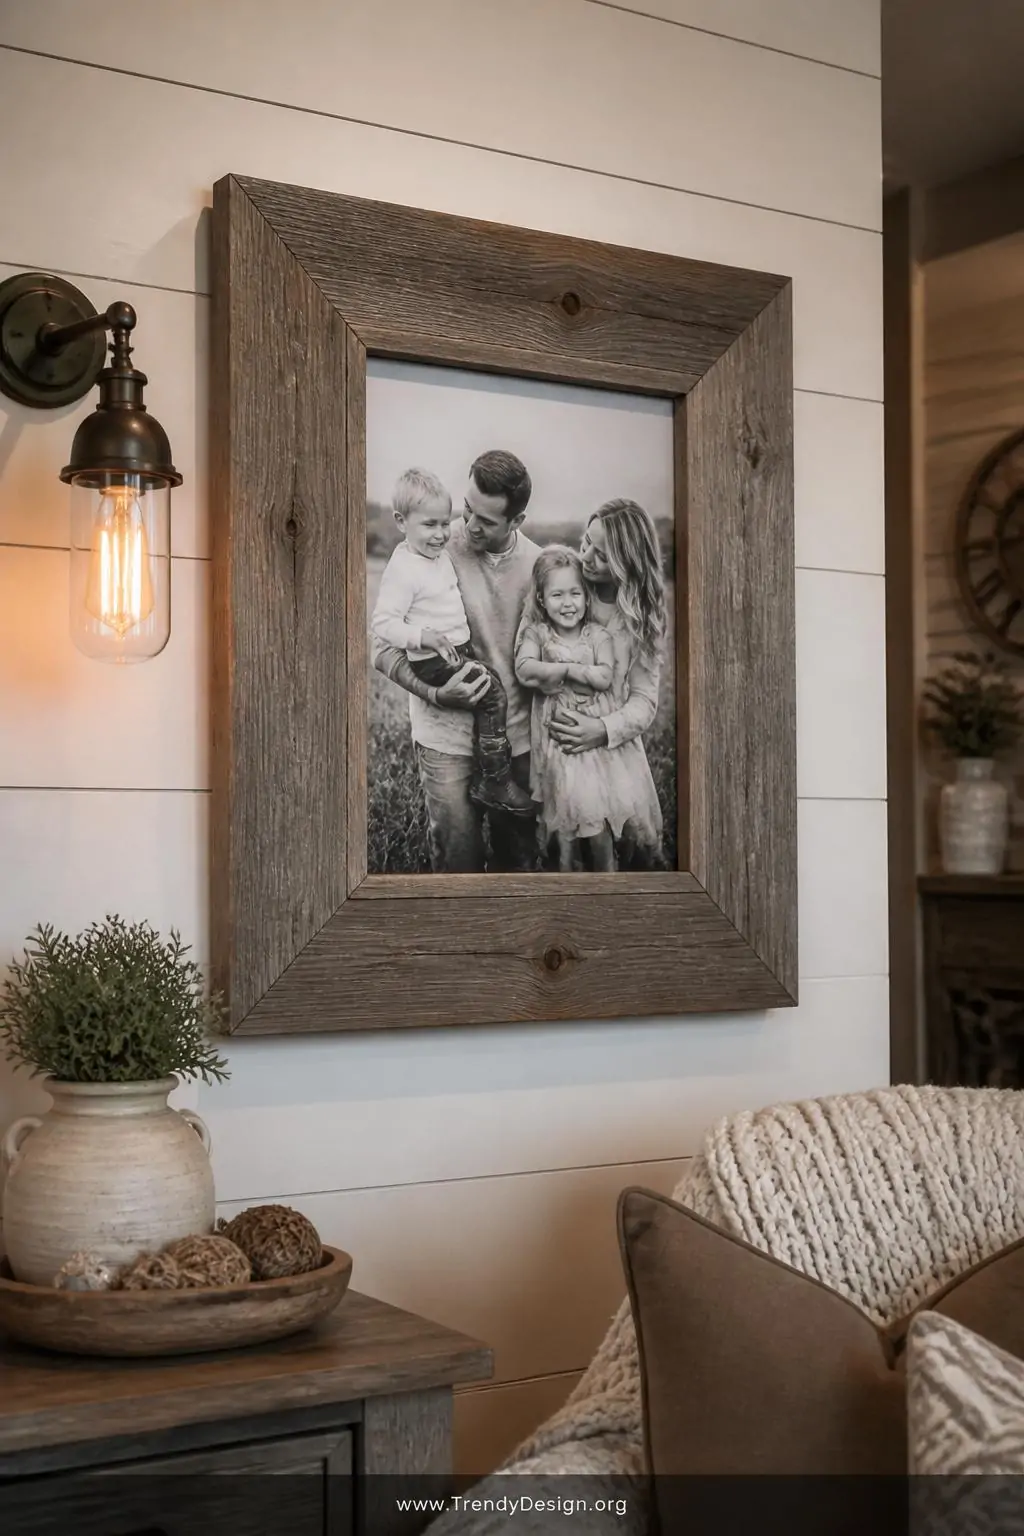
Nothing says “cozy farmhouse charm” quite like a picture frame made from reclaimed barn wood. Those weathered gray planks with their natural knots and rough texture add instant character to any photo or print. Barn wood frames are perfect for living rooms, hallways, or anywhere you want that warm, lived-in aesthetic.
To make one, you’ll need four pieces of reclaimed wood cut at 45-degree angles for clean mitered corners. Sand the edges lightly — you want to keep that rustic charm, not sand it into oblivion. A few nails, some wood glue, and a sawtooth hanger on the back, and you’re officially a frame-making genius.
- Look for reclaimed wood at salvage yards, old fences, or even pallets
- Use a dark wax or linseed oil to seal it without losing the natural texture
- Pairs beautifully with black-and-white family photos
2. The Minimalist Floating Shelf Frame Display

FYI, floating shelf frames are having a serious moment right now — and for good reason. This DIY wooden frame idea combines a slim wooden ledge with a built-in frame border, creating a display that looks intentional and gallery-worthy. It’s basically a shelf and a frame had a very stylish baby.
You build a shallow box frame from thin plywood or pine boards, mount it flush against the wall, and lean your art or photos inside rather than hanging them. The genius part is that you can swap out the artwork anytime without picking up a hammer. Your walls will thank you for the commitment-free relationship.
Materials You’ll Need
- 1×3 or 1×4 pine boards
- Wood glue and brad nails
- Sandpaper (120 and 220 grit)
- Paint or stain of your choice
- Wall anchors and screws for mounting
3. The Statement Oversized Floor-Leaning Frame
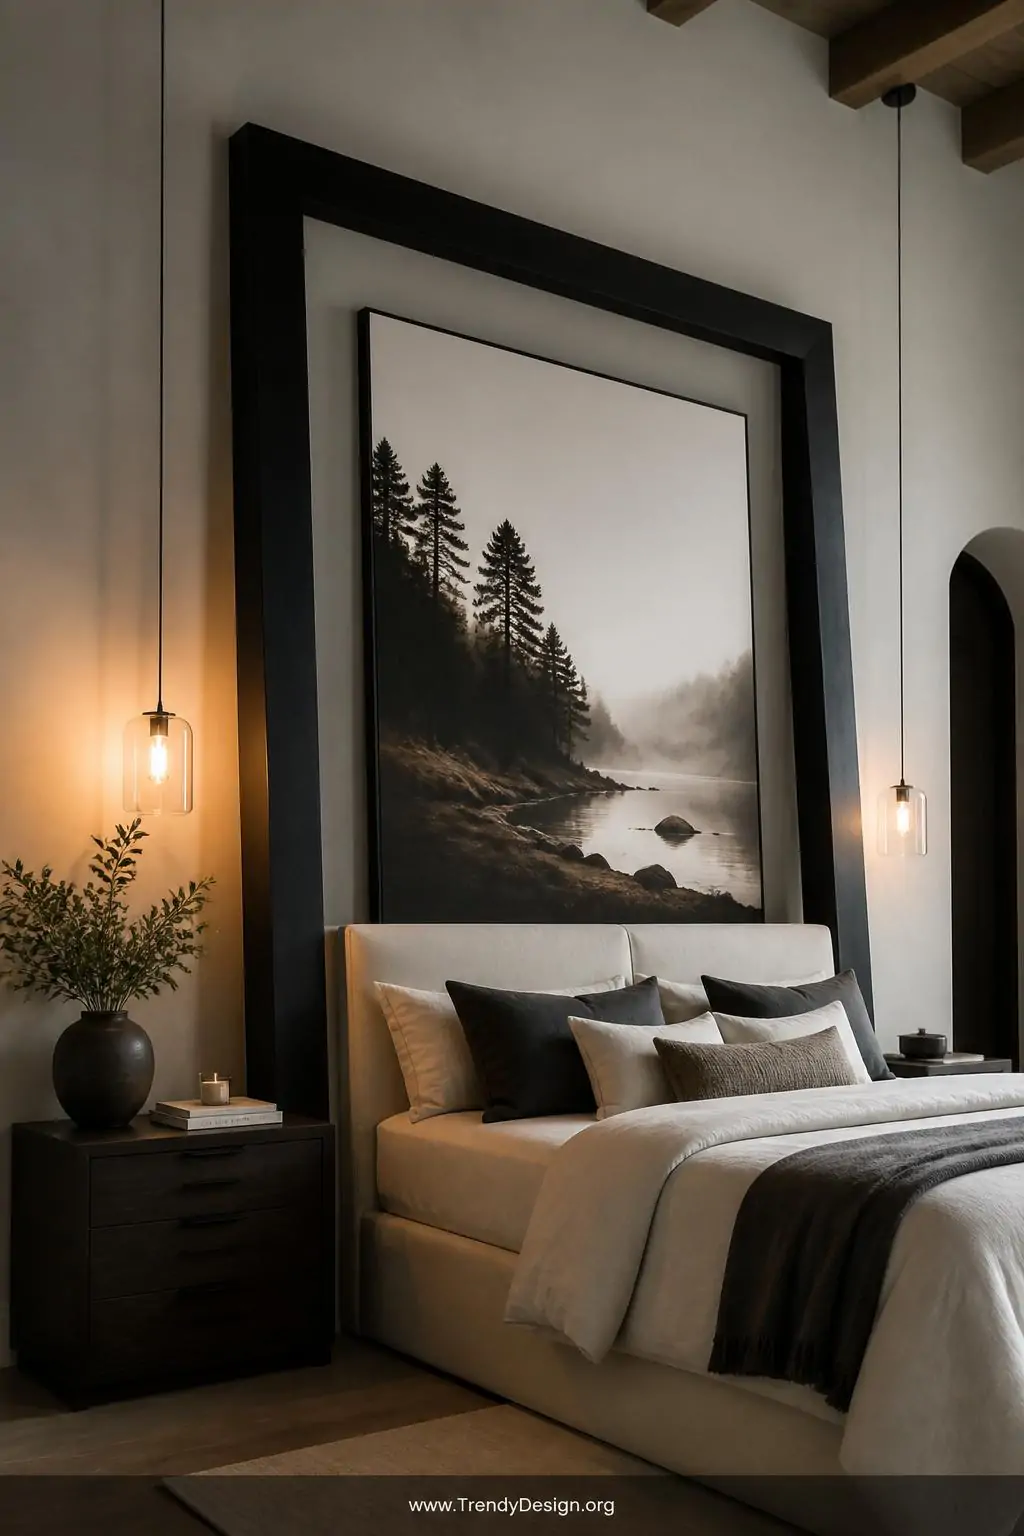
If you want to go big — and honestly, sometimes you really should — an oversized floor-leaning wooden frame is your answer. These dramatic frames are designed to rest against the wall rather than hang on it, and they make an incredible statement in bedrooms, entryways, or behind sofas. Think of it as a piece of art that also frames art. Very meta.
Build yours from 2×4 lumber for serious heft, or use 1×6 boards for a sleeker profile. The key is making it tall enough to feel grand — we’re talking at least four to five feet. Paint it matte black for a modern look, or go with a natural stain for something more organic and warm.
You can lean a large mirror inside it, a canvas print, or even a chalkboard panel. The oversized scale is what makes this project feel luxurious, even if the total material cost is under thirty dollars.
4. The Honeycomb Hexagonal Wooden Frame Cluster
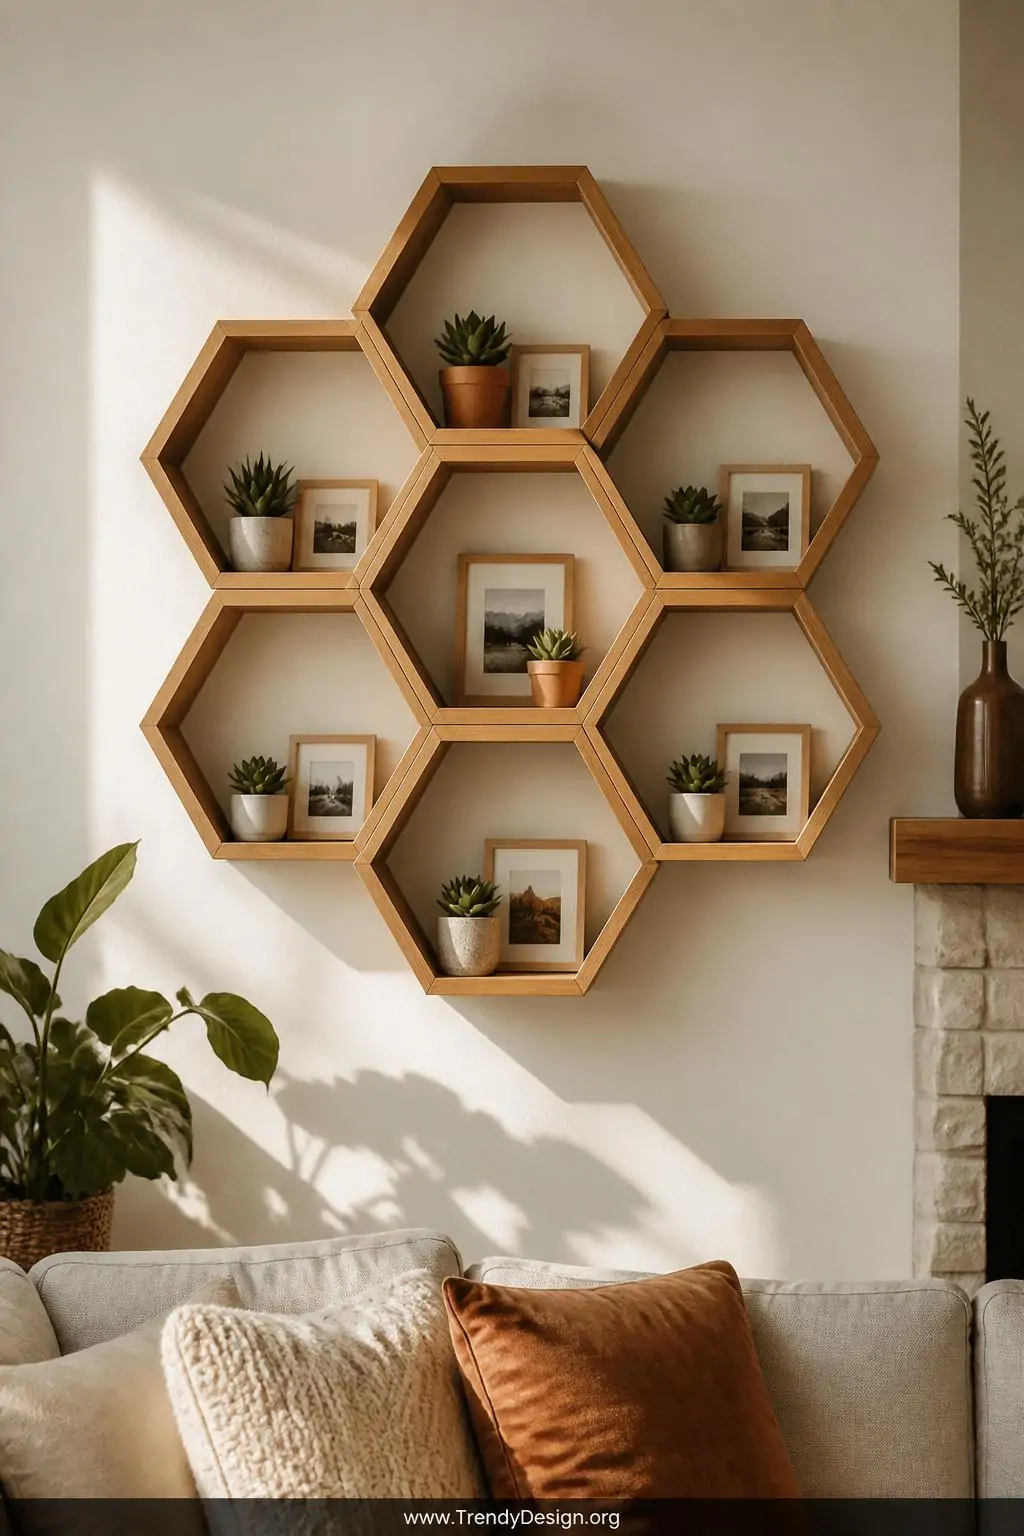
Ready to get a little geometric? A cluster of hexagonal wooden frames arranged in a honeycomb pattern on your wall is one of those DIY wooden frame ideas that looks incredibly complex but is actually quite doable. IMO, this is the project that gets the most “did you buy that?” reactions from visitors.
Each hexagon is made by cutting six equal pieces of thin wood at 30-degree angles and joining them together. You can display tiny succulents, small photos, or colorful fabric swatches inside each one. Arrange three, five, or seven of them together in a honeycomb cluster for maximum visual impact.
- Paint each hexagon a different shade for a gradient effect
- Keep them all natural wood for a cohesive, earthy look
- Use command strips for easy, wall-safe hanging
5. The Painted Ombre Thin-Strip Collage Frame

This one is all about layering thin wooden strips together to create a collage-style frame with serious personality. You start with a basic rectangular frame base, then glue strips of thin balsa wood or craft sticks across the surface in a horizontal pattern. The result is a textured, dimensional frame that looks like it came from an artisan market.
The real magic happens when you paint the whole thing in an ombre effect — starting with a deep navy or forest green at the bottom and fading up to a soft white or cream. Ombre painting on wood blends surprisingly well and gives your frame a watercolor-inspired finish that feels totally unique.
Quick Tips for Perfect Ombre Blending
- Work fast while the paint is still wet for seamless transitions
- Use a dry brush and circular motions in the middle blend zone
- Seal with a matte varnish to protect the finish long-term
6. The Bottom Line
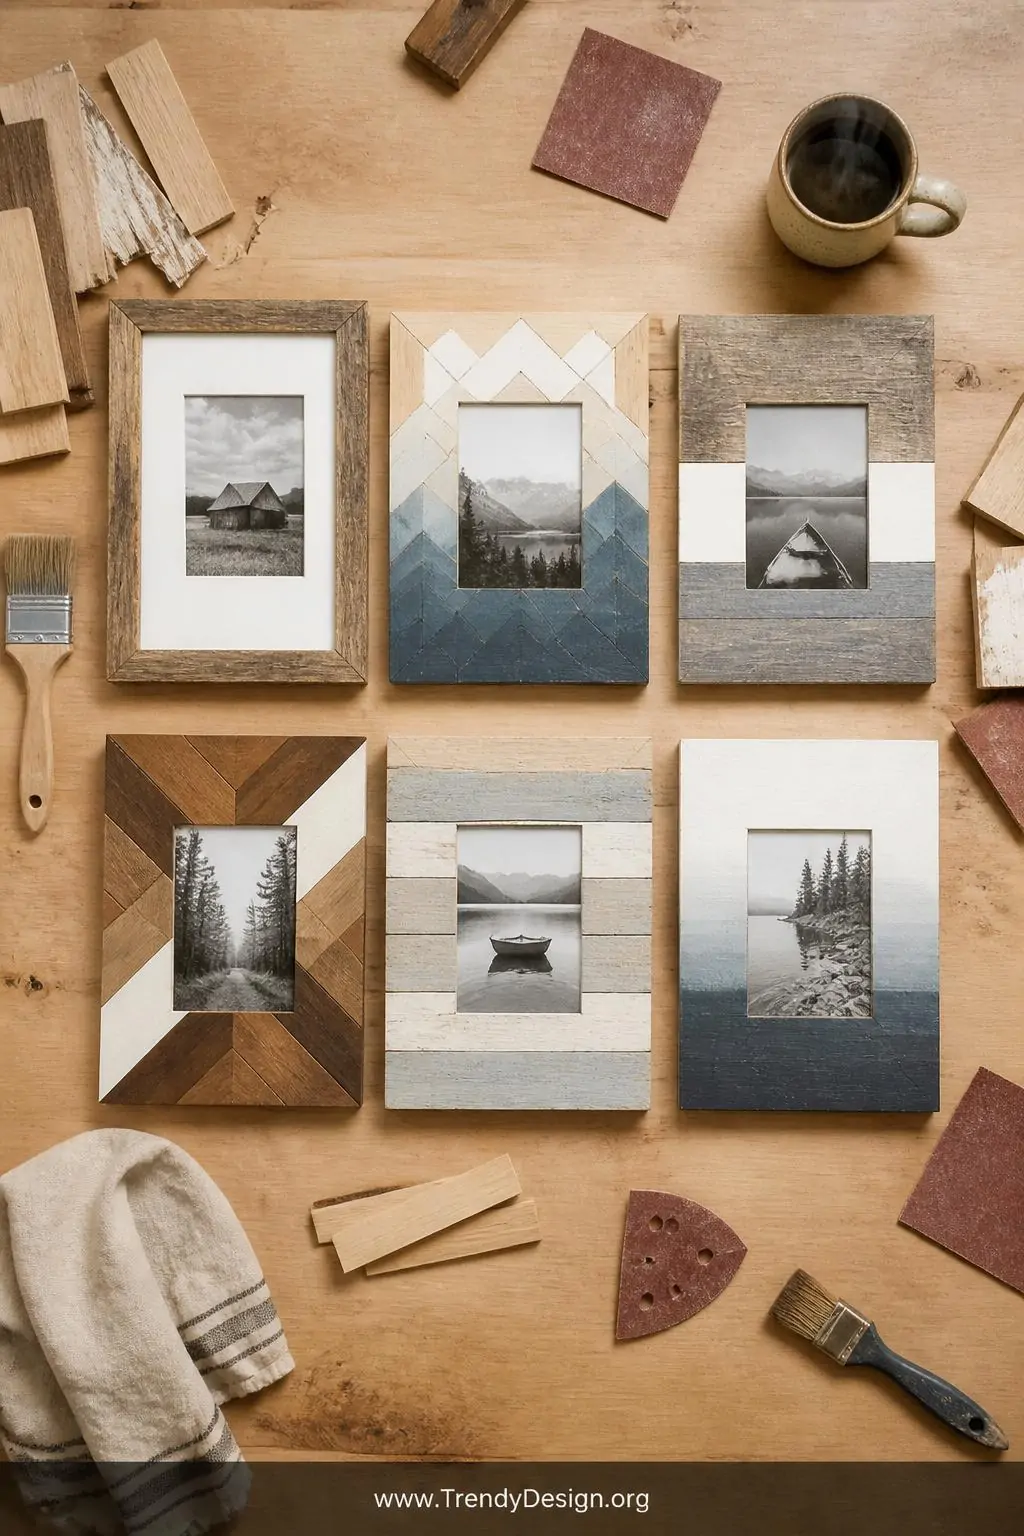
At the end of the day, DIY wooden frame ideas are one of the best ways to personalize your space without spending a fortune. From rustic barn wood to geometric honeycomb clusters, there’s a style here for every home and every skill level. The beauty of working with wood is that every imperfection adds character — so don’t stress the small stuff.
Pick one project that excites you and just start. Grab some wood, download a playlist, maybe pour yourself a coffee, and enjoy the process. Your walls are basically a blank canvas waiting for something handmade and heartfelt — and now you’ve got six brilliant ideas to fill them with.
Leave a Reply