Beachy vibes without the beachfront mortgage? Yes, please. Driftwood is the secret sauce for turning blank walls into breezy, coastal moments without blowing your budget. Ready to grab some salty, sun-bleached wood and make magic? Let’s dive into five projects that are easy, stylish, and totally guest-impressing.
1. Curated Driftwood Gallery Ledge
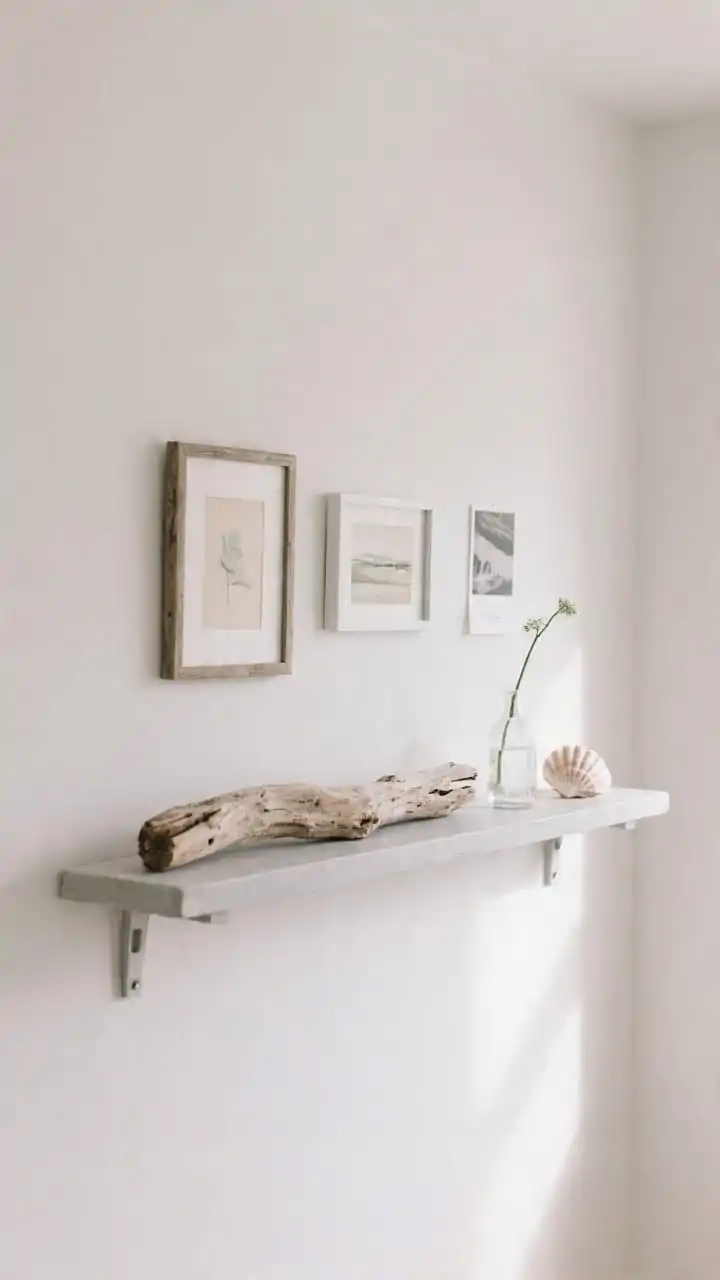
Think of this as the minimalist’s dream shelf. A single piece of flat driftwood becomes a floating ledge for art prints, postcards, or mini frames. It’s casual, coastal, and low-commitment perfect if you like to switch things up often.
Why It Works
- Texture + Negative Space: The rough wood against a smooth wall looks luxe.
- Super Versatile: Swap art by season, mood, or whenever you get bored.
How To Make It
- Pick a thick, relatively straight piece of driftwood at least 2–4 inches deep.
- Lightly sand any splinters. Optional: seal with a matte water-based polyurethane to keep the natural look.
- Use hidden floating shelf brackets or L-brackets underneath. Pre-drill holes to avoid cracking.
- Style with slim frames, a tiny bud vase, or a shell for extra coastal points.
Budget Tip: Thrift frames and swap in printable art. You’ll get a designer vibe for latte money.
2. Statement Driftwood Wall Hanging
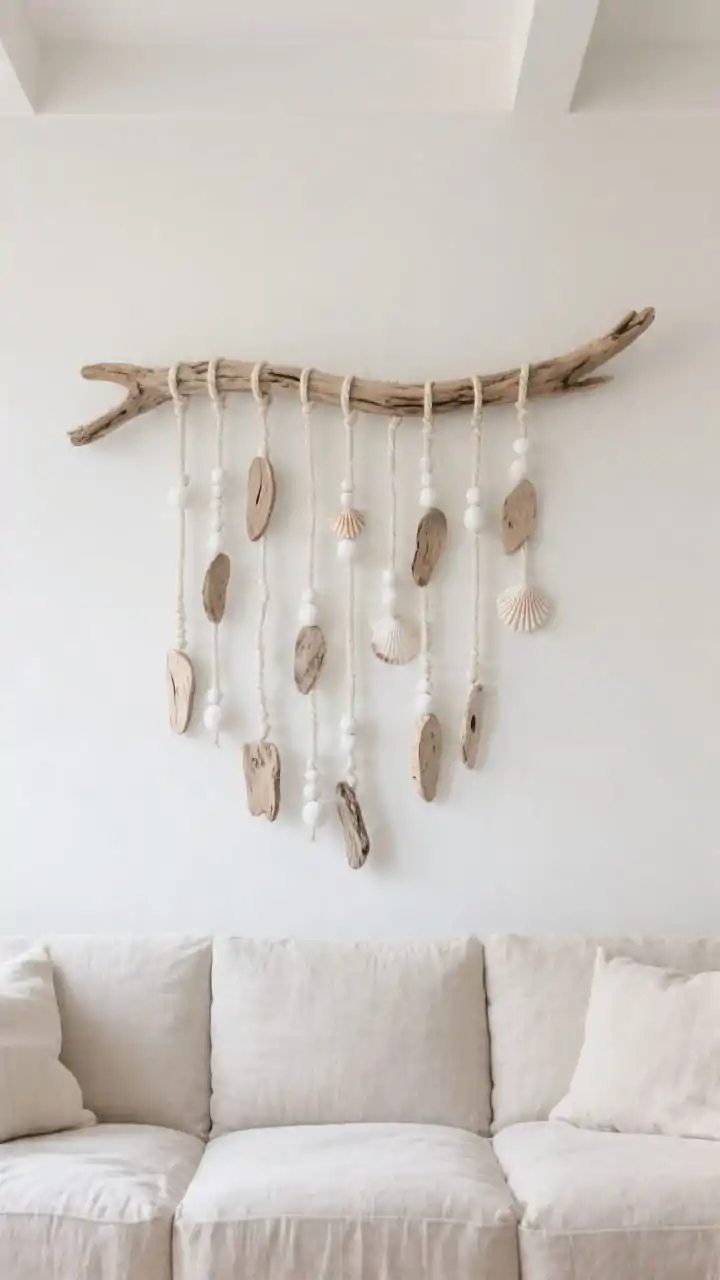
This is the “wow” piece. Picture a horizontal branch with strands of driftwood slices, shells, and bead accents cascading down. It’s breezy, boho, and steals the spotlight above a sofa or bed.
What You’ll Need
- One long, sculptural driftwood branch (about 24–40 inches)
- Twine or natural cotton cord
- Beads, shells, or sea glass (optional but cute)
- Small drill with a 1/8″ bit for threading
Steps
- Clean and sun-dry your wood. FYI: a quick scrub with a stiff brush is plenty.
- Drill small holes in thinner pieces you’ll hang vertically.
- Tie strands of cord at uneven lengths. Add beads or shells between wood pieces for rhythm.
- Finish with a simple hanging cord on either end. Center it with a level so it doesn’t look tipsy.
Style Move: Keep the palette neutral for a calm look, or add colored beads for a subtle pop. IMO, matte white beads + natural cord = chef’s kiss.
3. Coastal Mirror With Driftwood Sunburst
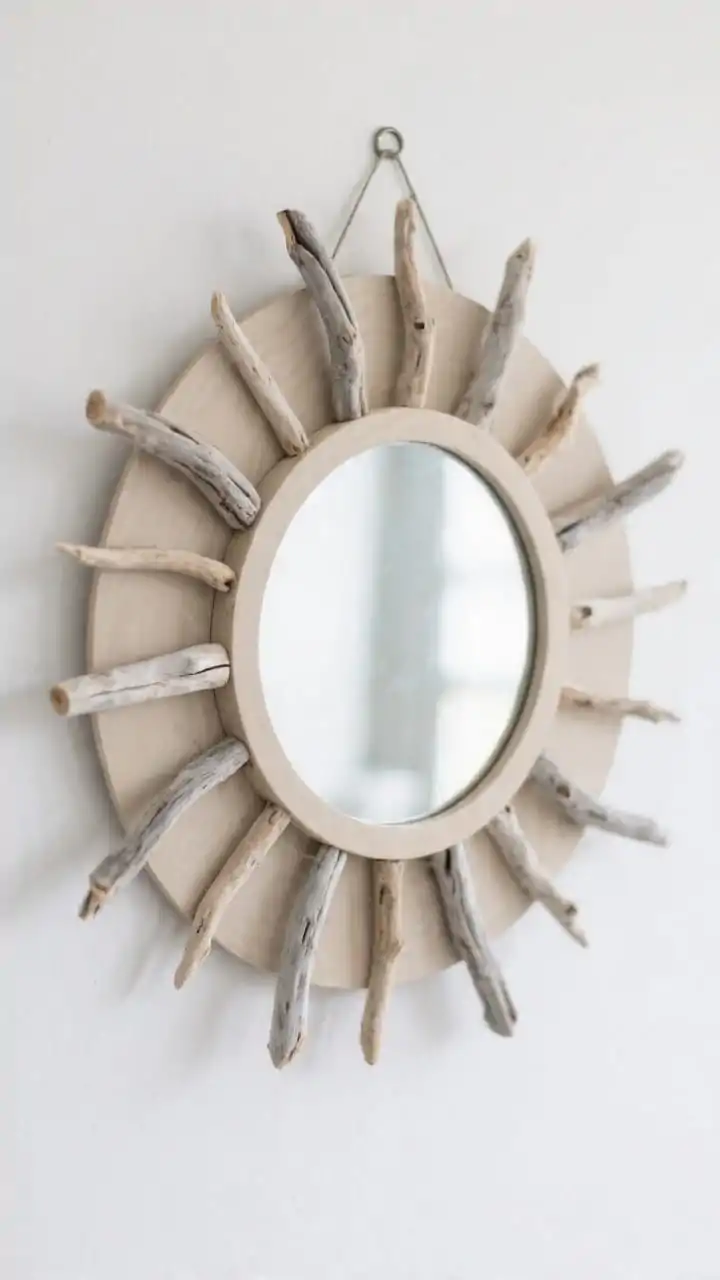
Mirrors make rooms feel bigger. A driftwood sunburst frame makes them feel designer. This project looks high-end but is shockingly easy to pull off.
Supplies
- Round mirror (12–18 inches works great)
- Assorted small driftwood sticks (similar lengths look polished)
- Strong adhesive (E6000 or hot glue with high-temp sticks)
- Cardboard circle or thin plywood backing (optional for stability)
Build It
- Place the mirror face-up on a protected surface.
- If using a backing, glue the mirror to the center of it first.
- Arrange driftwood in a circle like sunrays do a dry fit before gluing.
- Glue sticks in layers, alternating lengths for dimension.
- Attach a D-ring hanger to the back and let it cure fully.
Pro Tip: Keep the sticks pointing slightly outward for a crisp starburst. If your pieces are all different lengths (real life!), trim ends with pruning shears for a cleaner edge.
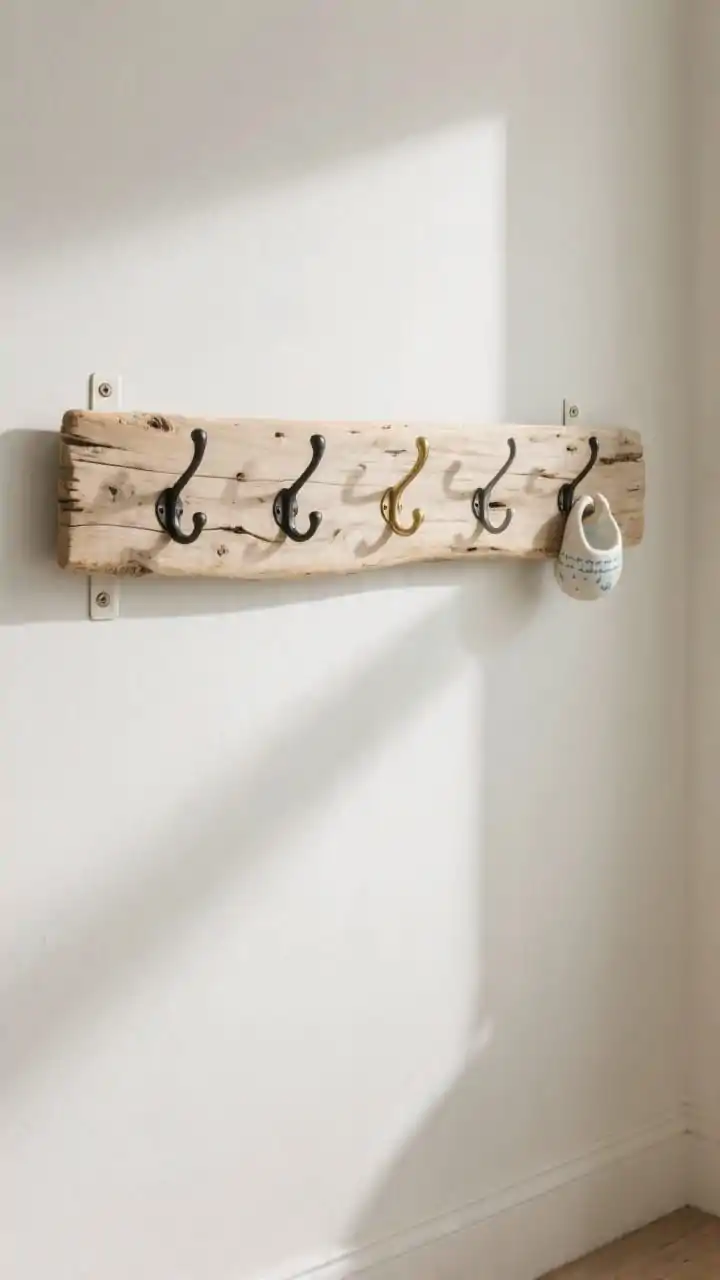
4. Minimal Driftwood Coat Rack (That Doubles As Art)
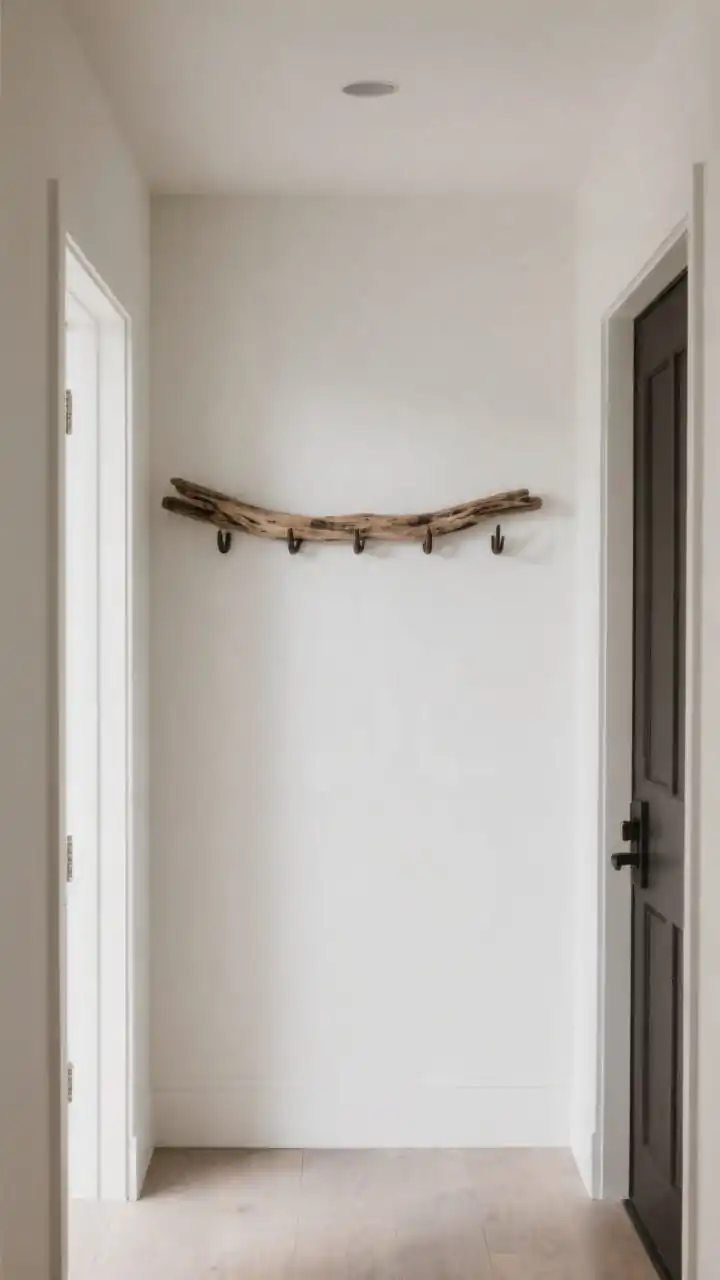
Function meets beach house. A driftwood coat rack gives you hooks without the ugly utility vibe. It’s perfect in an entry, bathroom, or kitchen for towels and bags.
What You’ll Need
- One sturdy, straight-ish driftwood plank (2–3 feet)
- Decorative hooks (black iron, brass, or ceramic)
- Screws + anchors, drill, and level
- Clear matte sealant (optional)
How To
- Sand the back so it sits flush on the wall; seal if you want protection.
- Mark hook spacing aim for even gaps so it looks intentional.
- Pre-drill holes in the wood and attach hooks.
- Mount with two screw points into studs or use heavy-duty wall anchors.
Design Tips:
- Use mixed metal hooks for personality, or match finishes for a calm look.
- Mount at a height that works for everyday use roughly 60–66 inches from the floor.
Bonus: Add a tiny brass label holder above each hook if you’re feeling extra organized.
5. Floating Driftwood Frame For Botanicals
This one is airy and modern. Create a floating frame using slim driftwood pieces and showcase pressed leaves, feathers, or a favorite print. It’s like a window into your beachy soul.
You’ll Need
- Four slim driftwood sticks (two equal-length pairs)
- Clear acrylic sheets or glass from an old frame
- Fishing line or invisible thread
- Small eye screws or copper wire for joints
- Pressed botanicals, postcards, or photos
Assembly
- Cut acrylic to size (hardware stores will do this cheap). Clean well.
- Create a rectangle with your driftwood. Join corners with copper wire wraps or tiny screws for a rustic-chic look.
- Sandwich botanicals between acrylic sheets; secure the sheets to the wood with clear clips or tiny screws/washers.
- Hang with fishing line for that floating, barely-there effect.
Style It: One oversized fern frond looks gallery-worthy. Or go vintage with layered postcards. FYI, a pale wall makes the details pop.
Quick Driftwood Sourcing + Care
- Where To Find: Beaches (check local rules), lake shores, riverbanks, or salvage yards.
- Clean It: Brush off sand and debris. If needed, soak briefly in a 1:10 bleach-water solution, rinse, and sun-dry thoroughly.
- Seal Or Not? Seal for bathrooms or kitchens; skip for a raw, matte finish elsewhere.
Final Thought: You don’t need a coastal address to pull off coastal style. Start with one piece, keep the palette calm, and let the organic shapes do the talking. Your walls are about to look like vacation minus the sunburn.
Leave a Reply