That ugly scratch, water stain, or chip in your table doesn’t have to ruin your whole vibe. Before you drag it to the curb or blow your budget on a replacement, let’s talk about some seriously clever ways to cover a damaged table top and make it look intentional. Yes, intentional.
These ideas range from quick five-minute fixes to weekend DIY projects and honestly, some of them will make your table look better than it ever did before the damage happened.
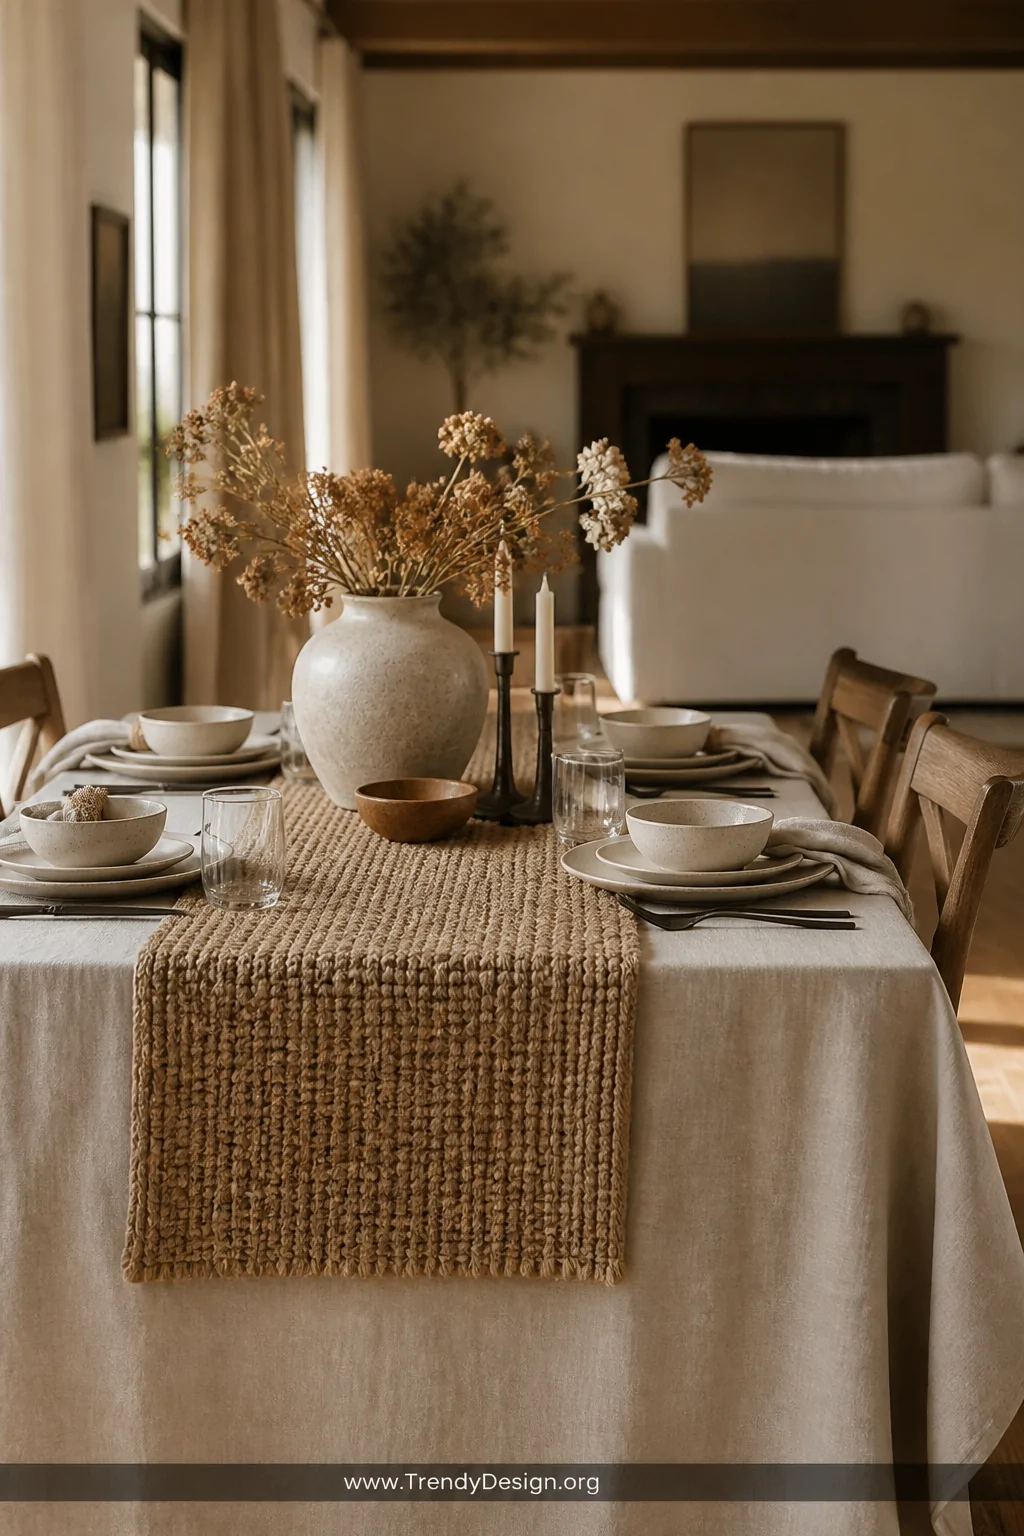
1. Layer a Gorgeous Tablecloth or Table Runner
As an Amazon Associate I earn from qualifying purchases.
The simplest, most underrated fix in the book. A well-chosen tablecloth or layered table runner can completely transform a damaged table top into a styled centerpiece. We’re talking zero tools, zero skill, just good taste.
Go for textured fabrics like linen, jute, or velvet to add depth. Mix a longer tablecloth underneath with a shorter runner on top for that editorial, “I definitely did this on purpose” look.
- Choose a fabric that complements your existing color palette
- Layer two different textures for a high-end feel
- Use tablecloth clips underneath to keep things from sliding
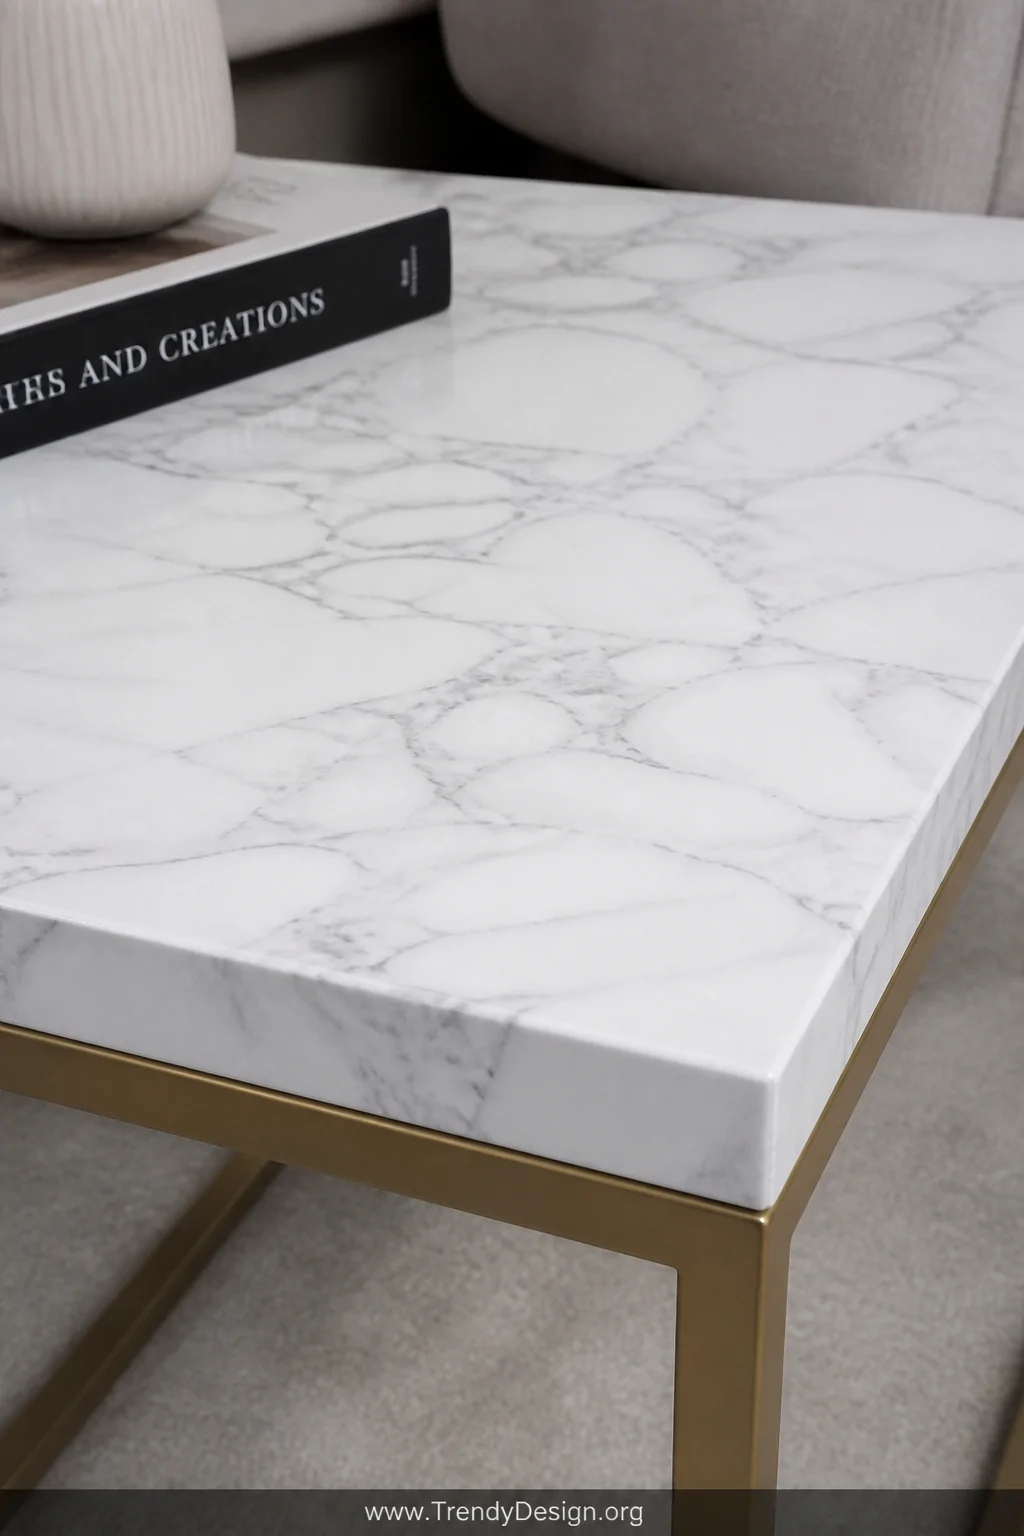
2. Apply Peel-and-Stick Contact Paper
As an Amazon Associate I earn from qualifying purchases.
Contact paper has had a serious glow-up. What used to scream “college dorm” now comes in marble, wood grain, concrete, and even terrazzo prints that look shockingly real. It’s one of the most budget-friendly ways to cover a damaged table surface fast.
Clean your table thoroughly, measure carefully, and take your time smoothing out bubbles with a credit card as you go. The result? A surface that looks totally custom without spending a single dollar on a contractor.
- Marble and herringbone patterns are trending right now
- Use a heat gun to help it conform around edges
- It peels off cleanly when you’re ready for a change
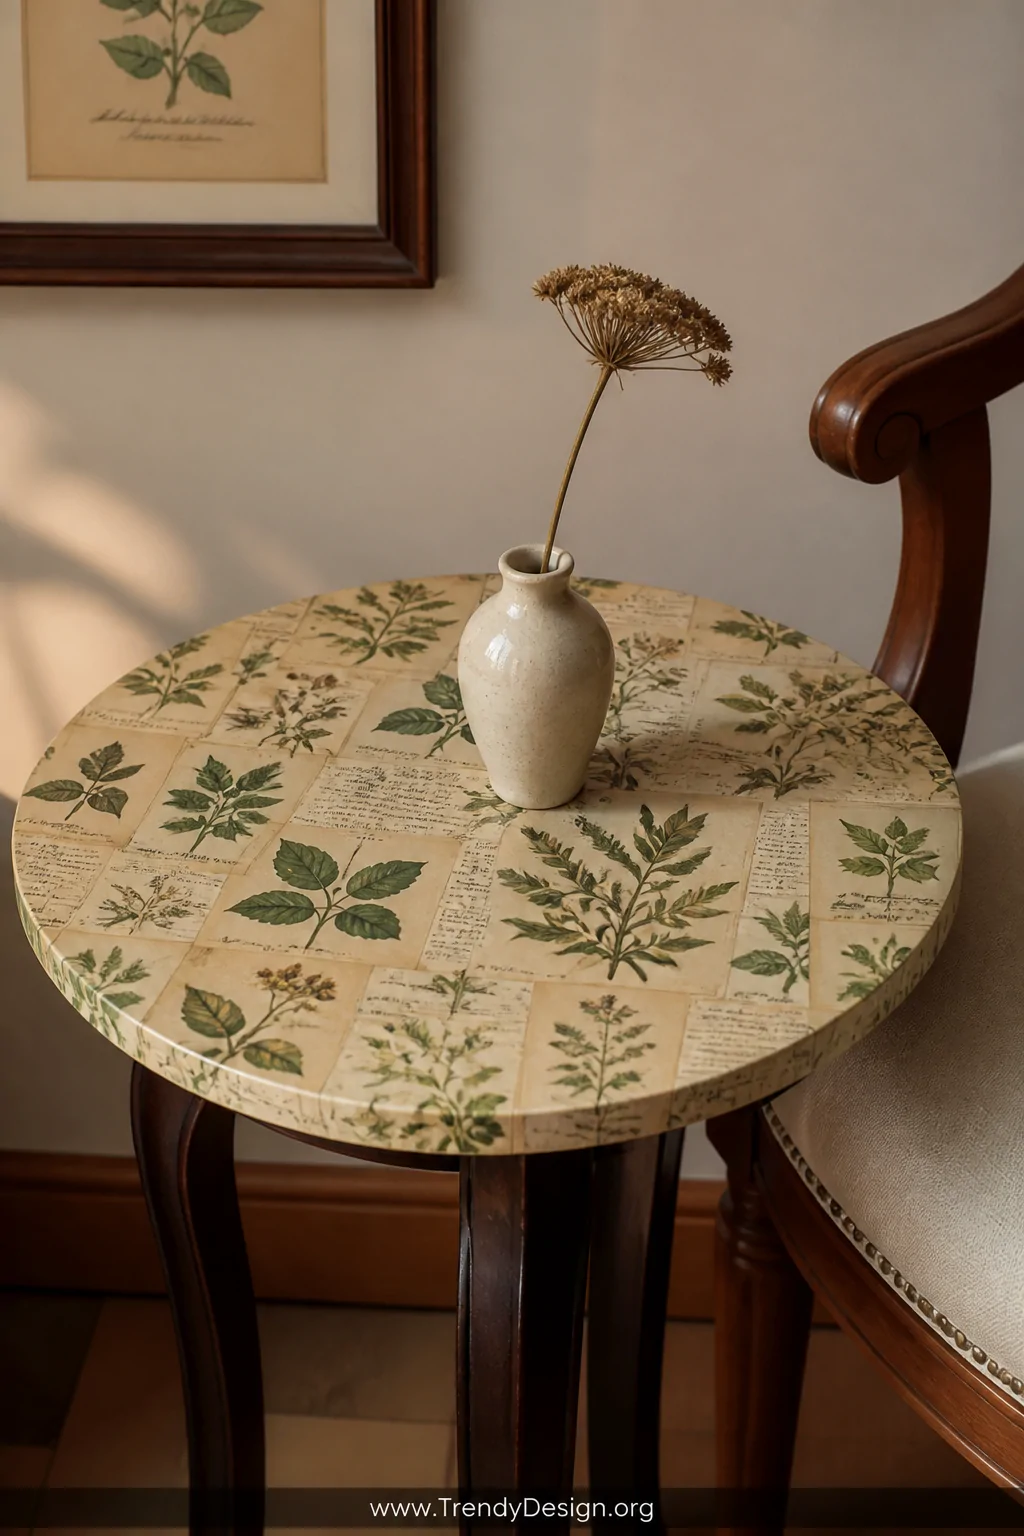
3. Try Decoupage With Fabric or Paper
As an Amazon Associate I earn from qualifying purchases.
Decoupage sounds intimidating but it’s basically just gluing pretty things to a surface and sealing it. You can use scrapbook paper, pages from vintage books, sheet music, or even fabric swatches to create something that looks like actual art.
Mod Podge is your best friend here. Apply a base coat, lay your paper or fabric pieces down, smooth them out, and seal with several top coats. Once it’s dry, you’ve got a conversation-starting table that nobody will ever guess is hiding damage underneath.
Best Materials for Decoupage Tables
- Vintage map pages for a travel-inspired look
- Botanical prints for a fresh, nature-forward style
- Black and white newsprint for an industrial edge
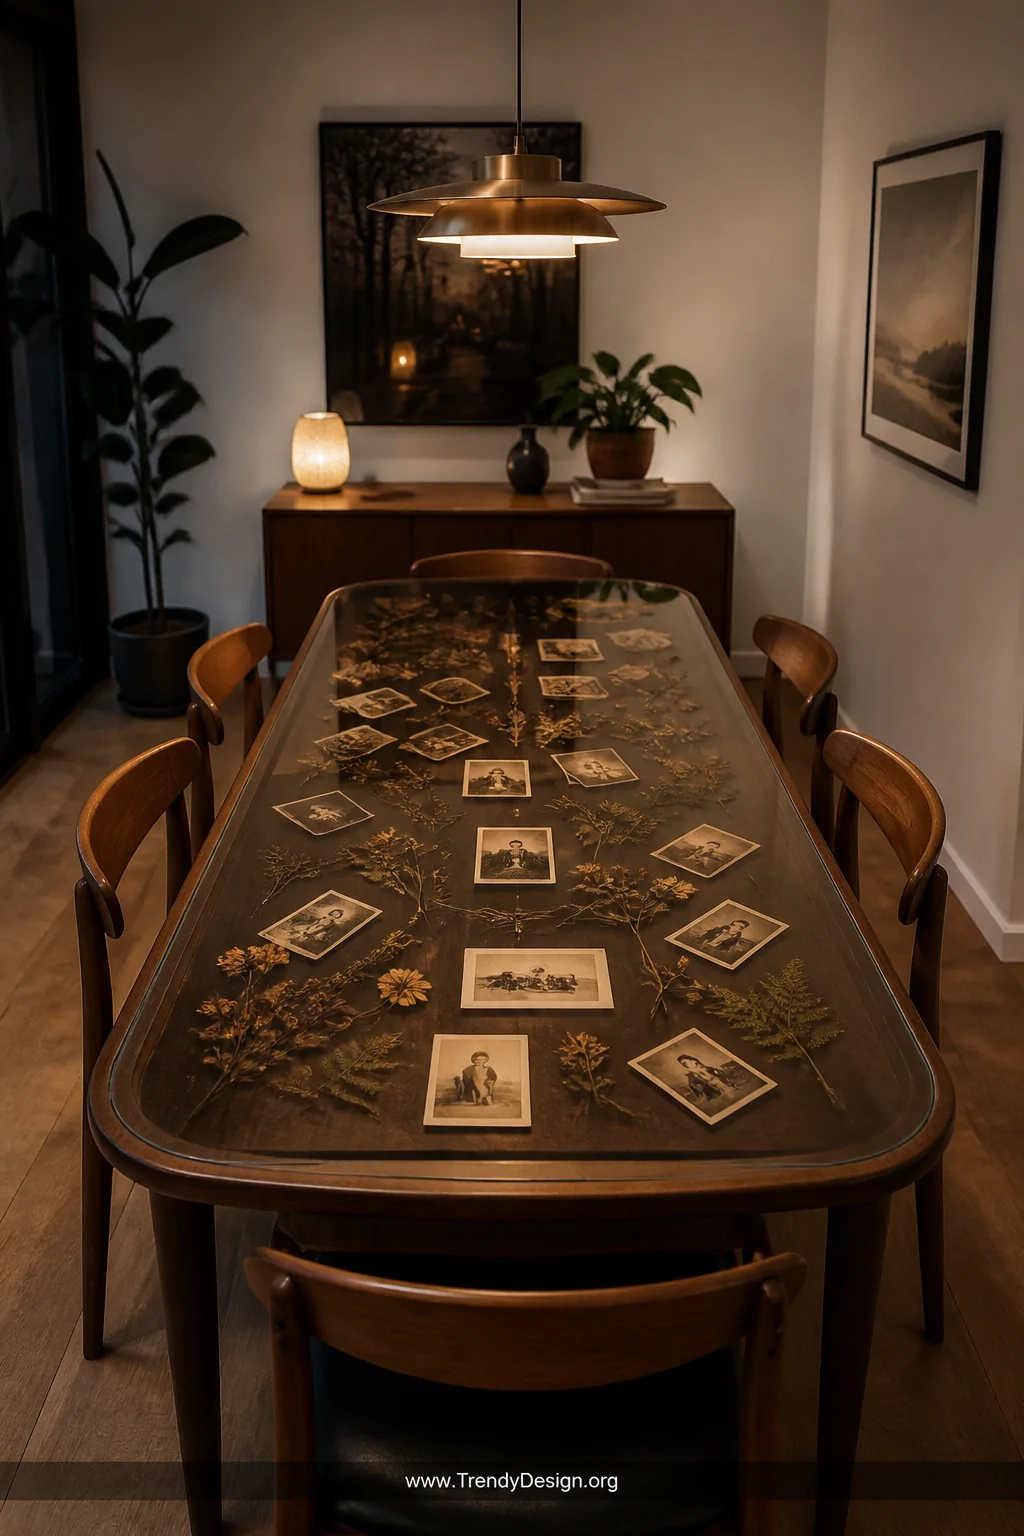
4. Place a Custom-Cut Glass Top Over It
As an Amazon Associate I earn from qualifying purchases.
This one feels fancy, but it’s more affordable than you’d think. A custom glass table top sits right over your damaged surface and protects everything underneath while giving the whole piece a sleek, polished finish. Most glass shops will cut to size for a reasonable fee.
You can even use this as a display opportunity place photos, pressed flowers, or flat decorative objects underneath the glass for a layered, gallery-style effect. FYI, tempered glass is always the safer choice, especially in homes with kids or pets.
- Request polished edges for a clean, professional look
- Use clear rubber bumpers to keep the glass from sliding
- Choose smoked or tinted glass for a moodier aesthetic
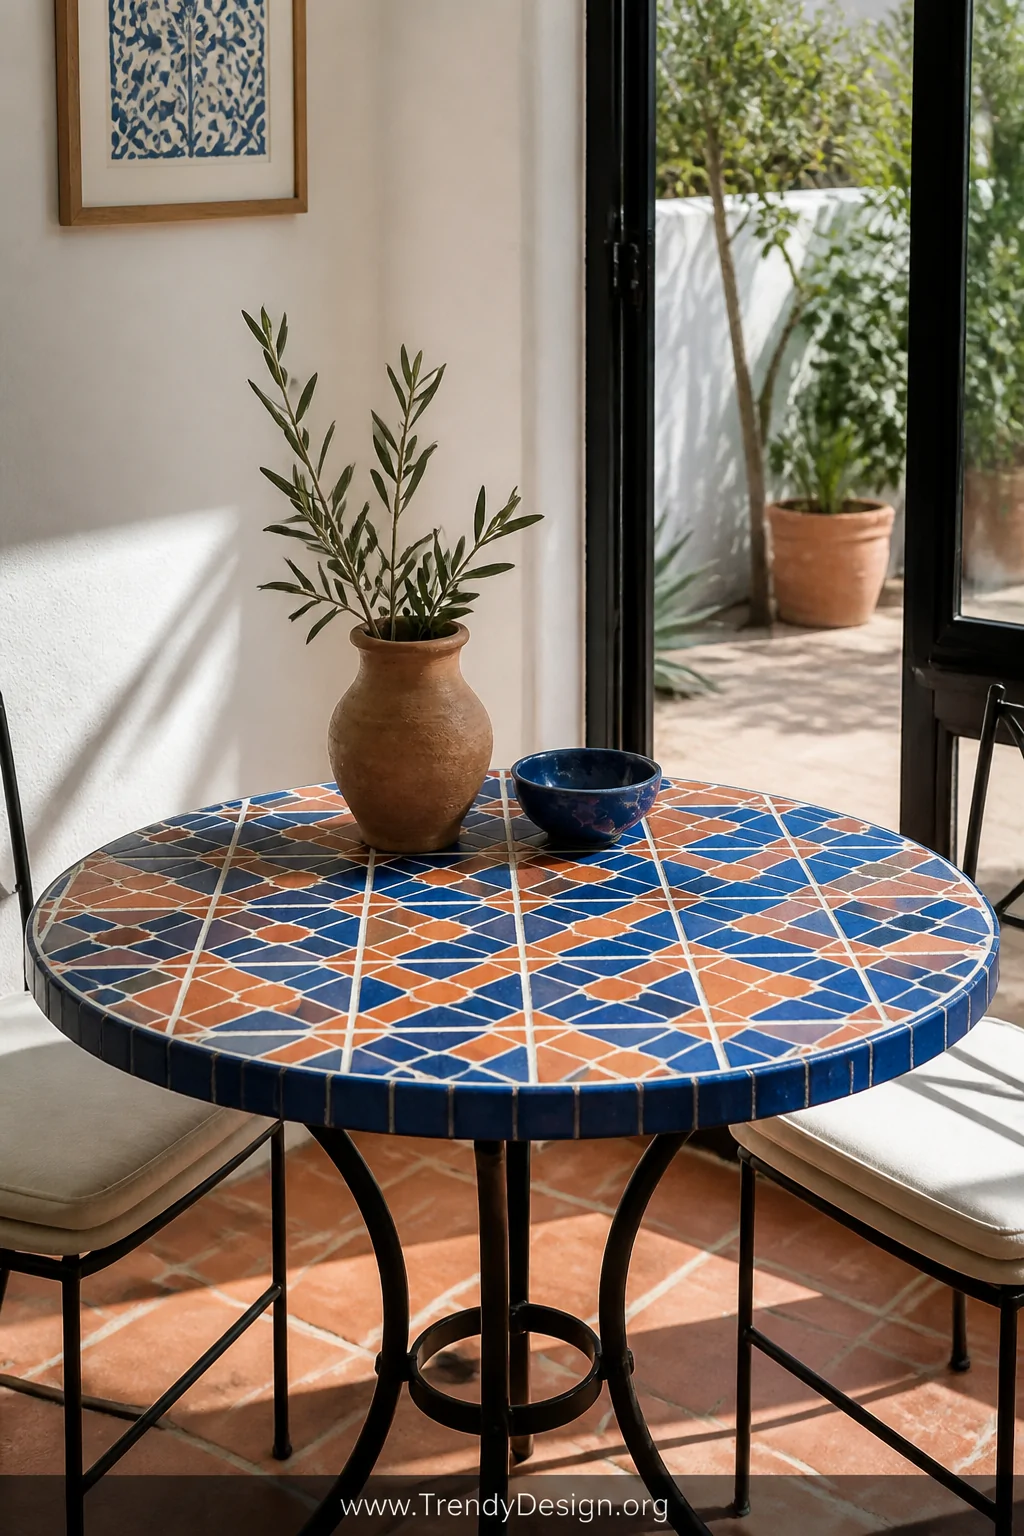
5. Use Tile or Mosaic to Resurface It
As an Amazon Associate I earn from qualifying purchases.
If you’re up for a weekend project that pays off massively, tiling over a damaged table top is one of the most stunning options available. Think Mediterranean-style ceramic tiles, bold geometric patterns, or a classic black-and-white checkerboard. The result is basically a piece of furniture art.
You don’t need to be a professional basic tile adhesive, grout, and a tile cutter (or pre-cut tiles) are all you need. Start from the center and work outward for the most balanced layout. Seal the grout when you’re done, and that table will outlive you.
- Penny tiles are perfect for smaller tables
- Subway tiles create a clean, timeless look
- Broken tile mosaic gives a bohemian, one-of-a-kind finish
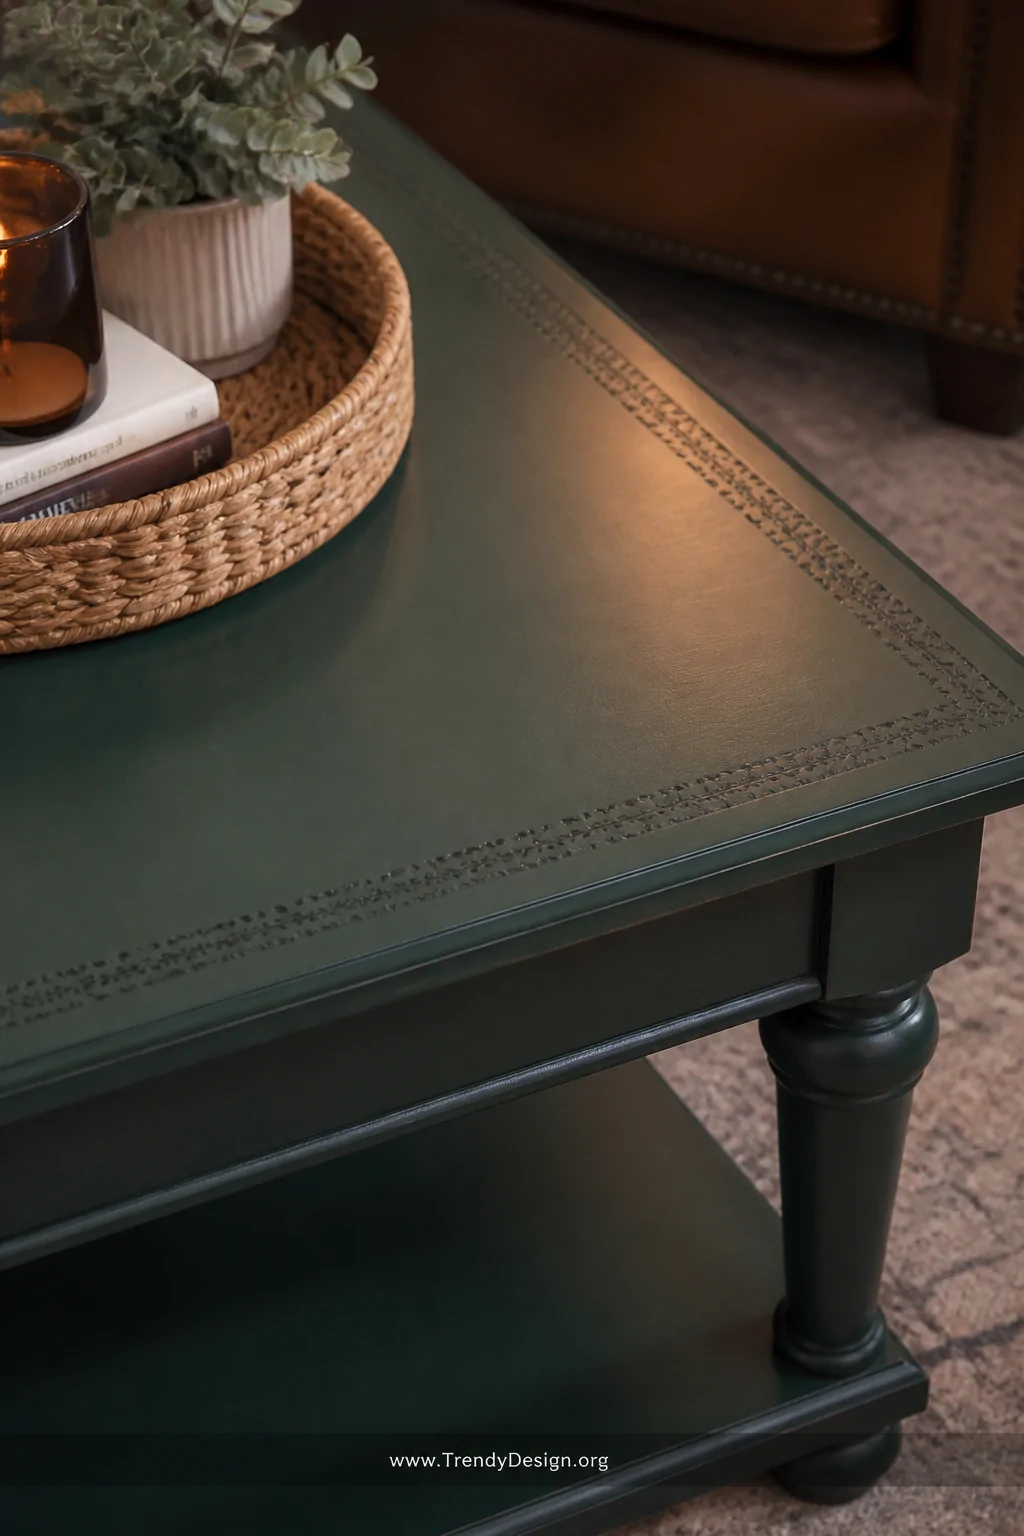
6. Paint It With Chalk Paint or Milk Paint
As an Amazon Associate I earn from qualifying purchases.
Sometimes the most powerful tool is just a can of paint. Chalk paint and milk paint are specifically designed for furniture, adhere beautifully without heavy prep work, and dry to a gorgeous matte finish that hides a multitude of sins scratches, stains, and uneven surfaces included.
You can go classic with a solid color, try a two-tone effect, or get adventurous with a stenciled pattern on top. Seal with a clear wax or water-based topcoat and you’ll have a surface that’s both beautiful and actually durable enough for everyday use.
Color Ideas That Always Work
- Warm white or cream for a French country feel
- Deep forest green for a bold, moody statement
- Terracotta for a warm, earthy, on-trend vibe
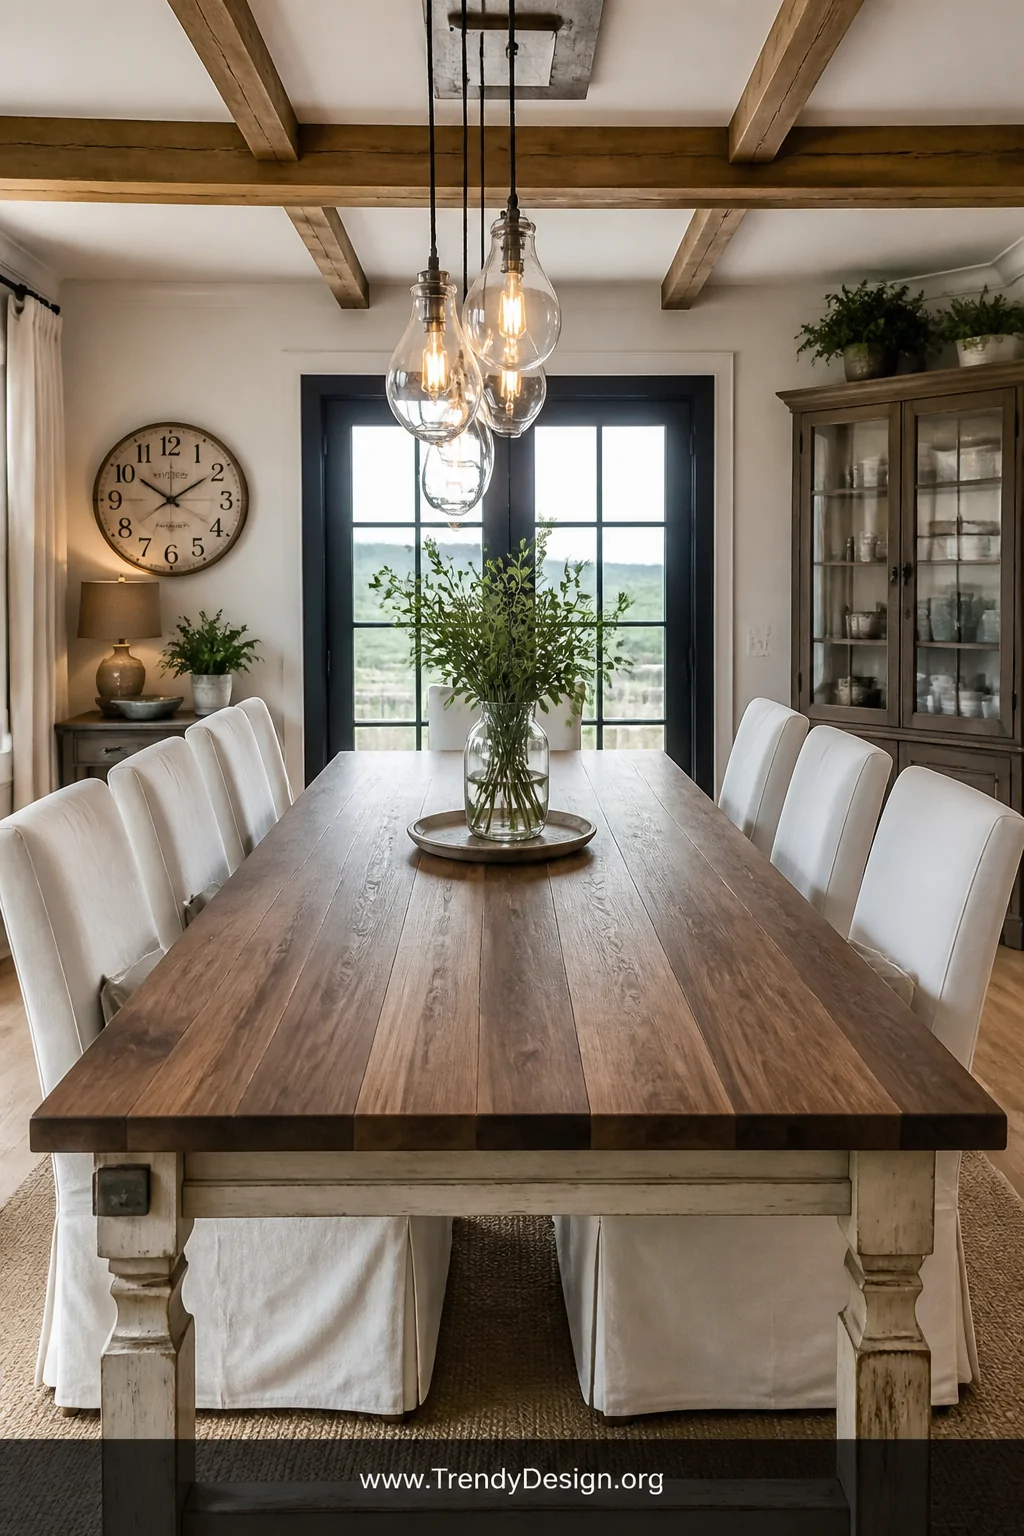
7. Add a Wooden Butcher Block or Plank Top
As an Amazon Associate I earn from qualifying purchases.
Laying a butcher block or wooden planks directly over your existing table top is like giving it a full face transplant. It’s one of the most dramatic ways to cover table top damage, and the result looks like a designer piece straight out of a home renovation show.
You can purchase pre-made butcher block panels at most hardware stores and simply cut them to size. Secure with wood glue or countersink screws from underneath. Sand lightly, apply food-safe oil if it’ll be near meals, and stand back to admire your work. IMO, this is the most satisfying DIY on this entire list.
- Walnut and maple are the most popular and beautiful options
- Mix different wood tones for a reclaimed, rustic look
- Always sand in the direction of the grain for a smooth finish
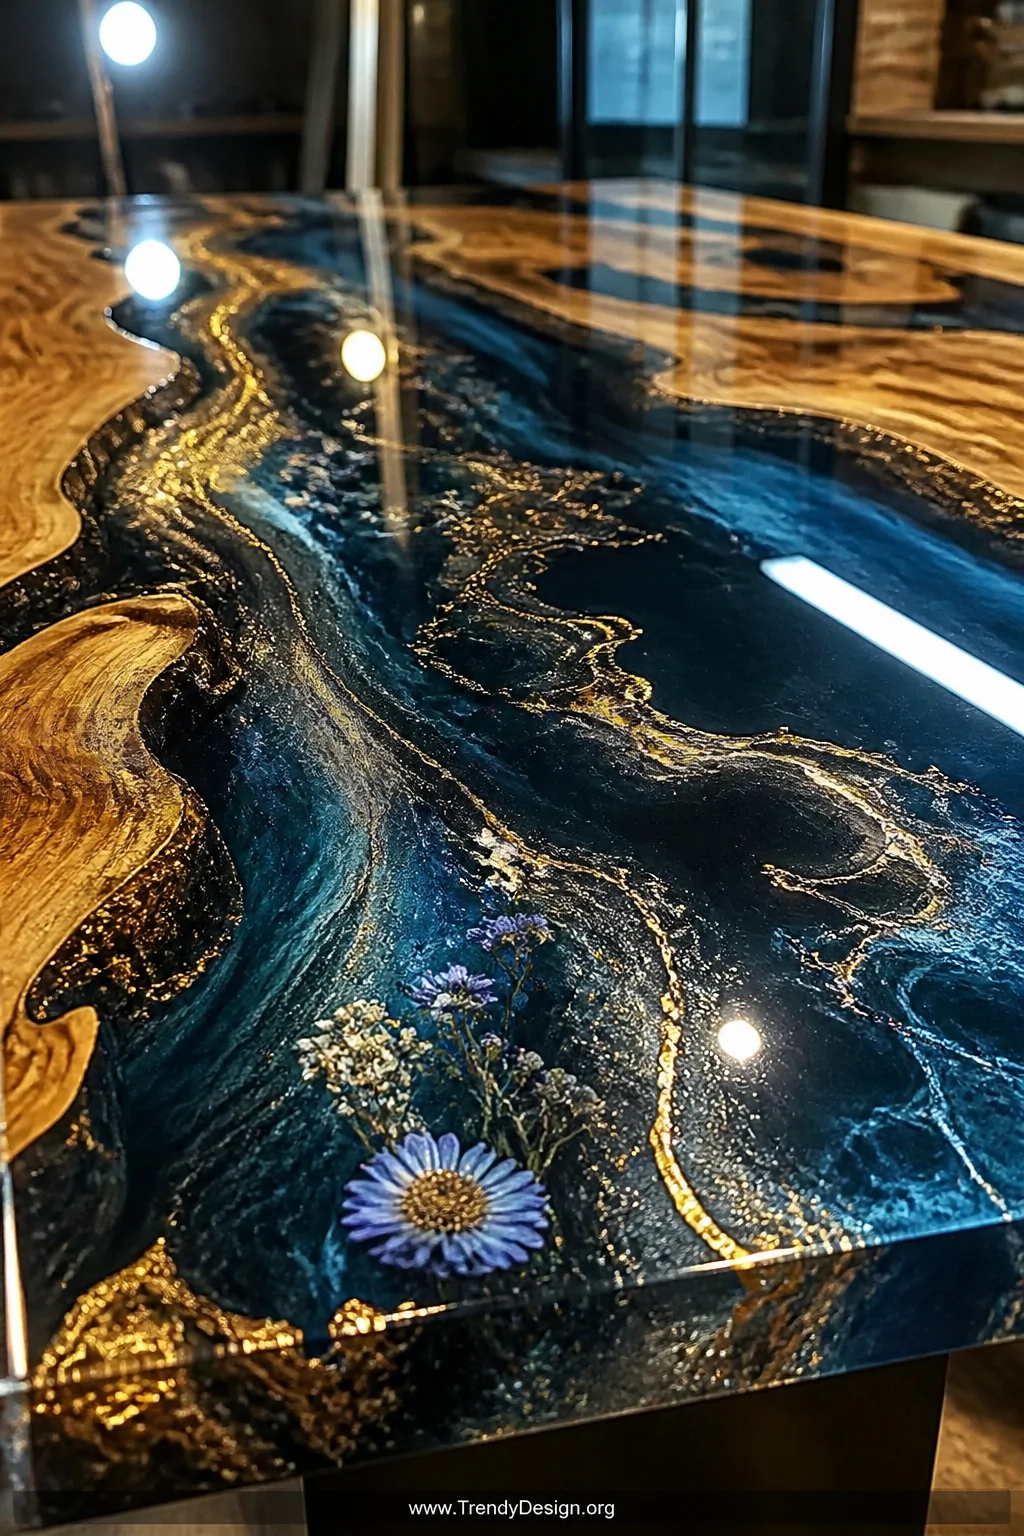
8. Create an Epoxy Resin Pour
As an Amazon Associate I earn from qualifying purchases.
Epoxy resin is having a major moment and for good reason it creates a glass-smooth, ultra-durable surface that can also be deeply gorgeous. You can tint it with pigments, embed flowers, shells, or geodes, or simply pour a clear coat over paint to seal and protect everything underneath.
It does require some patience and attention to temperature and mixing ratios. But the payoff is a professional-looking table surface that’s heat-resistant, waterproof, and virtually impossible to scratch. There’s a reason DIY epoxy tables go viral on every home decor platform constantly.
- Use a torch to pop bubbles right after pouring
- Work in a warm, dust-free environment for best results
- Blue and gold pigment combinations are absolutely stunning
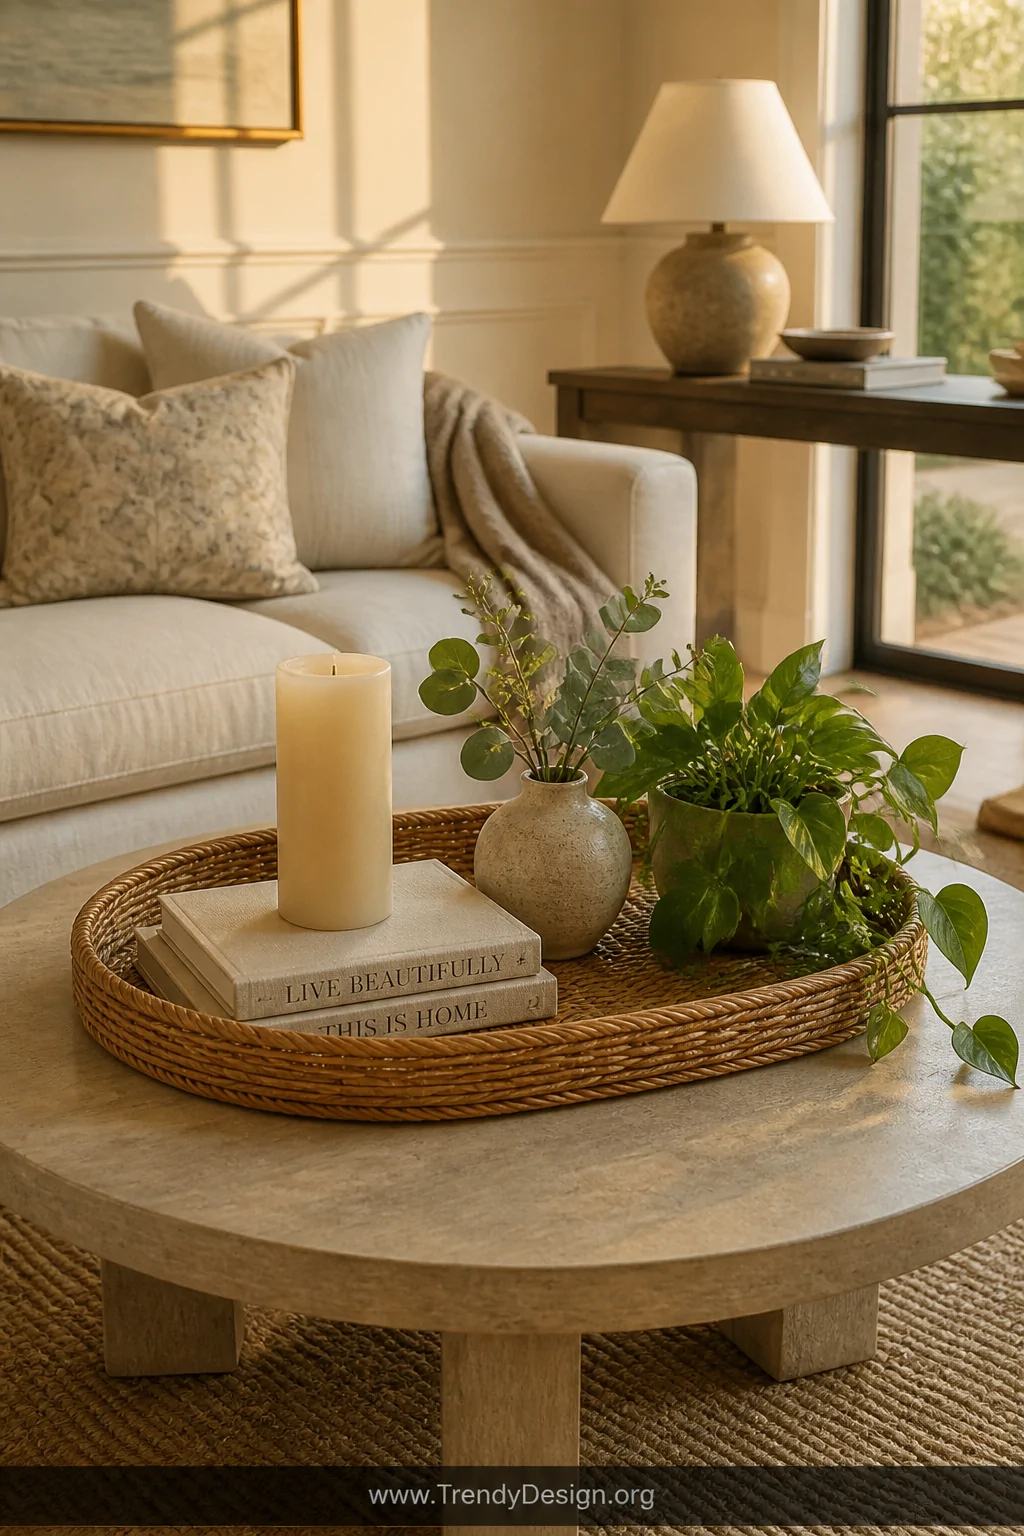
9. Style It With a Tray and Decor Arrangement
As an Amazon Associate I earn from qualifying purchases.
Sometimes the best design solution is also the laziest one and there’s zero shame in that. A large decorative tray placed strategically over the worst part of your table can completely anchor the space while hiding the damage in plain sight. Style it with a candle, a small vase, and a couple of books, and it just looks like intentional decor.
This works especially well on coffee tables and dining tables where you’d naturally have a centerpiece anyway. Choose a tray with some height and visual weight so it reads as a deliberate styling choice rather than something thrown together to cover a problem.
- Wooden, rattan, or lacquered trays all work beautifully
- Odd-numbered groupings of objects always look more dynamic
- Add a small plant or fresh flowers for a lived-in, fresh feel
See? A damaged table is just a design opportunity in disguise. Whether you go the quick-fix route with a tablecloth or commit to a full epoxy transformation, there’s a solution here that fits your budget, your skills, and your style. Pick one, start this weekend, and give that poor table the second chance it deserves.
“`
Leave a Reply