Your pop up camper deserves better than that sad, outdated surface you’ve been ignoring all season. A smart countertop upgrade can completely transform how your camper feels, functions, and honestly how much you enjoy living in it. Let’s get into the good stuff.
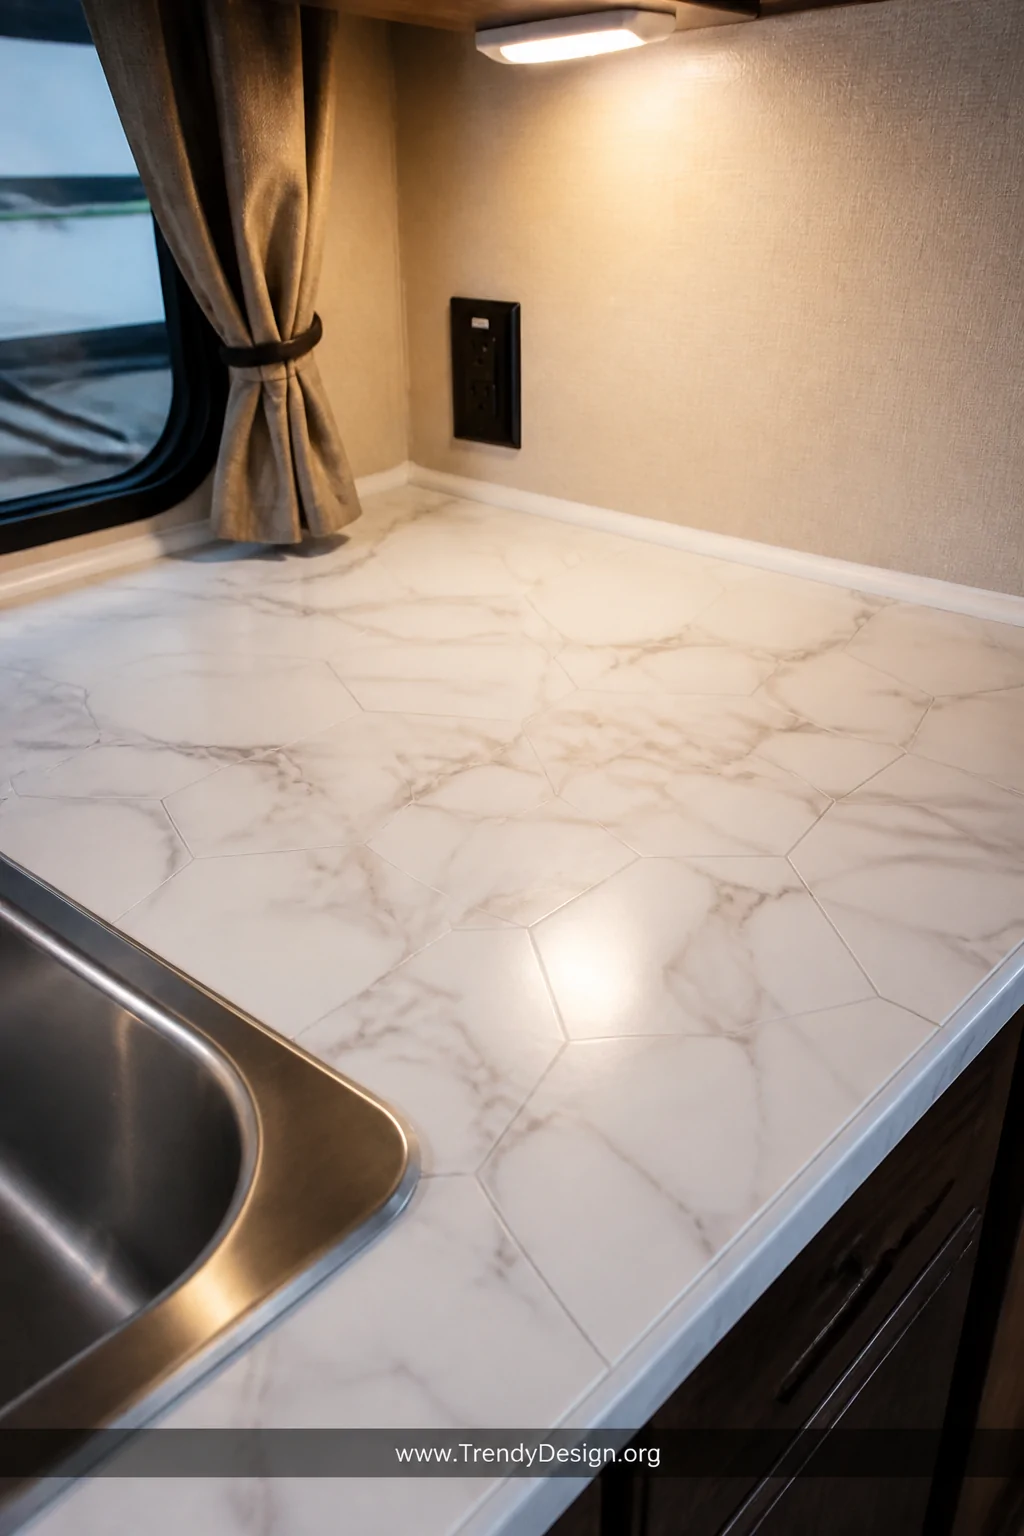
1. Peel-and-Stick Vinyl Tile for an Instant Glow-Up
As an Amazon Associate I earn from qualifying purchases.
This is the easiest win in the entire world of pop up camper countertop ideas. Peel-and-stick vinyl tiles cost almost nothing, install in under an hour, and look surprisingly polished when done right. You don’t need a contractor you just need patience and a flat surface.
Choose marble-look patterns or geometric designs to add serious visual punch to a tiny space. The tiles handle moisture well, which matters a lot in a camper kitchen setup.
- Clean and dry your surface thoroughly before applying
- Use a credit card to smooth out air bubbles as you go
- Seal the edges with waterproof caulk for long-term durability
- Mix and match patterns for a custom, high-end look
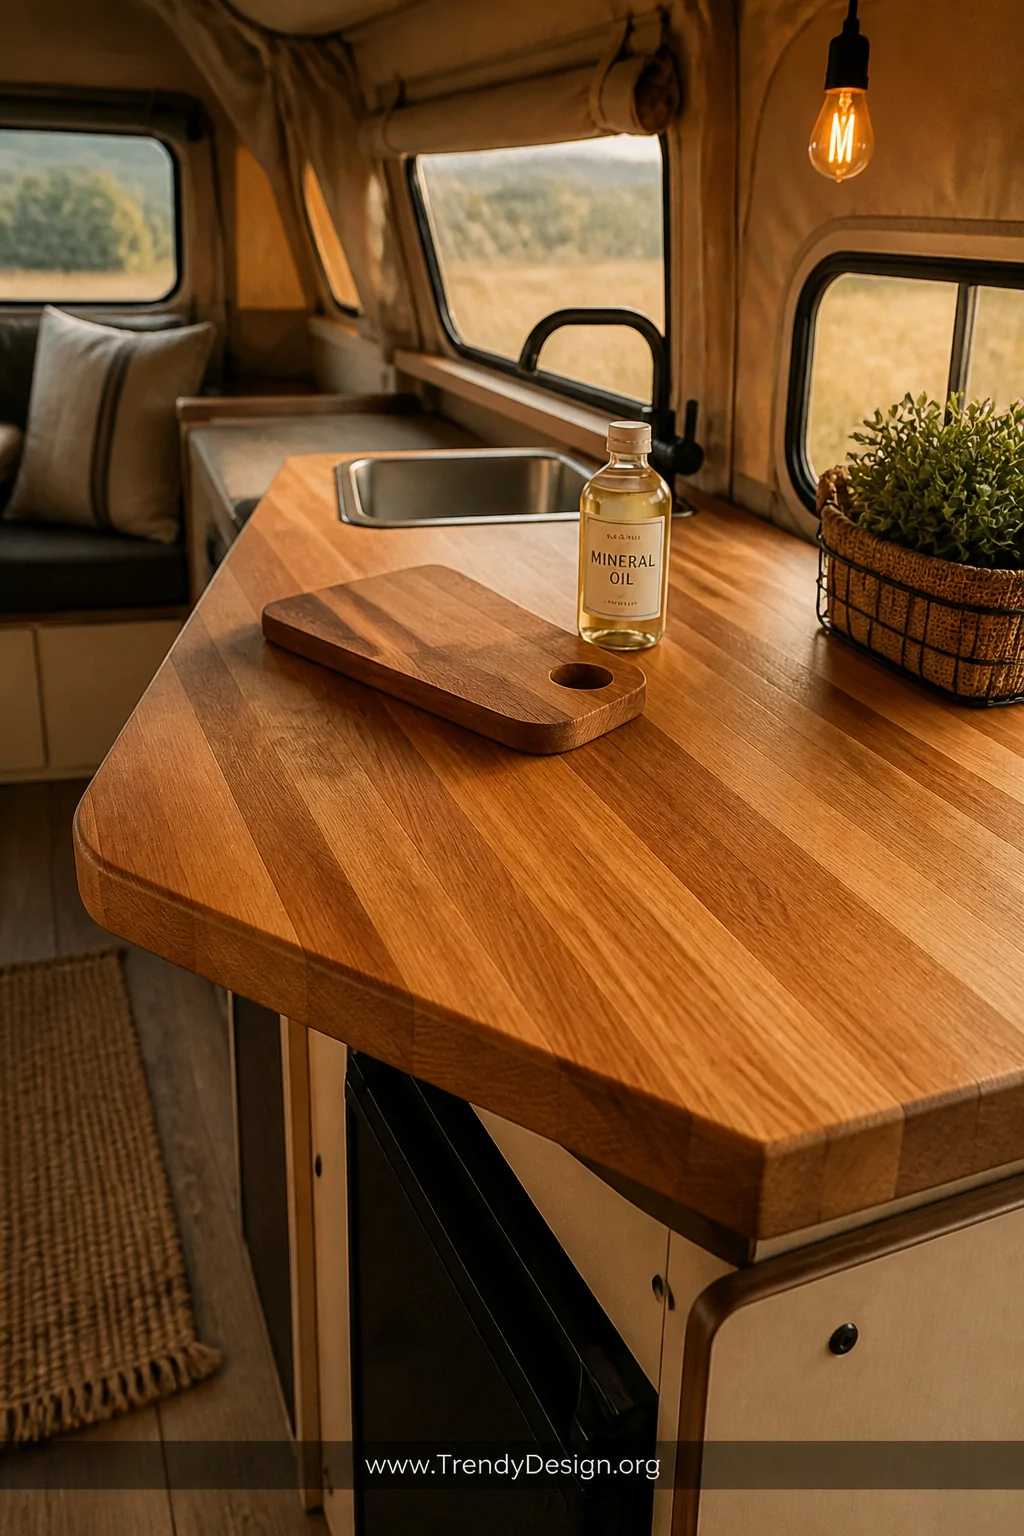
2. Butcher Block Wood for That Cozy Cabin Vibe
As an Amazon Associate I earn from qualifying purchases.
Nothing says “stylish outdoor living” quite like a warm butcher block countertop inside your camper. The natural wood grain adds texture and warmth that plastic laminate simply cannot compete with. It turns your tiny cooking space into something you’d actually want to photograph.
Butcher block is also incredibly easy to cut and fit into awkward camper dimensions. FYI, you’ll need to seal it properly with food-safe mineral oil to protect it from moisture and daily wear.
- Sand any rough edges before installation for a smooth finish
- Re-oil the surface every few months to keep it looking fresh
- Use a cutting board anyway direct knife marks add up fast
Lightweight thin-cut butcher block panels work best so you’re not adding unnecessary weight to your camper setup.
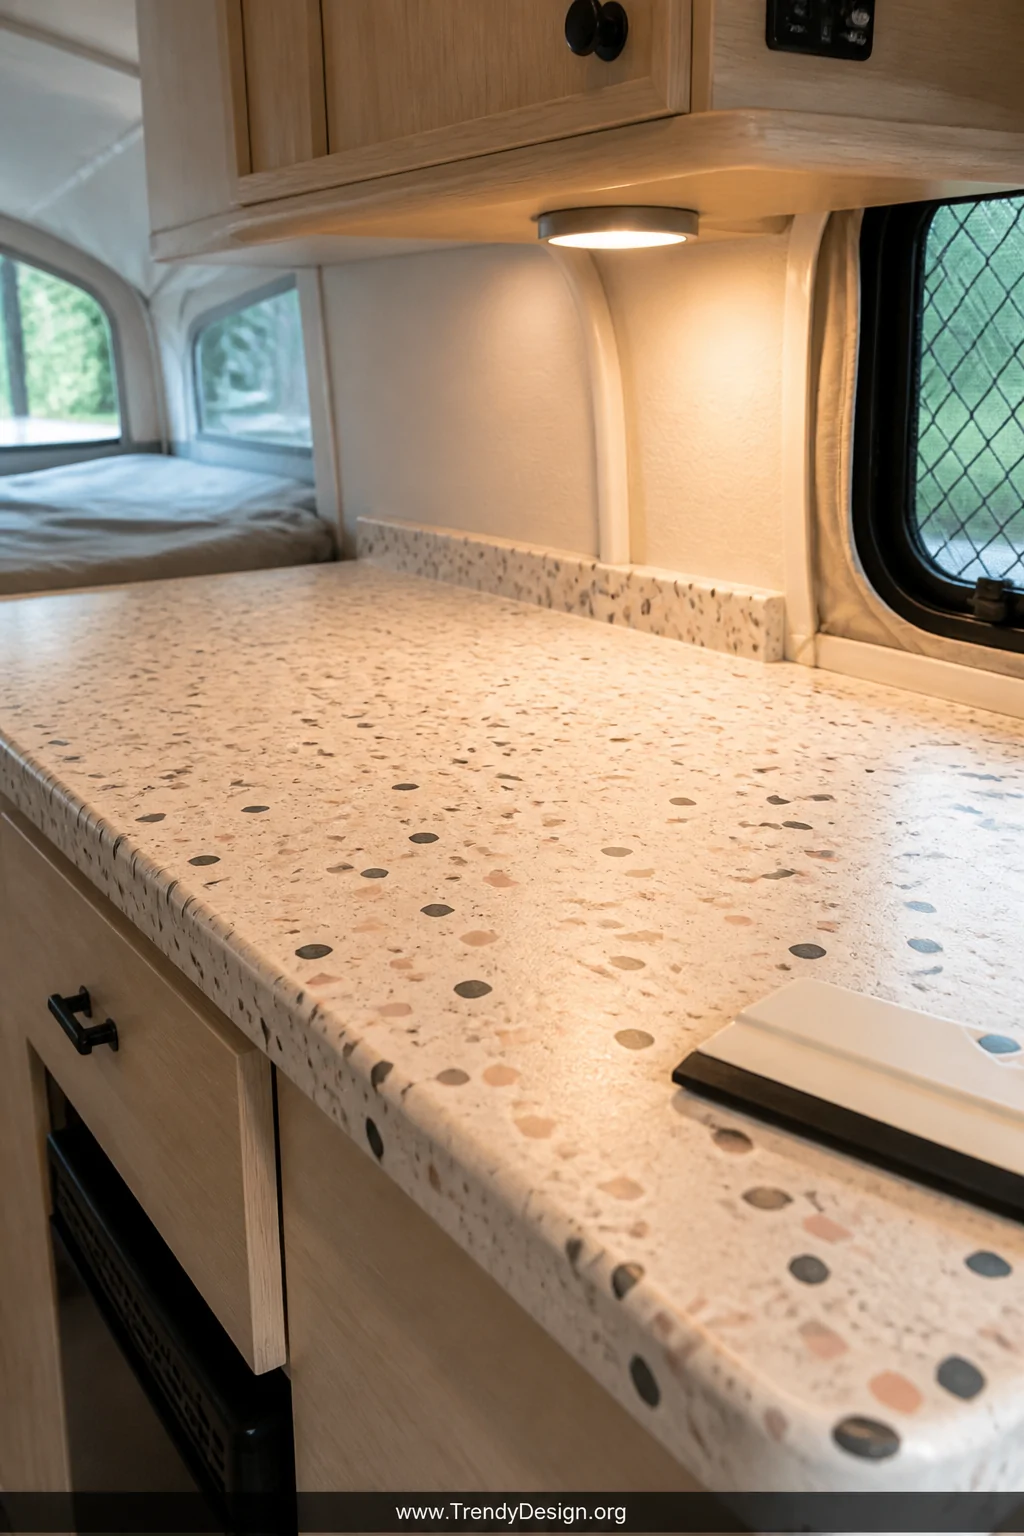
3. Contact Paper for the Budget-Friendly Transformation
As an Amazon Associate I earn from qualifying purchases.
Contact paper is the unsung hero of every camper renovation budget, and it deserves way more credit. Modern contact paper comes in hundreds of realistic finishes think faux granite, concrete, wood grain, and even terrazzo. You can completely redo your pop up camper countertop for under twenty dollars.
The application process is forgiving, meaning you can peel and reposition it without destroying your surface. That’s a huge deal when you’re working in tight spaces with no margin for error.
Pro Tips for a Flawless Contact Paper Finish
- Measure twice, cut once seriously, don’t rush the cutting step
- Use a squeegee or old gift card to push out every single air bubble
- Wrap edges underneath the countertop for a clean, professional look
- Add a clear polyurethane topcoat to extend the life significantly
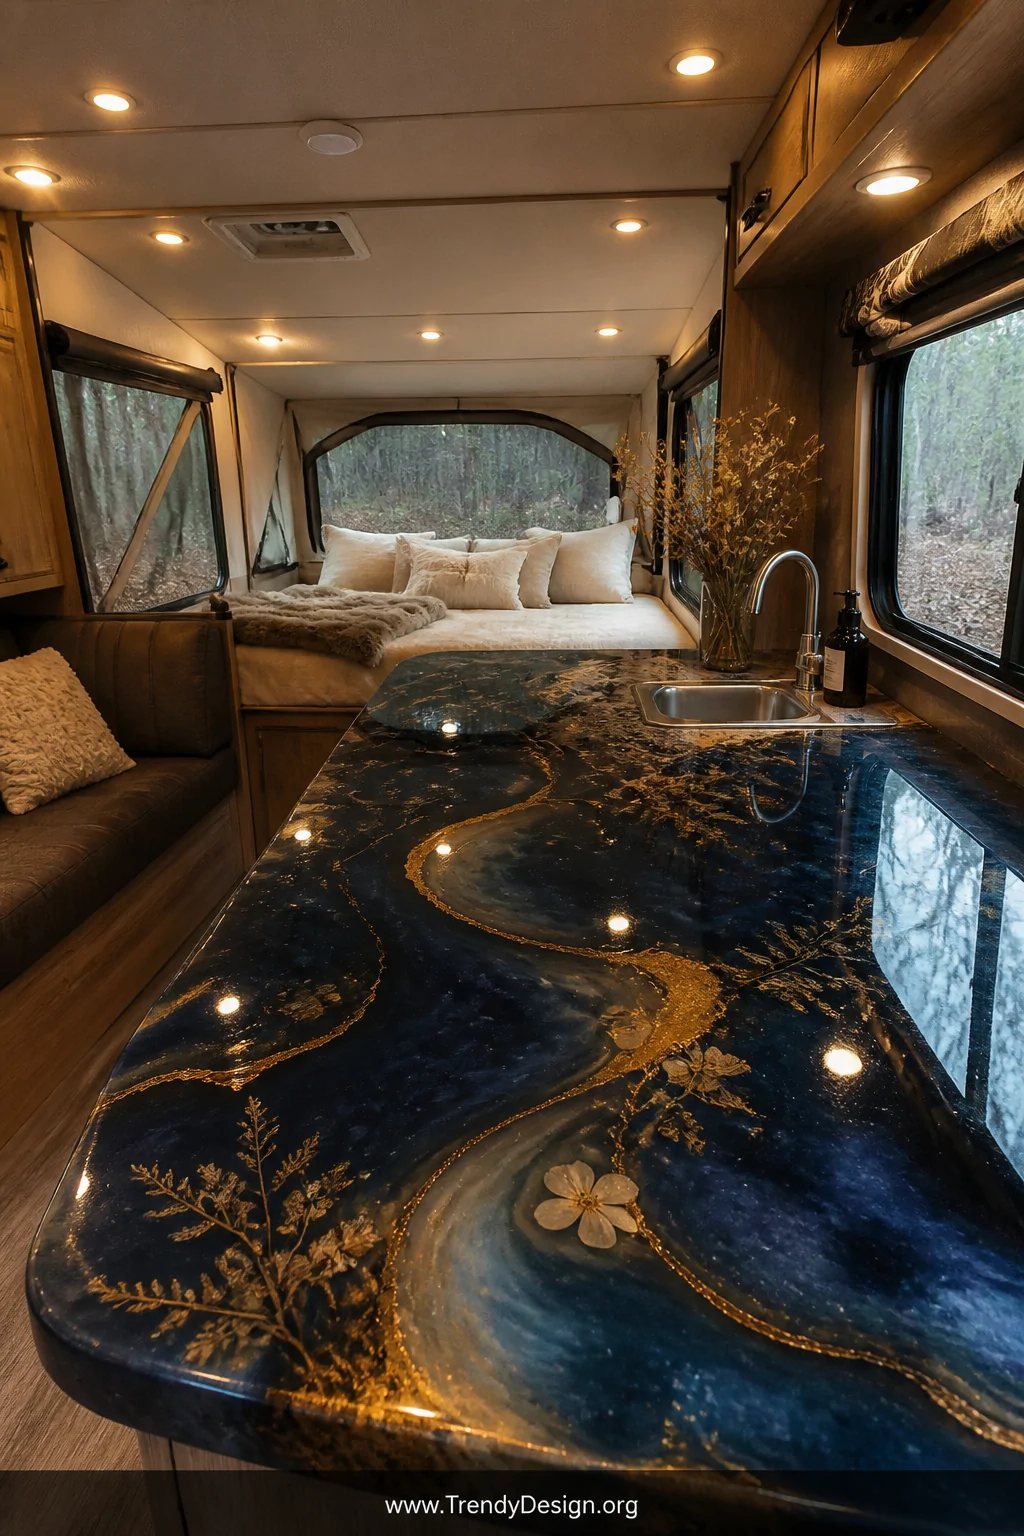
4. Epoxy Resin Coating for a Custom Showstopper Surface
As an Amazon Associate I earn from qualifying purchases.
If you want people to stop dead in their tracks when they peek inside your camper, epoxy resin countertops are your answer. You can pour epoxy over your existing surface and create swirling colors, metallic effects, or even embed objects like maps or pressed flowers. IMO, this is the most impressive option on this entire list.
Epoxy creates an incredibly hard, heat-resistant, and waterproof finish that will outlast everything else on this list. The process takes a weekend and some patience, but the results are genuinely jaw-dropping.
- Work in a well-ventilated area and wear gloves throughout the process
- Use a torch briefly to pop surface bubbles before the epoxy sets
- Allow full cure time usually 72 hours before using the surface
- Start with a small test batch to get comfortable with the material
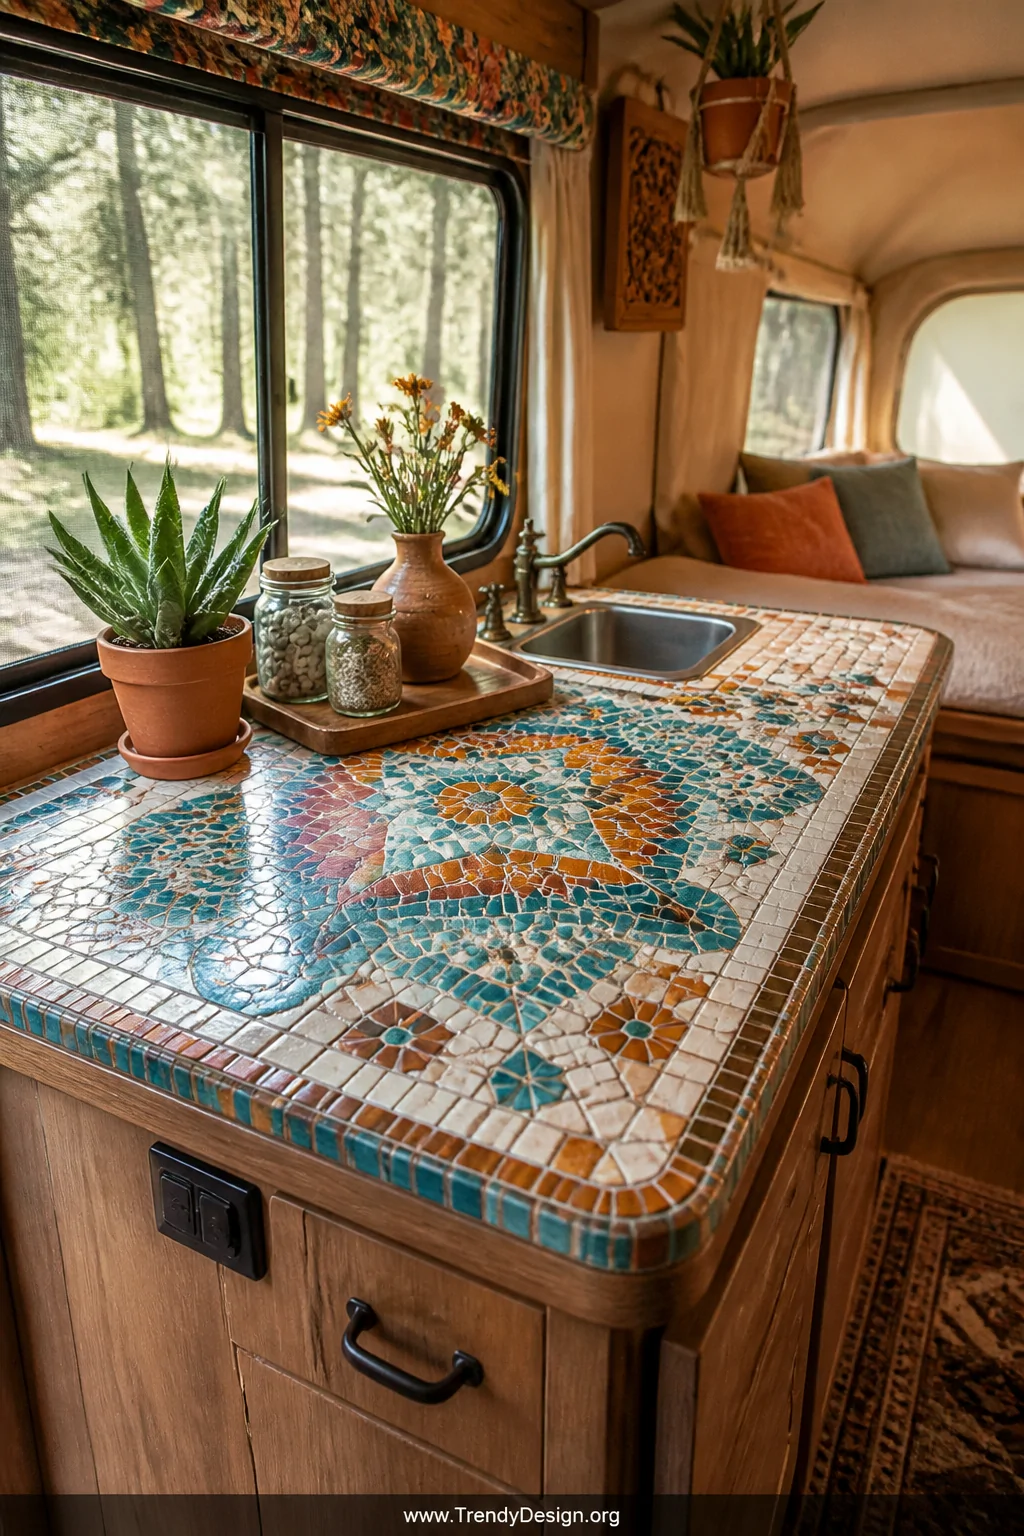
5. Tile Mosaic for a Boho Artistic Statement
As an Amazon Associate I earn from qualifying purchases.
Tile mosaic countertops bring serious personality to a pop up camper countertop makeover that no other option can match. Small ceramic or glass tiles let you create patterns, color gradients, or completely random artistic arrangements that feel uniquely yours. Your camper stops looking like every other one in the campground.
Lightweight glass mosaic sheets are the smartest choice here since traditional tile adds significant weight. Use flexible tile adhesive and unsanded grout designed specifically for small spaces and moisture exposure.
- Plan your pattern on paper before committing any tiles to adhesive
- Seal your grout lines after installation to prevent staining
- Stick to a two or three color palette to keep it looking intentional
- Mesh-backed mosaic sheets make installation dramatically faster
Your pop up camper countertop doesn’t have to be boring, expensive to upgrade, or complicated to transform. Pick the idea that matches your budget and your personality, then go make it happen this weekend. The best campsite setup is the one that actually feels like home and now you have five brilliant ways to get there.
Leave a Reply