Slimline cards are the sleek, sophisticated cousin of your regular greeting card and once you start making them, you simply cannot stop. They’re narrow, elegant, and somehow make every design look intentional and polished. Ready to level up your card-making game? Let’s dive in.
1. Layer Textures Like a Pro
As an Amazon Associate I earn from qualifying purchases.
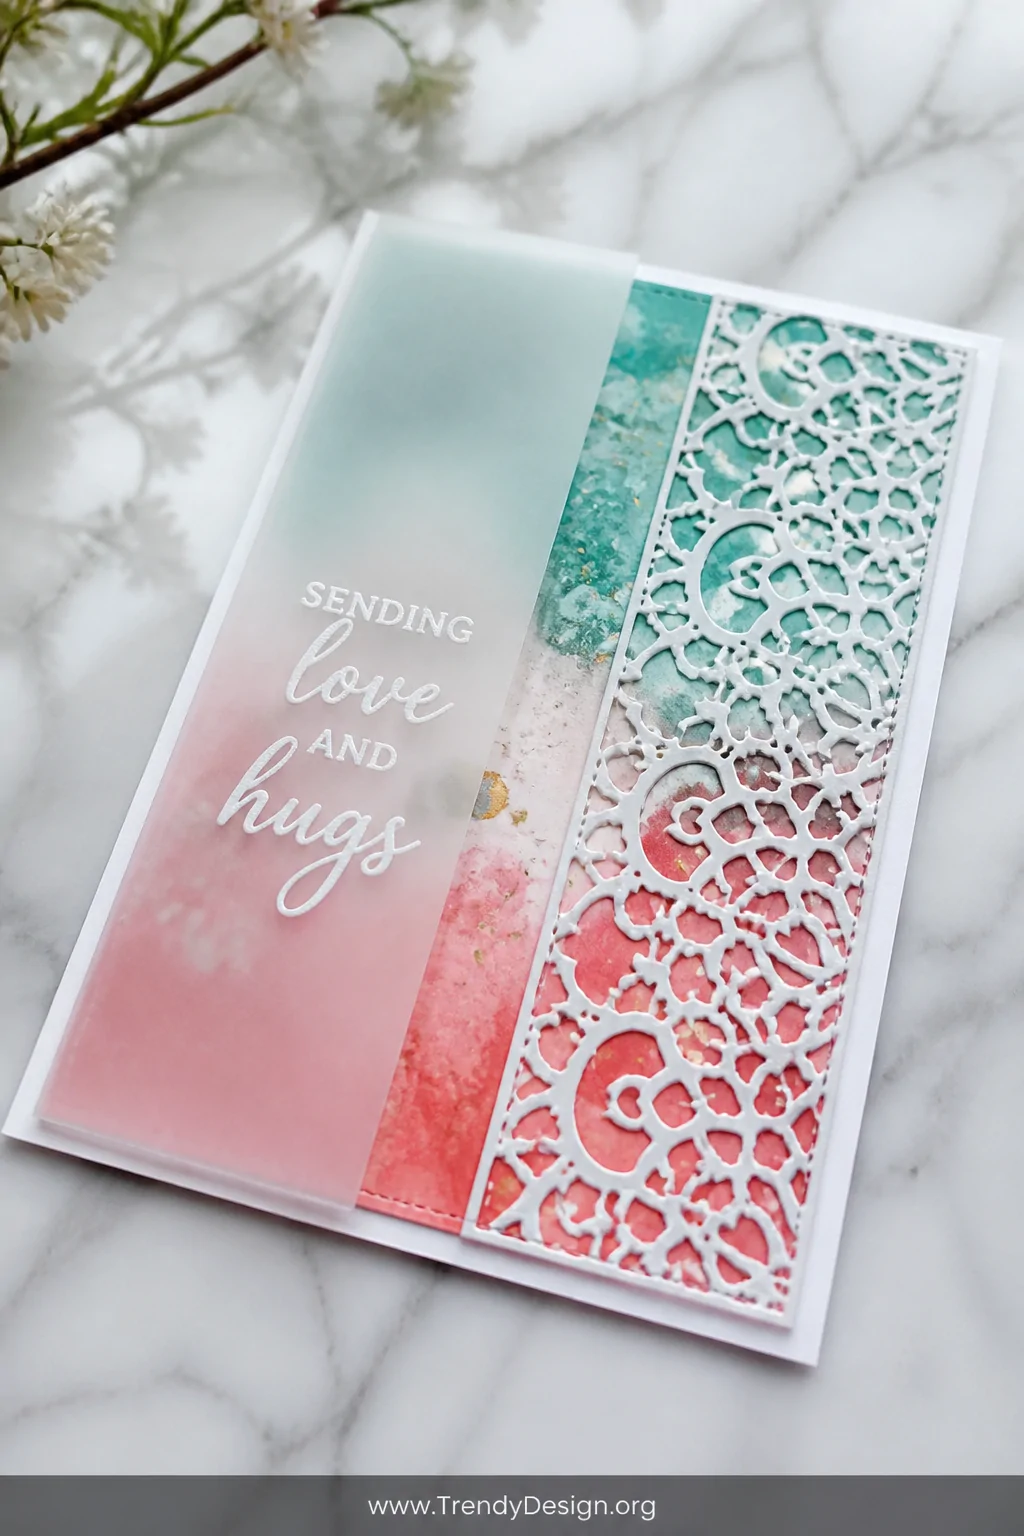
Texture is the secret weapon that separates a forgettable card from one that gets kept on a mantle for months. With slimline card designs, layering is everything think vellum over patterned paper, or kraft cardstock behind a delicate die-cut panel.
The narrow format actually works in your favor here. You’re working with a smaller canvas, which means every layer you add feels intentional and curated rather than chaotic.
- Try vellum over a bold ink-blended background for a dreamy, ethereal effect
- Layer chipboard pieces to create subtle 3D dimension without bulk
- Mix matte and glossy finishes for instant visual contrast
Start with three layers minimum and build from there. You’ll be amazed how much depth you can pack into such a slim little card.
2. Go Bold With a Single Color Palette
As an Amazon Associate I earn from qualifying purchases.
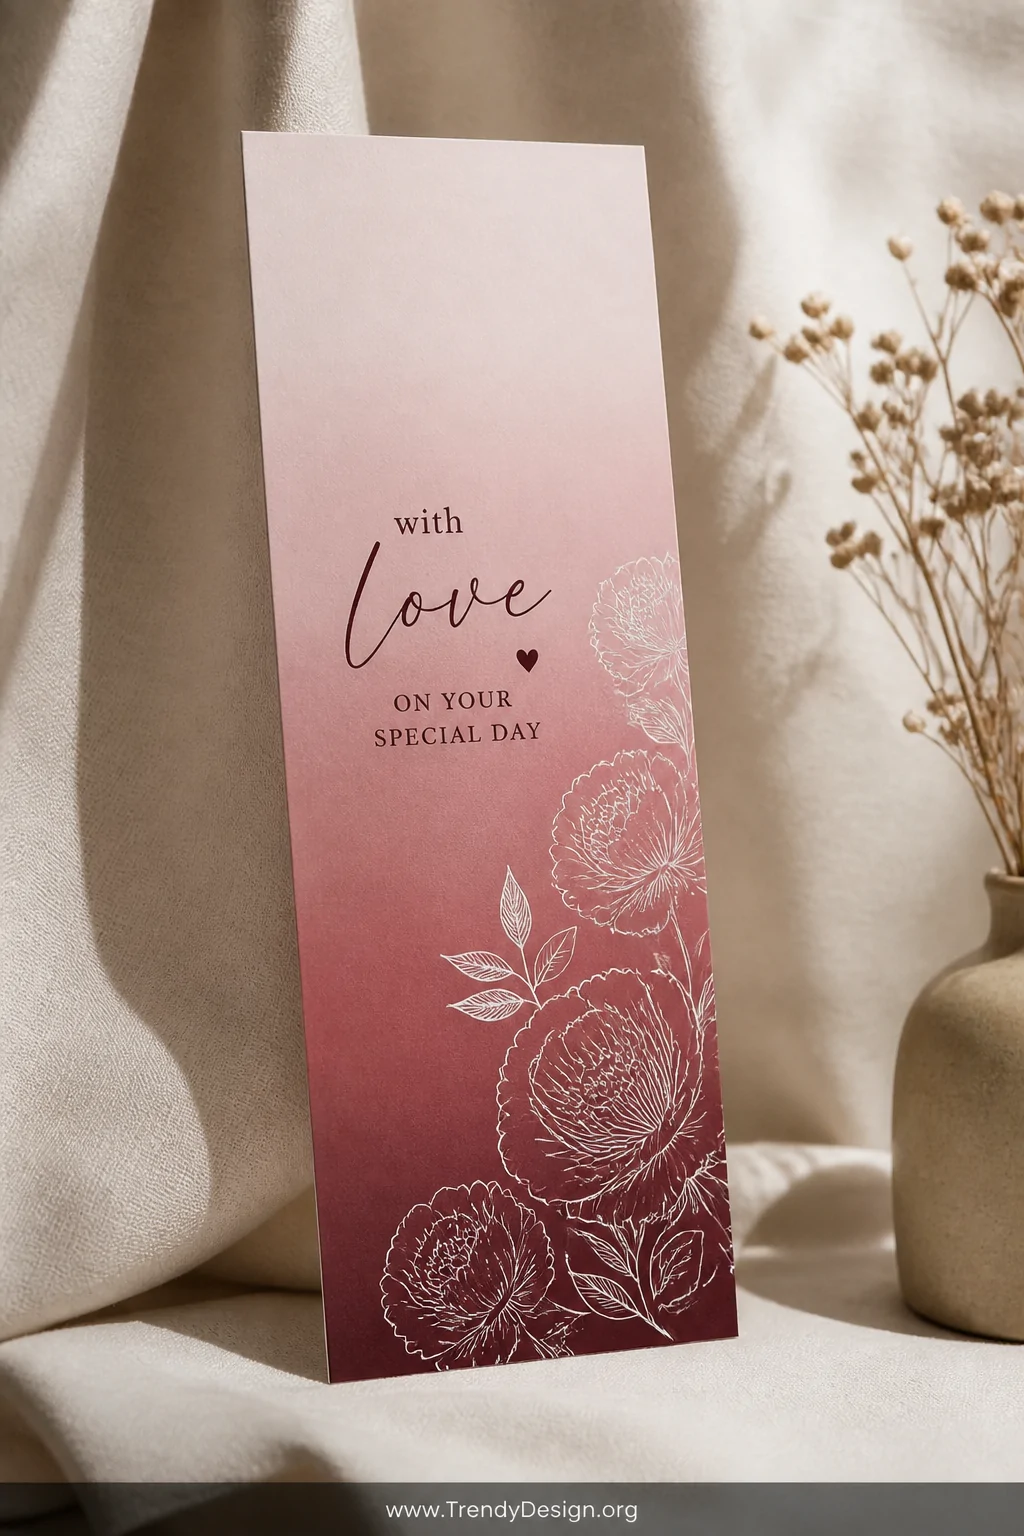
Monochromatic cards are having a serious moment right now and slimline card ideas practically beg for this treatment. Pick one color family and work every shade of it from light to dark across your card front.
The vertical format creates a natural gradient effect when you stack elements from top to bottom. Imagine a card going from the palest blush pink at the top down to a deep burgundy at the base stunning, right?
- Use ink blending to create smooth color transitions across your background panel
- Stamp sentiments in a darker shade of the same color family
- Add white details last to make everything pop without breaking the palette
Honestly, this approach makes you look like a professional designer with minimal effort. We love a good cheat code.
3. Use Die-Cut Windows for Instant Drama
As an Amazon Associate I earn from qualifying purchases.
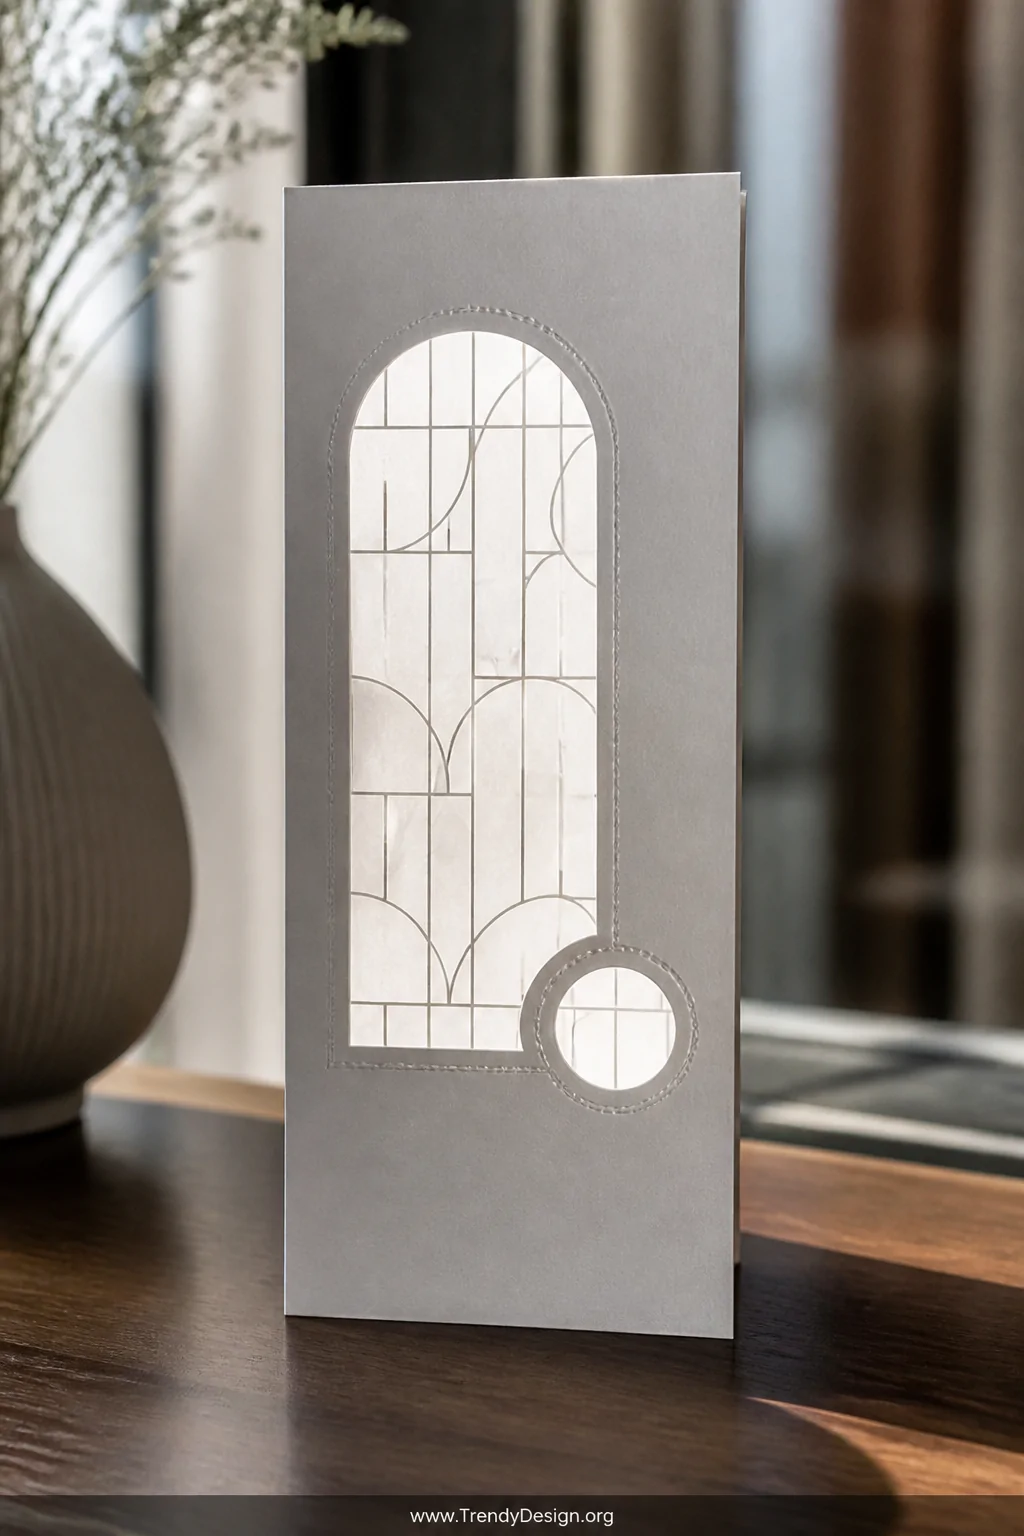
Nothing stops a scroll or a stare quite like a beautifully placed die-cut window on a slimline card. Cut a shape from your card front and back it with a contrasting color or patterned paper. The result looks wildly complex but takes about ten minutes.
Geometric shapes work especially well here. Circles, arches, and hexagons all play nicely with the tall, narrow proportions of a slimline format.
- Back rectangular windows with vellum printed with a subtle pattern
- Use stitched border dies to add texture around the window edges
- Layer multiple windows at different heights for a storytelling effect
The peek-a-boo effect creates instant curiosity and makes the card feel interactive. People will flip it over and hold it up to the light like it’s a tiny piece of art because it is.
4. Go Vertical With Your Stamped Scenes
As an Amazon Associate I earn from qualifying purchases.
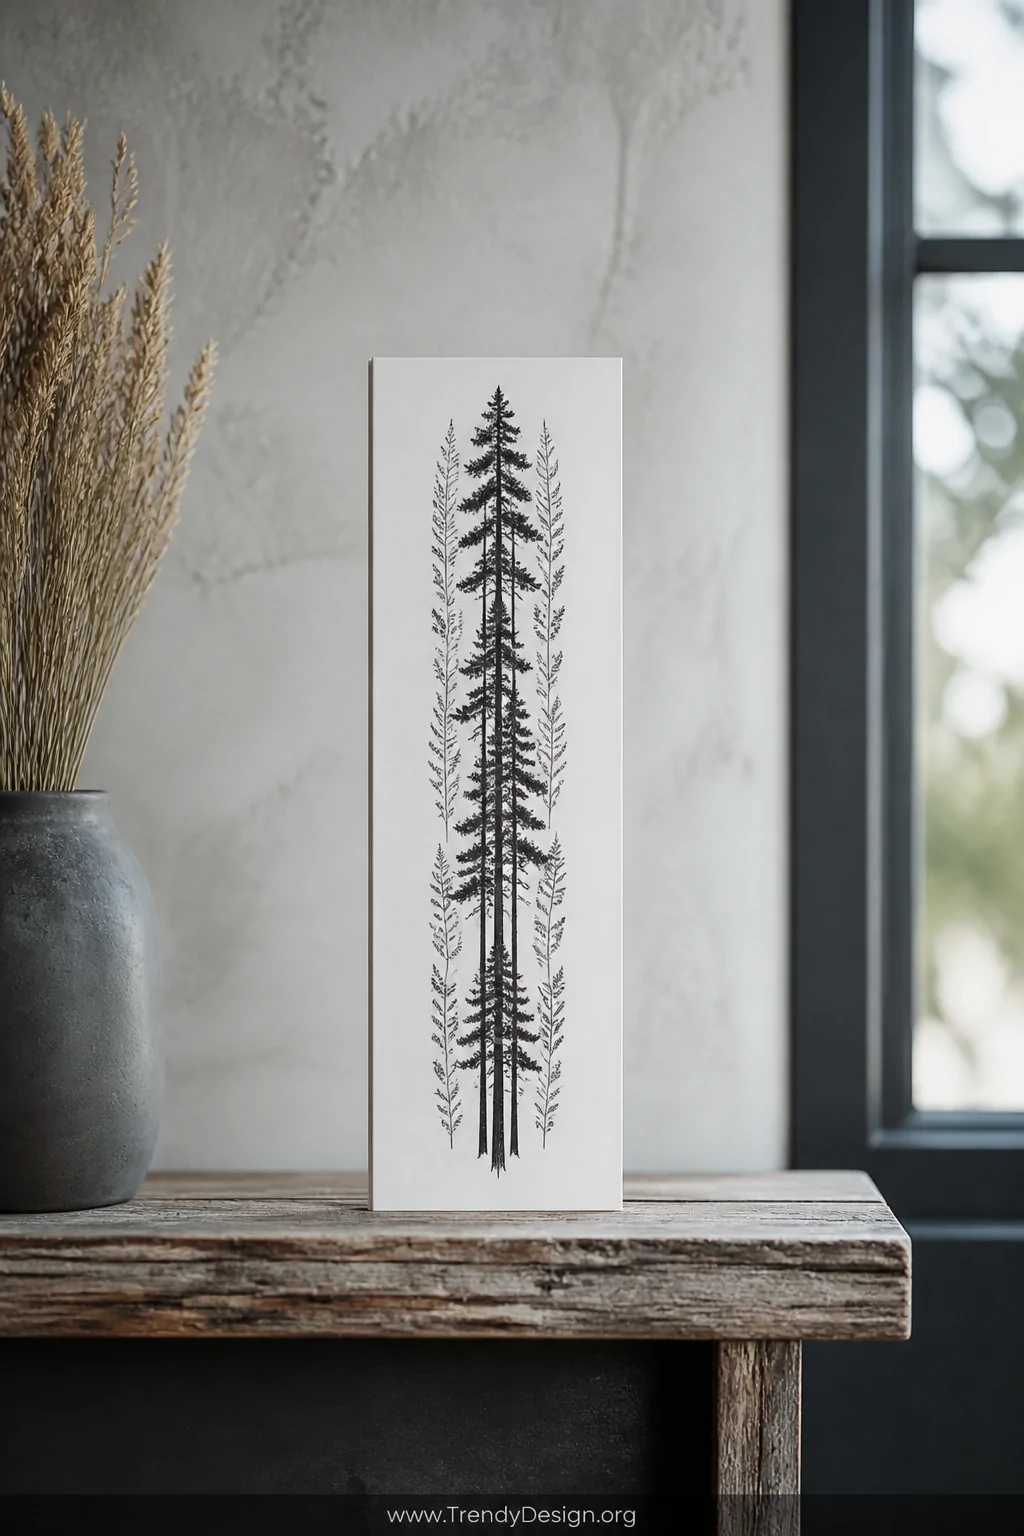
Here’s something most card makers overlook: the slimline format is actually perfect for creating vertical storytelling scenes. Think tall pine forests, a stack of books reaching upward, or a cityscape stretching toward the top of the card.
You’re no longer fighting against the card’s shape you’re working with it. Vertical compositions feel naturally dynamic and modern in a way that standard card layouts just don’t achieve.
Stamp your focal images in a vertical line down the center of the card. Add smaller supporting elements on either side to frame the scene without crowding it. The negative white space around the edges becomes part of the design itself.
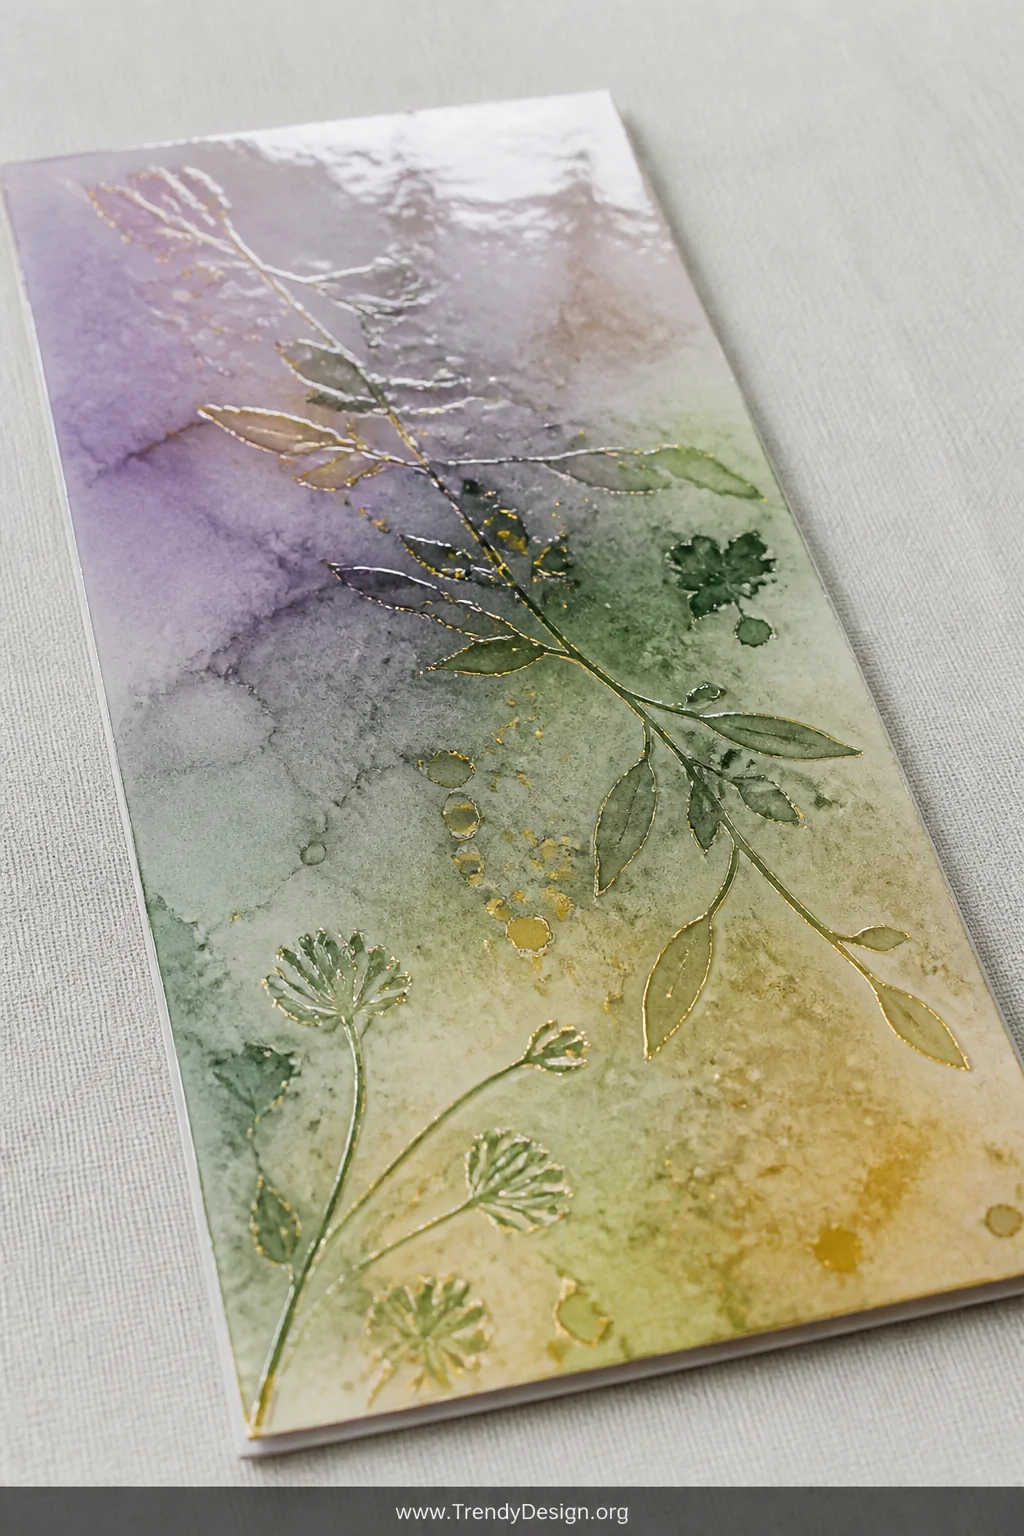
5. Watercolor Wash Backgrounds That Wow
As an Amazon Associate I earn from qualifying purchases.
Watercolor and slimline cards are a match made in crafting heaven. The long, narrow background panel gives you the perfect runway to blend colors in a way that feels loose, artistic, and effortlessly beautiful.
You don’t need fancy supplies for this one. A few ink pads, a blending brush, and some water-reactive pigments can create a background that looks like it took hours. FYI, it takes maybe fifteen minutes tops.
- Wet your panel first for a softer, more organic color blend
- Drop alcohol ink onto a glossy panel and tilt to let it flow naturally
- Stamp florals or leaves over a dried watercolor wash for a botanical feel
- Leave plenty of white space not every inch needs color
Seal everything with a clear embossing powder for a glossy, professional finish that photographs beautifully.
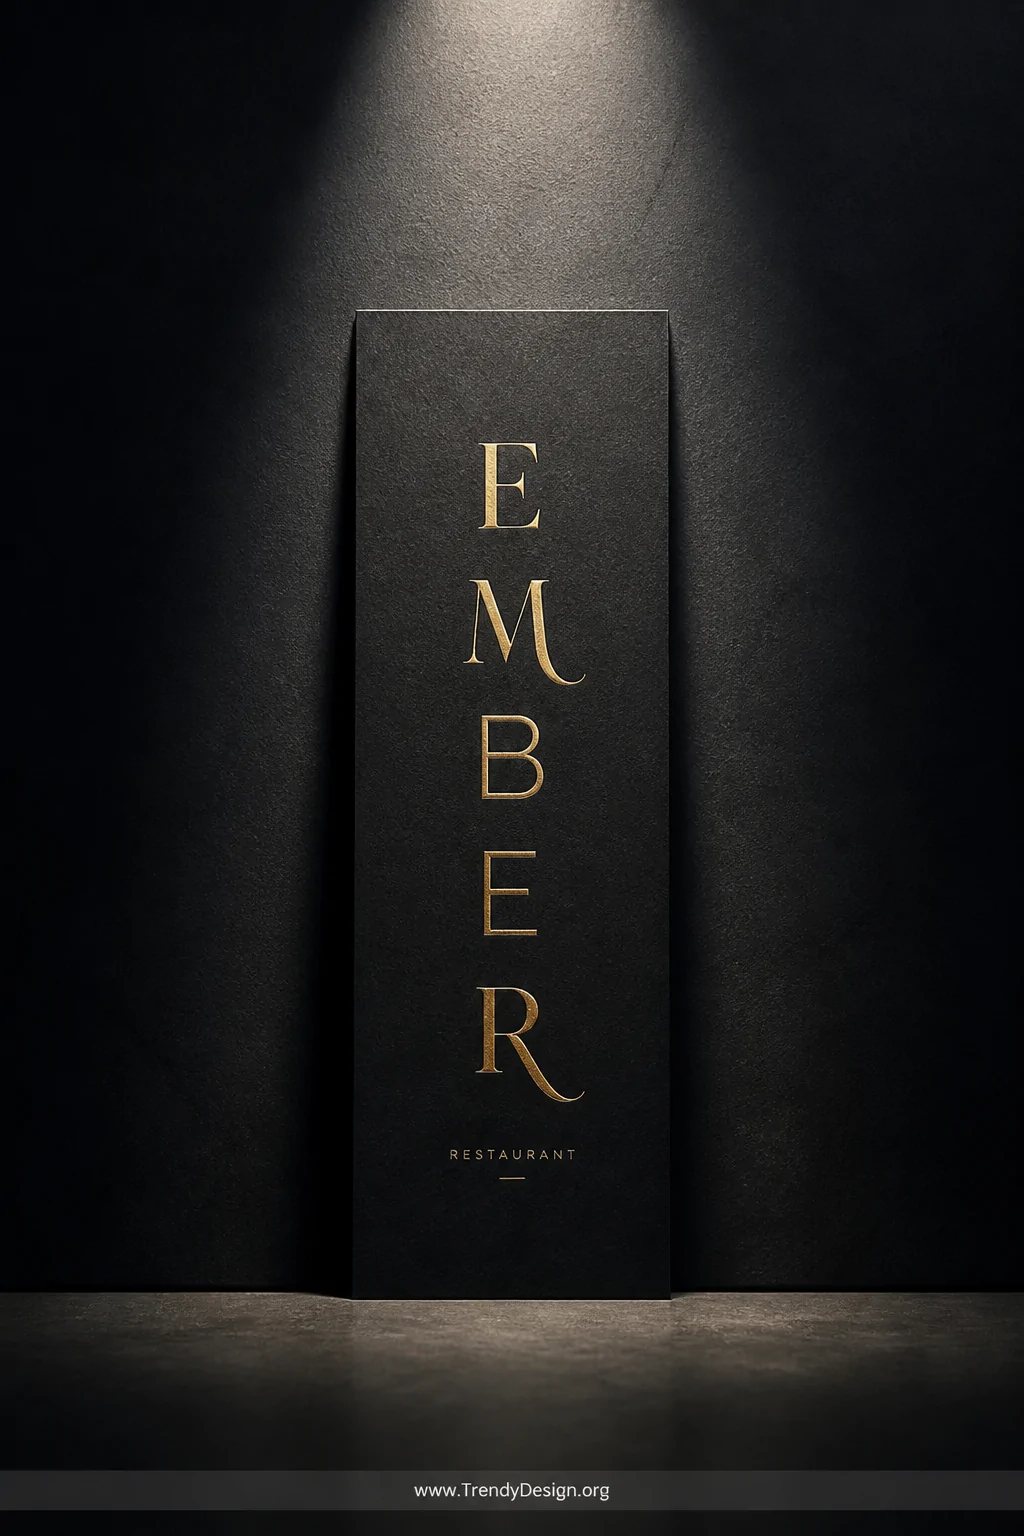
6. Try a Minimalist Sentiment-Only Design
As an Amazon Associate I earn from qualifying purchases.
Sometimes the most powerful slimline card idea is the simplest one. Strip everything back and let a single beautiful sentiment do all the heavy lifting. No florals, no die-cuts, just gorgeous typography on a clean background.
IMO, this approach actually requires more confidence than a heavily layered design you have nowhere to hide, so every element has to be perfect. But when it works, it really works.
- Use large alphabet dies to spell out a word vertically down the card
- Emboss a sentiment in gold or white on a dark background for elegance
- Try a mix of font styles serif and sans-serif together for visual interest
This style is especially popular for modern sympathy cards and birthday cards where the message really matters. Clean, intentional, and deeply personal.
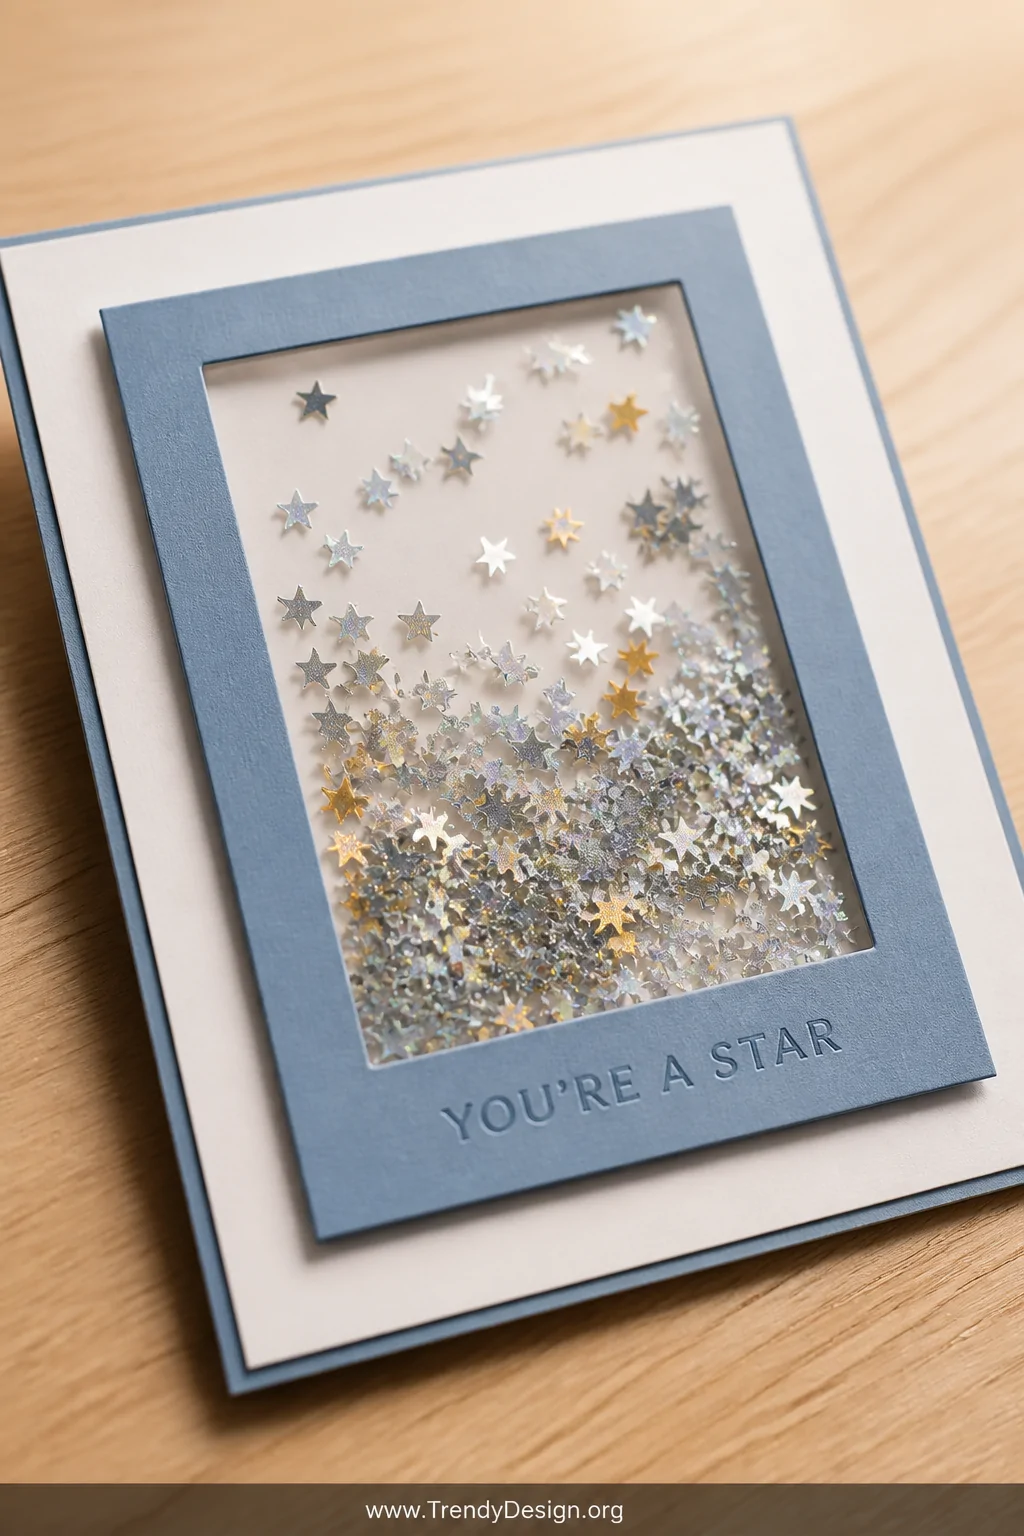
7. Add Interactive Shaker Elements
As an Amazon Associate I earn from qualifying purchases.
Want to make someone absolutely light up when they open their mailbox? Add a shaker element to your slimline card and watch the magic happen. The narrow panel actually makes it easier to create a clean shaker window without structural issues.
Fill your shaker with themed sequins, tiny stars, or even holographic confetti that catches the light. The key is using the right foam tape depth too shallow and the elements won’t move; too deep and the card looks puffy.
- Use a die-cut frame to create a clean, professional-looking shaker window
- Match your sequin colors to your card’s overall palette
- Add a clear acetate layer that’s slightly smaller than your window for a secure seal
- Shake test before you seal it completely always
These cards become instant keepsakes. Nobody throws away a shaker card it’s basically a rule.
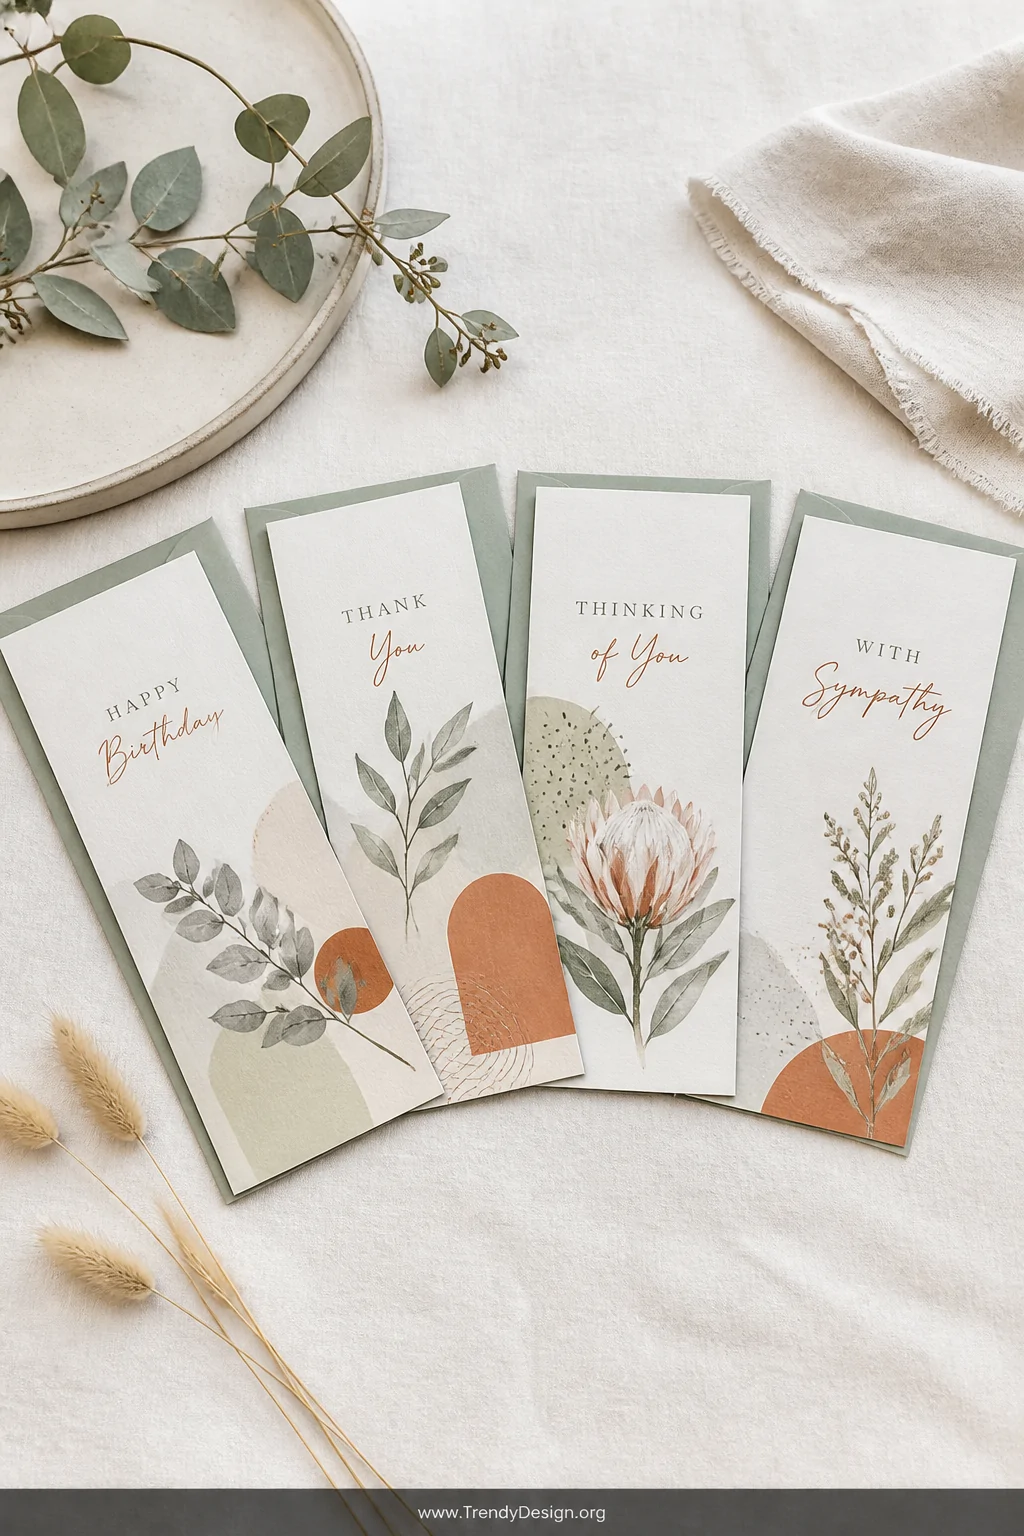
8. Create a Series of Cards With a Cohesive Theme
As an Amazon Associate I earn from qualifying purchases.
Here’s where your creative slimline card game truly transforms into something special design a matching set. Think four seasonal cards, a birthday collection, or a floral series using the same color palette across different layouts.
The slimline format stores and displays beautifully as a set. You can gift them together as a bundle, sell them as a collection, or keep them for your own stash rotation throughout the year.
- Start with a consistent background technique across all cards in the series
- Vary the focal points while keeping colors and fonts the same
- Use the same envelope color to tie the whole collection together visually
Cohesive sets look incredibly impressive and actually save you time you batch your supplies, set up your workspace once, and create multiple cards in a single crafting session. Smart and stylish? That’s the goal.
Go Make Something Beautiful
As an Amazon Associate I earn from qualifying purchases.
Slimline cards are genuinely one of the most rewarding card formats to explore they’re versatile, modern, and endlessly adaptable to your personal style. Whether you’re obsessed with layers or totally smitten with minimalism, there’s a slimline card idea here with your name on it.
Pick one technique, grab your supplies, and just start. Your most stylish card is literally one crafting session away go get it.
“`
Leave a Reply