You spent hours picking fabrics, piecing blocks, and quilting beautiful patterns — and now you’re staring at the raw edges wondering what to do next. The binding is basically the frame of your masterpiece, and honestly, it deserves just as much thought as the rest of the quilt. These quilt binding ideas will help you finish your project with confidence and a little extra flair.
Whether you’re a weekend quilter or someone who has a dedicated sewing room with more fabric than sense (no judgment, we’ve all been there), binding can be simple, creative, or downright showstopping. Let’s dive into six approaches that cover everything from classic to completely unexpected.
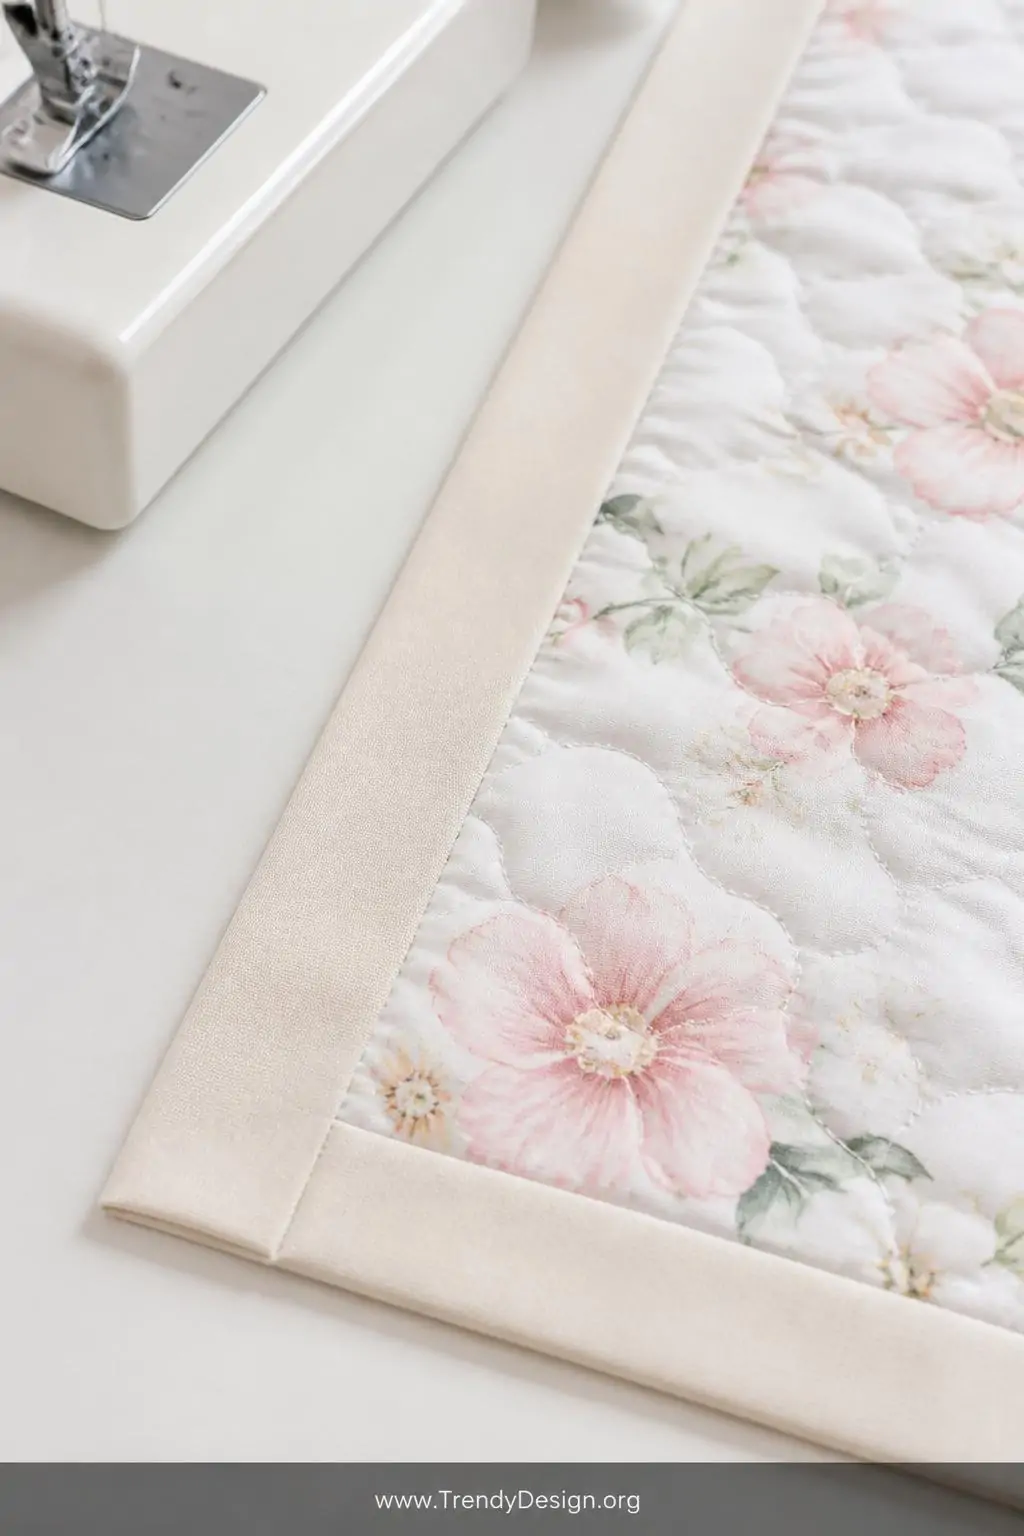
1. Classic Single-Fold Straight-Cut Binding
As an Amazon Associate I earn from qualifying purchases.
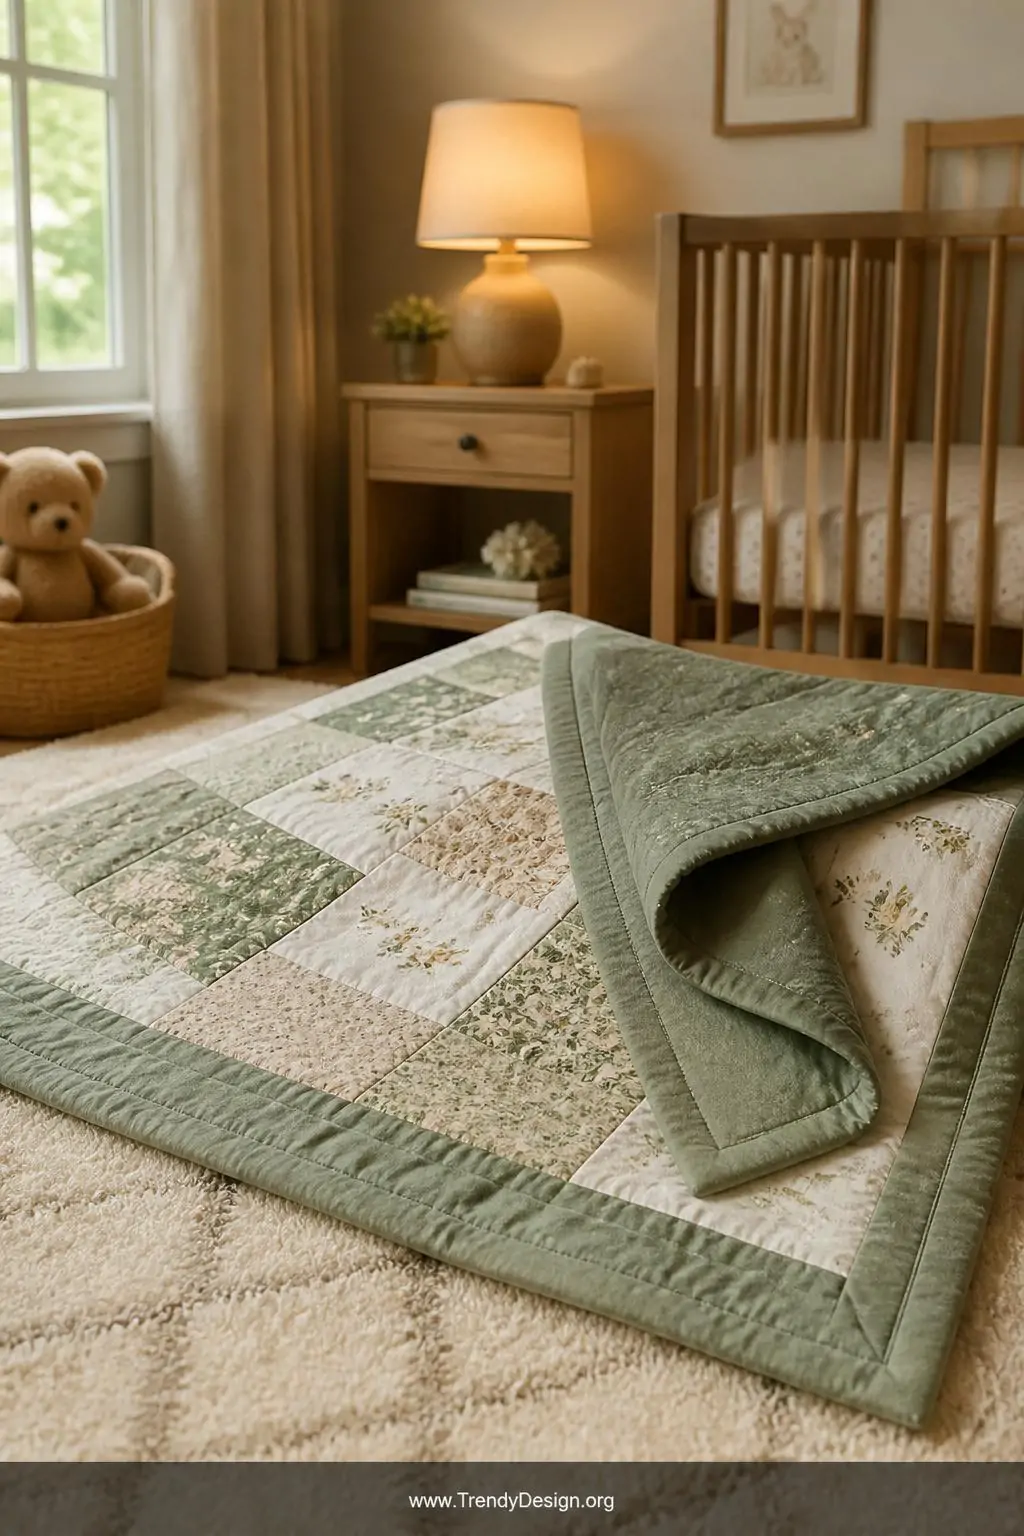
Sometimes the old ways are the best ways, and single-fold straight-cut binding is proof of that. This method uses fabric strips cut along the straight grain of the fabric, folded once, and sewn directly to the quilt edge. It’s the go-to choice for beginners because it’s forgiving, fast, and uses minimal fabric.
The straight-cut binding lies flat and gives your quilt a clean, tidy appearance that never really goes out of style. IMO, this is the binding you want when your quilt top is already doing a lot of visual work and you don’t want the edges competing for attention.
- Cut strips 2 to 2.5 inches wide for a standard binding width
- Press in half lengthwise before attaching
- Works beautifully on baby quilts and lap quilts
- Ideal when fabric is limited since it wastes very little
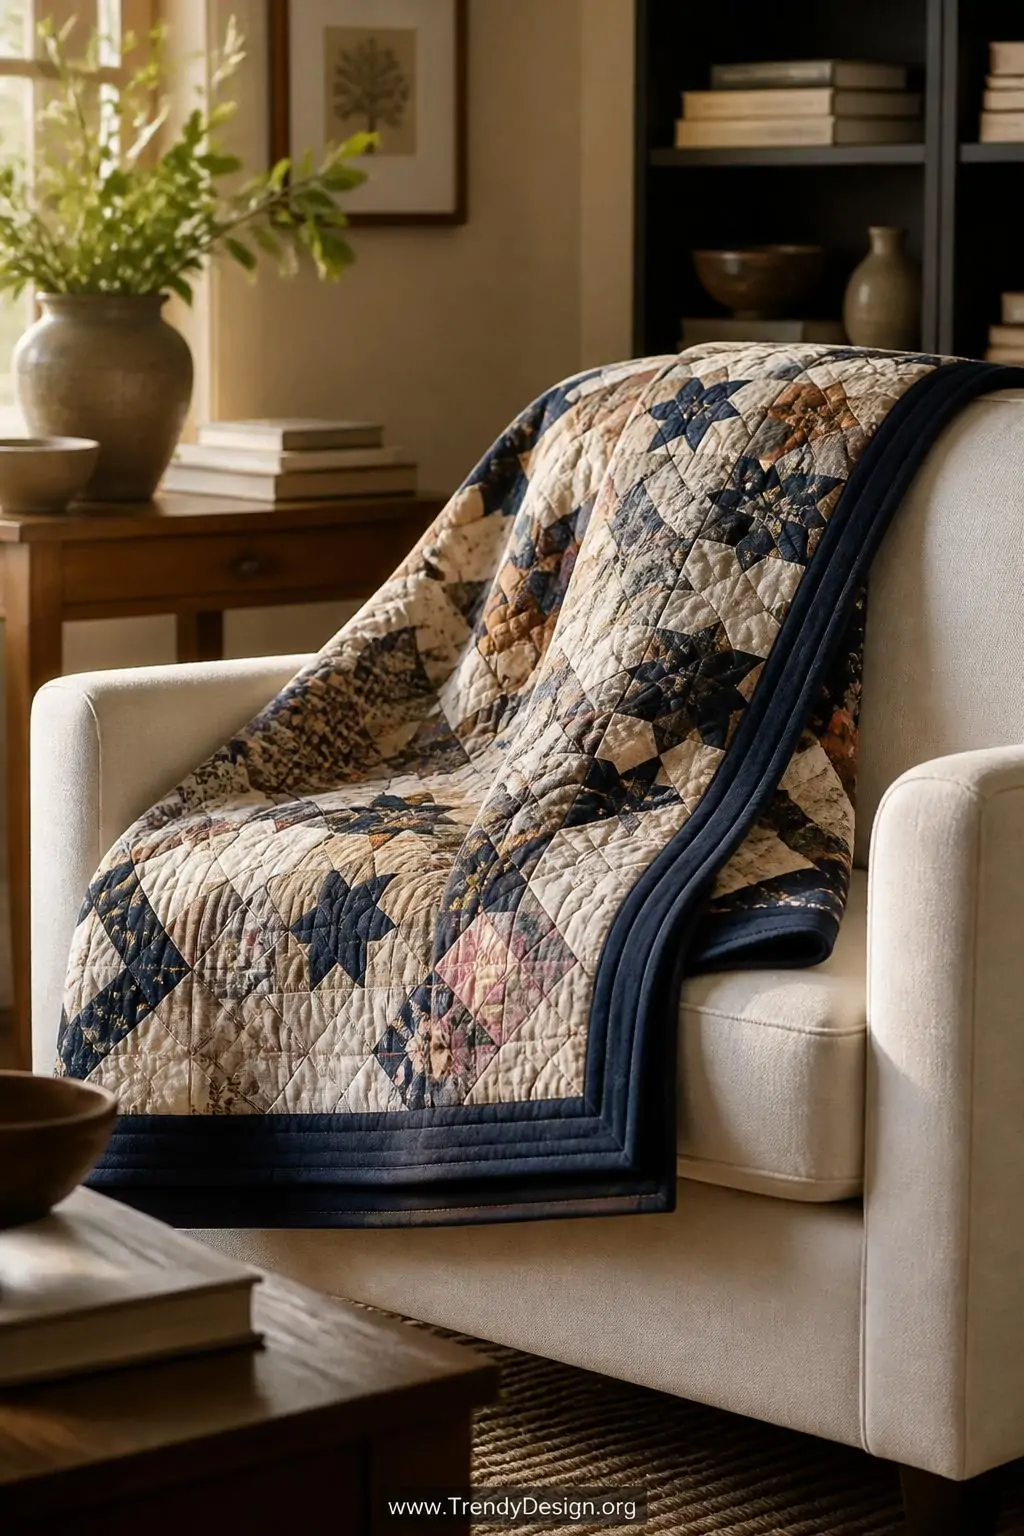
2. Double-Fold French Binding for a Polished Finish
As an Amazon Associate I earn from qualifying purchases.
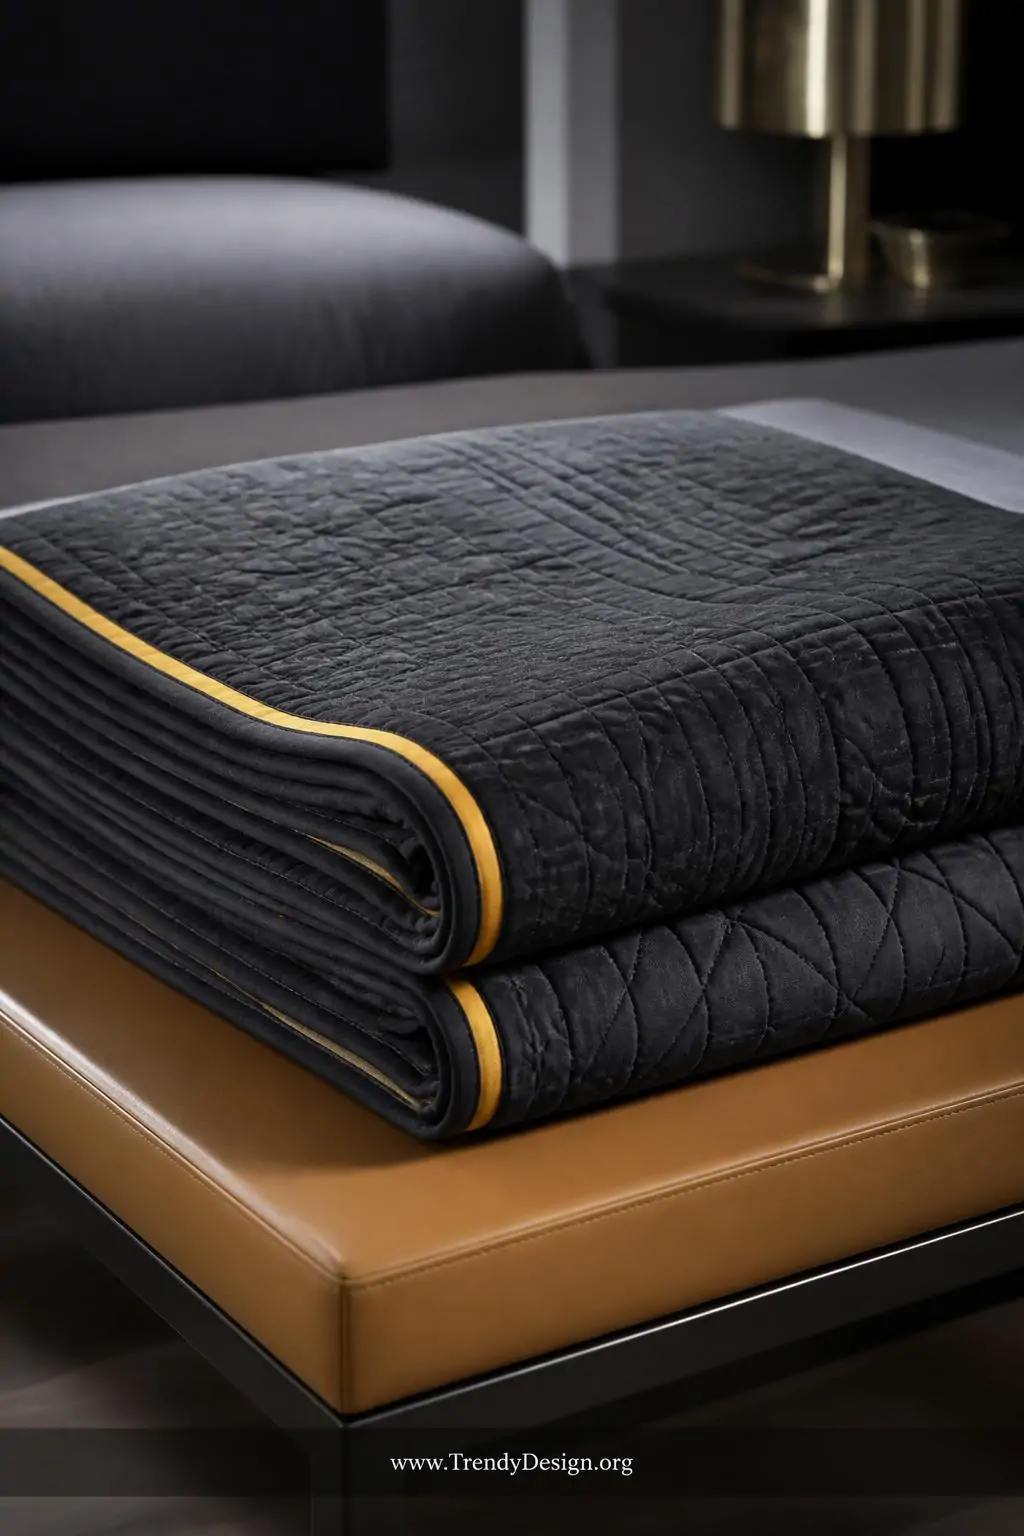
Double-fold French binding is the gold standard of quilt finishing, and once you try it, you’ll wonder how you ever settled for anything else. This technique involves folding the binding strip in half before sewing it on, which means you get four layers of fabric protecting that edge. It’s sturdy, it’s beautiful, and it gives your quilt an almost professional, heirloom quality.
This is the binding style you’ll see on most show quilts and gift quilts because it simply looks polished and intentional. The double thickness adds durability, which makes it perfect for quilts that will actually be used and washed regularly — like those beloved snuggle quilts that live on the couch.
Quick Tips for French Binding Success
- Cut strips 2.5 inches wide for a standard double-fold
- Miter your corners neatly for a crisp, tailored look
- Hand stitch the back for a truly refined finish
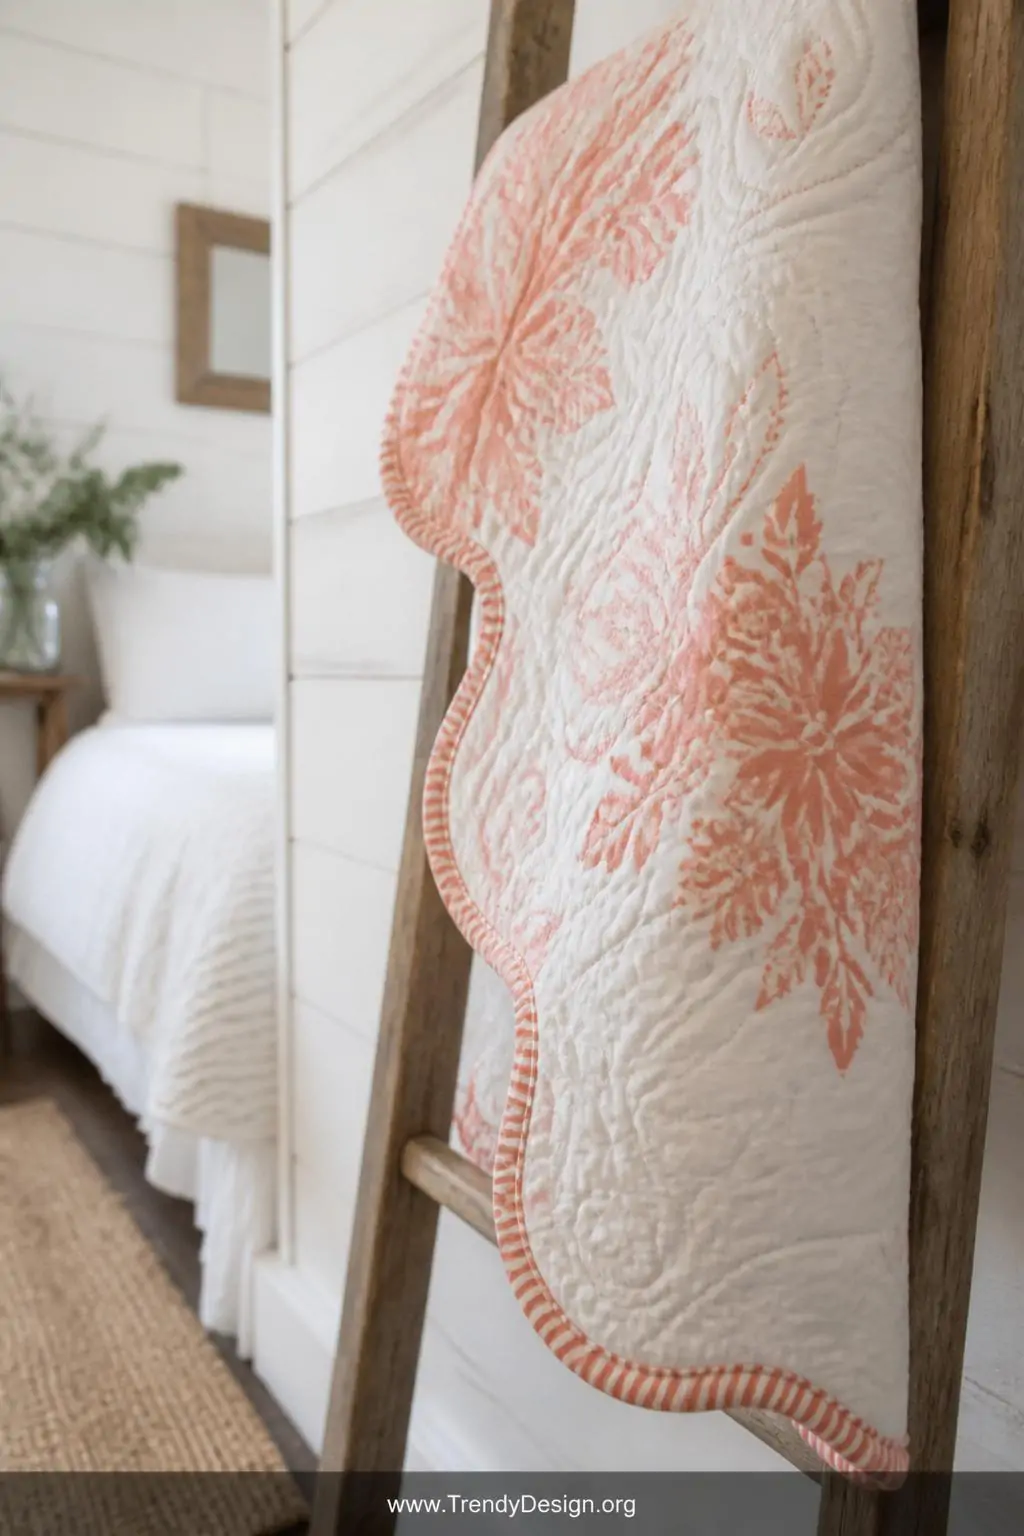
3. Bias Tape Binding for Curves and Scalloped Edges
As an Amazon Associate I earn from qualifying purchases.
If your quilt has curved edges or a gorgeous scalloped border, bias tape binding is your absolute best friend. Unlike straight-cut strips, bias tape is cut diagonally across the fabric grain, which gives it incredible flexibility and stretch. It hugs curves without bunching, puckering, or throwing a fit — unlike some of us when we’re trying to sew something complicated.
Bias binding is one of those quilt binding ideas that looks impressively difficult but is actually very manageable once you understand the cutting technique. You can buy pre-made bias tape or cut your own from a coordinating fabric for a truly custom look. FYI, cutting your own lets you match your quilt fabrics perfectly, which is a seriously satisfying result.
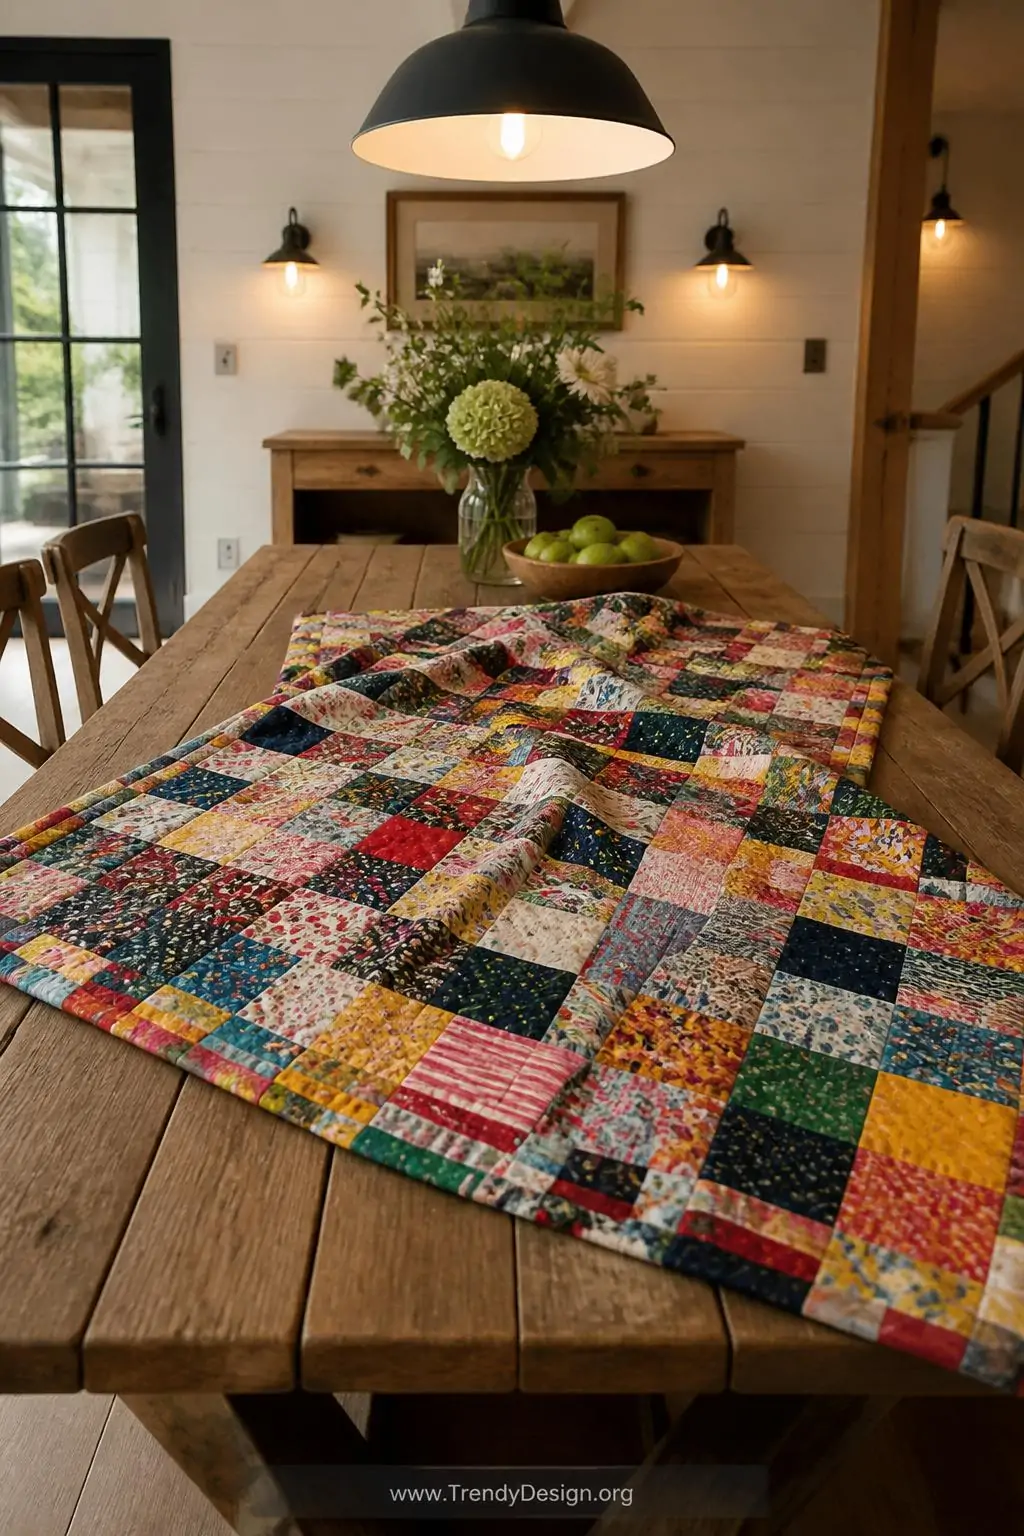
4. Scrappy Pieced Binding for a Colorful Pop of Personality
As an Amazon Associate I earn from qualifying purchases.
If you love using every last scrap of fabric and want your binding to tell its own little story, scrappy pieced binding is calling your name. This method involves sewing together short strips of different fabrics end-to-end before attaching them as your binding. The result is a lively, colorful edge that looks intentional and creative rather than random.
Scrappy binding works especially well on patchwork quilts and scrap quilts where the varied colors and prints are already part of the design. You can keep the pieces long for subtle color changes or go short and wild for a truly kaleidoscopic edge. Either way, you’ll use up those precious fabric scraps that you absolutely cannot bring yourself to throw away.
- Mix prints, solids, and even different fabric weights carefully
- Aim for strips at least 3 inches long for easier handling
- Press seams open to reduce bulk at joins
- Plan your color arrangement ahead for a more intentional look
5. Self-Binding Using the Quilt Back Fabric
As an Amazon Associate I earn from qualifying purchases.
Self-binding is the sneaky clever technique where the quilt backing fabric itself becomes the binding — no extra strips required. You simply cut your backing a few inches larger than the quilt top, then fold it over to the front and stitch it down. It’s fast, it’s efficient, and it creates a frame that perfectly coordinates with the back of your quilt.
This is one of those quilt binding ideas that feels almost like cheating because of how quick it goes. It works particularly well on quilts where the backing fabric is beautiful enough to feature, like a bold print or a soft flannel. Honestly, when you’re finishing a late-night project and just want to be done, self-binding is completely acceptable and still looks lovely.
When Self-Binding Works Best
- Baby quilts where soft backing fabrics look great on the front
- Charity quilts when time is limited
- Quilts backed with wide prints that deserve to be showcased
6. Decorative Flange Binding for a Designer Edge
As an Amazon Associate I earn from qualifying purchases.
Flange binding is that elevated, unexpected detail that makes people lean in and say “wait, how did you do that?” A flange is a narrow strip of contrasting fabric that peeks out between the quilt top and the binding, creating a thin line of color that frames the entire quilt like a picture mat. It adds visual depth without requiring advanced skills — just a little extra prep work.
This technique is perfect when you want your quilt to look like it came from a high-end boutique rather than your sewing room (even if your sewing room is, in fact, also your dining room table). The flange strip is usually just 1/4 inch visible, but that tiny pop of color makes an enormous difference in the finished look. It’s one of those quilt binding ideas that immediately upgrades even a simple quilt pattern into something that looks carefully designed.
- Choose a contrasting color for maximum visual impact
- Cut flange strips about 1 inch wide and press in half
- Baste the flange to the quilt edge before attaching binding
- Works beautifully with solid fabrics that let the color speak
The Bottom Line
Your binding choice is the final signature on your quilt, and these six quilt binding ideas give you plenty of options whether you want classic simplicity or a little extra creative drama. From the dependable French binding to the personality-packed scrappy strips, there’s a method that suits every skill level, every quilt style, and every deadline.
Don’t let the finishing stage intimidate you — binding is genuinely one of the most satisfying parts of the whole process because it means you’re almost done. Pick the technique that excites you most, grab your binding strips, and give that beautiful quilt the frame it truly deserves.
Leave a Reply